How to Blanch Green Beans
How to Blanch Green Beans – The Easy Way to Keep Them Fresh & Vibrant
Ever cooked green beans only to end up with limp, dull vegetables? The secret to keeping them crisp-tender and bright green is blanching. In just a few minutes, you can lock in their fresh flavor and texture — perfect for freezing, meal prepping, or making quick weeknight sides. Today, I’ll show you exactly how to blanch green beans like a pro.

What Makes This Method Special
Blanching is a simple cooking technique that quickly cooks vegetables in boiling water, then shocks them in ice water to stop the cooking process. This helps preserve their color, flavor, and nutrients, making it the perfect method for fresh garden green beans or store-bought ones you want to prep ahead.
Ingredients You’ll Need
- 1 pound fresh green beans
- 1 tablespoon salt (for boiling water)
- Ice
- Water
Tip: Choose green beans that are firm, bright, and free of blemishes for the best results.
How to Blanch Green Beans
Step 1 – Wash & Trim
Rinse your green beans under cold water. Trim off the stem ends (you can also cut them into bite-size pieces if you prefer).
Step 2 – Boil the Water
Fill a large pot with water, add 1 tablespoon of salt, and bring to a rolling boil.
Step 3 – Prepare the Ice Bath
Fill a large bowl with ice and cold water. This will be used to stop the cooking process.
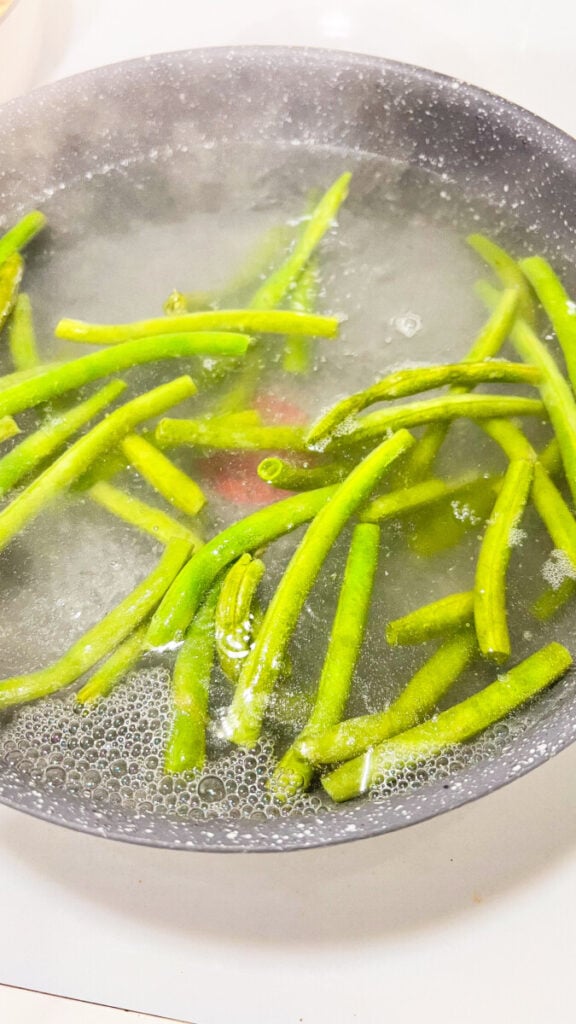
Step 4 – Blanch the Green Beans
Add the green beans to the boiling water and cook for 2–3 minutes until bright green and crisp-tender.
Step 5 – Shock in Ice Water
Immediately transfer the green beans to the ice bath and let them cool for 3–4 minutes.
Step 6 – Drain & Store
Drain the beans well. Use immediately, refrigerate for up to 3 days, or freeze for long-term storage.
Best Tips for Blanching Green Beans
- Don’t overcrowd the pot — blanch in batches if needed.
- Salt the water generously for better flavor.
- Keep the ice bath ready so you can quickly stop the cooking.
5 Ways to Use Blanched Green Beans
- Toss with olive oil, lemon juice, and garlic for a fresh side dish.
- Add to stir-fries for a pop of color and crunch.
- Use in pasta salads or cold veggie salads.
- Sauté with butter and sliced almonds for a classic side.
- Freeze for later and add to soups, stews, or casseroles.
Storage & Make-Ahead Tips
- Refrigerator: Store blanched green beans in an airtight container for up to 3 days.
- Freezer: Lay blanched beans in a single layer on a baking sheet, freeze until solid, then transfer to a freezer bag for up to 12 months.

FAQ’s
Do I have to blanch green beans before freezing?
Yes, blanching prevents enzyme activity that causes beans to lose flavor, color, and texture in the freezer.
Can I blanch other vegetables the same way?
Absolutely — broccoli, asparagus, carrots, and peas all benefit from blanching before freezing.
How do I keep them from getting soggy?
Don’t overcook in boiling water, and make sure they’re fully cooled and drained before storing.
Recipes you might like:
- Green bean bundles→ for when you want a cooked version.
- Garlic Parmesan Green Beans → a flavorful sauté option.
- Freezer-Friendly Vegetable Soup → where blanched beans are perfect.