The Best Homemade Rice Krispie Treats
The Best Homemade Rice Krispie Treats
There is just something about a homemade Rice Krispie treat that never gets old. They’re buttery, gooey, crispy, sweet, and one of the easiest desserts you can make. My version has one little addition that makes them taste even better: vanilla extract stirred right into the melted butter and marshmallows.
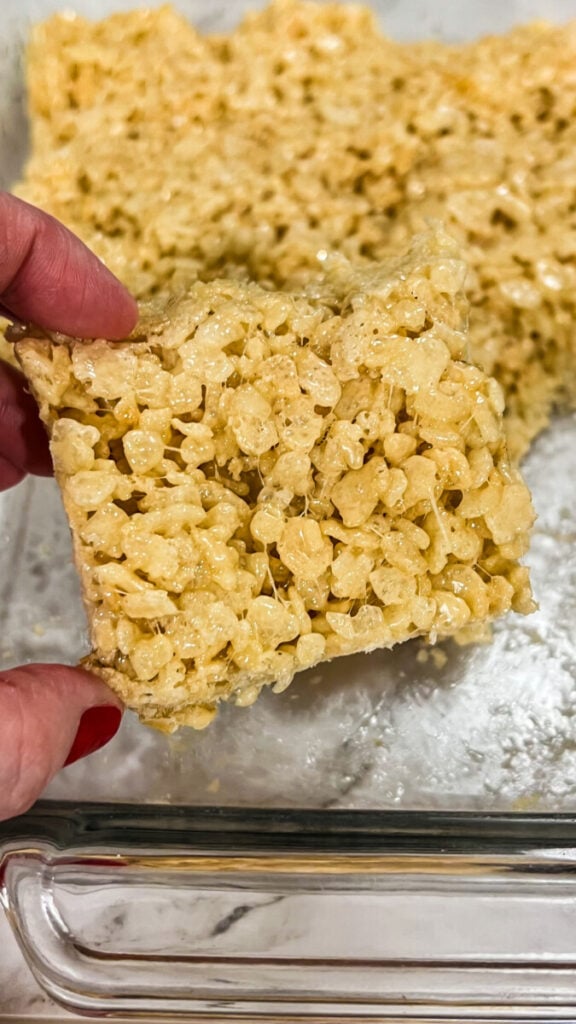
That little splash of vanilla gives classic Rice Krispie treats a richer, more homemade flavor. It takes only a few extra seconds, but it makes such a difference.
These are perfect when you need a quick dessert for a party, school treat, holiday, bake sale, or just something sweet to have around the house.
Why You’ll Love This Recipe
This really is one of those recipes you’ll make over and over again. You only need a handful of ingredients, there’s no baking required, and the entire batch comes together in minutes.
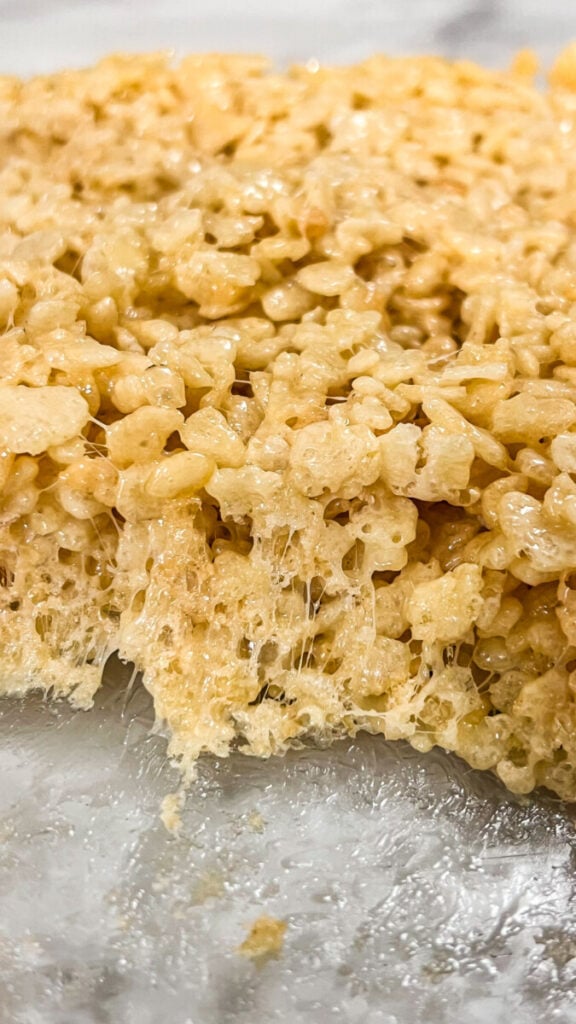
The key is using plenty of marshmallows, real butter, and vanilla, then gently pressing the mixture into the pan. Don’t smash the cereal down too firmly or you’ll lose that soft, chewy texture.
Ingredients
- 6 tablespoons butter
- 1 package (10 ounces) mini marshmallows
- 1 teaspoon vanilla extract
- 6 cups Rice Krispies cereal
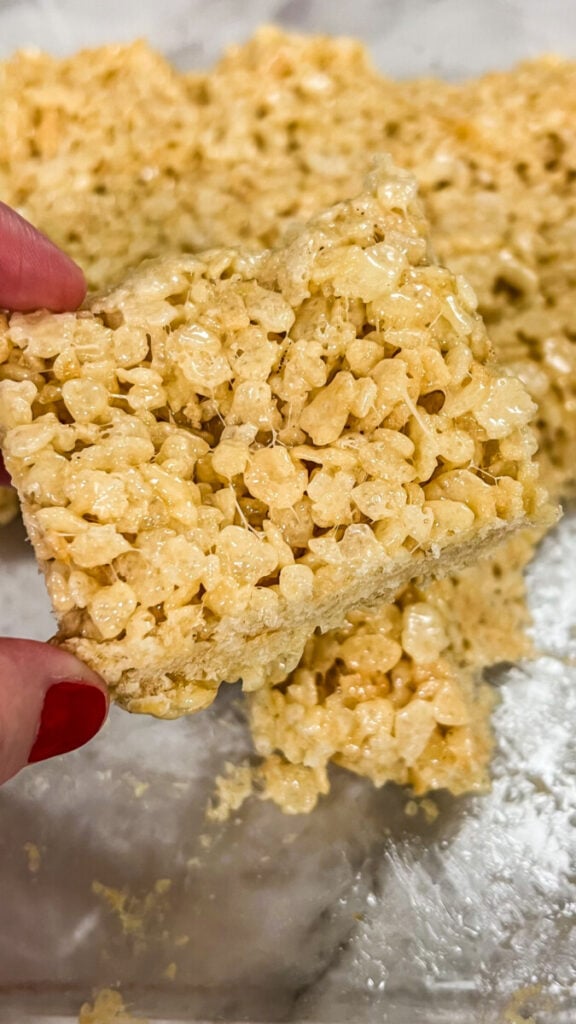
How to Make Homemade Rice Krispie Treats
Step 1: Lightly butter a 9 x 13-inch baking dish or line it with parchment paper.
Step 2: Add the butter to a large saucepan or pot and melt over low heat.
Step 3: Add the mini marshmallows to the melted butter. Stir over low heat until the marshmallows are completely melted and the mixture is smooth.
Step 4: Stir in the vanilla extract. The vanilla mixed with the warm butter and marshmallows is what gives these Rice Krispie treats such a delicious flavor.
Step 5: Remove the pan from the heat and immediately add the Rice Krispies cereal.
Step 6: Gently fold everything together until the cereal is completely coated with the marshmallow mixture.
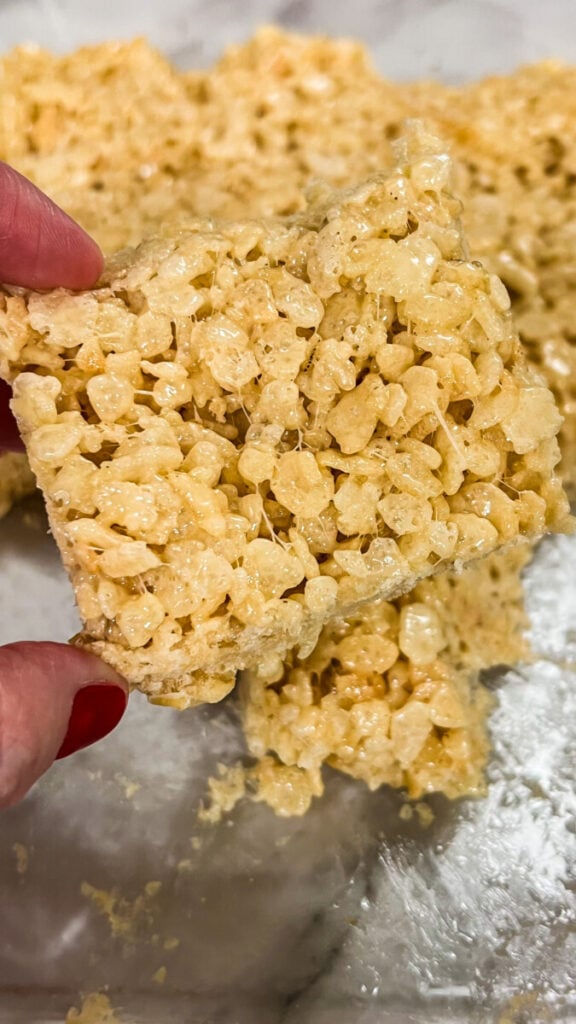
Step 7: Transfer the mixture to your prepared baking dish. Using a buttered spatula or a piece of parchment paper, gently press the mixture into an even layer. Don’t press too hard. Keeping the mixture a little loose is what helps give you soft and chewy Rice Krispie treats instead of hard ones.
Allow them to cool and set before cutting into squares.
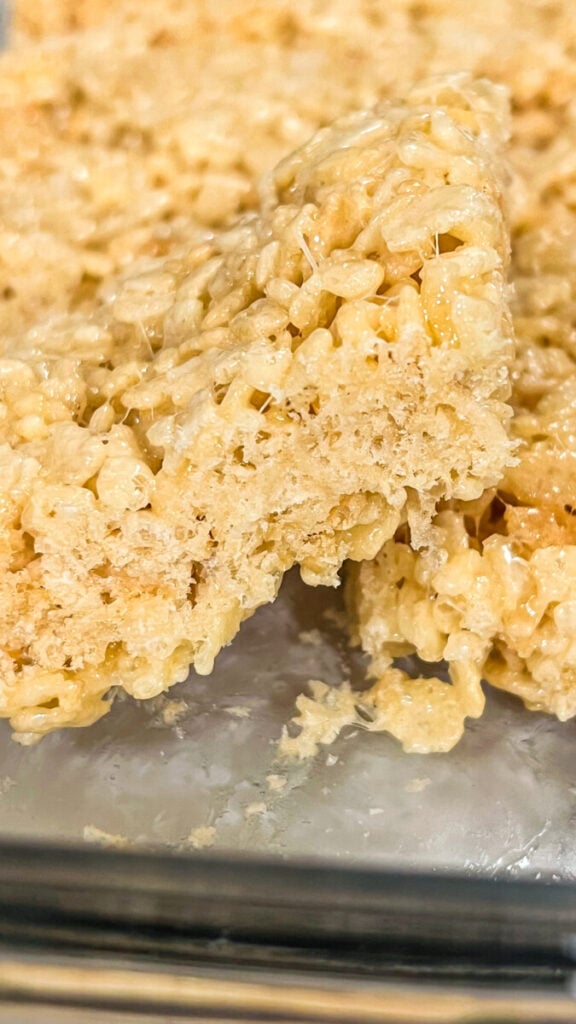
The Secret to the Best Rice Krispie Treats
My favorite trick is incredibly simple: add vanilla to the melted butter and marshmallows.
Traditional Rice Krispie treats are already delicious, but vanilla gives the marshmallow mixture a deeper, richer flavor. You can smell the difference as soon as you stir it in.
It makes these taste less like a basic three-ingredient cereal treat and more like something special you made from scratch.
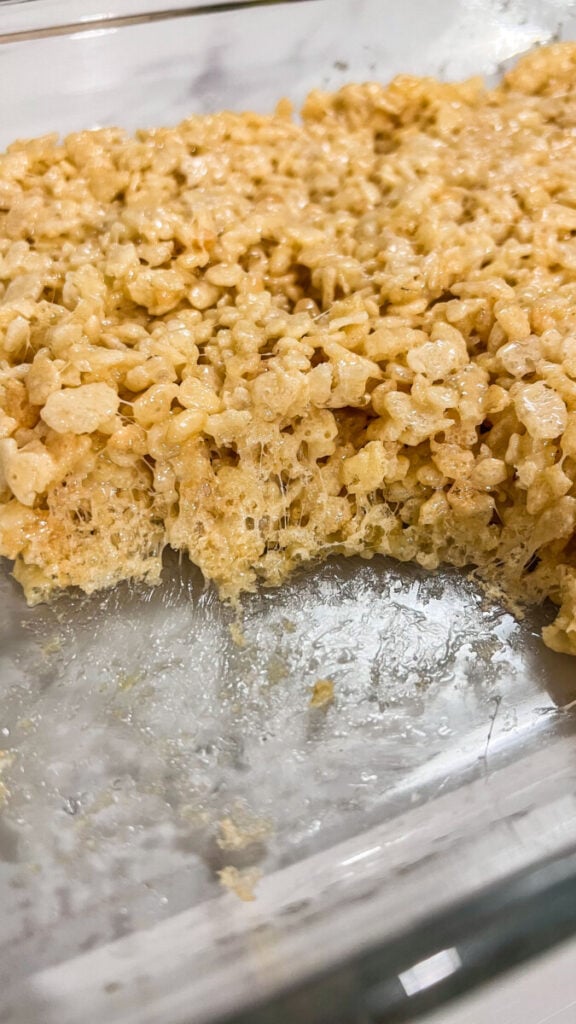
How to Keep Rice Krispie Treats Soft
The biggest mistake when making homemade Rice Krispie treats is pressing them too firmly into the pan. You only need enough pressure to get the mixture into an even layer.
Also, keep your heat low while melting the butter and marshmallows. High heat can make the finished treats harder.
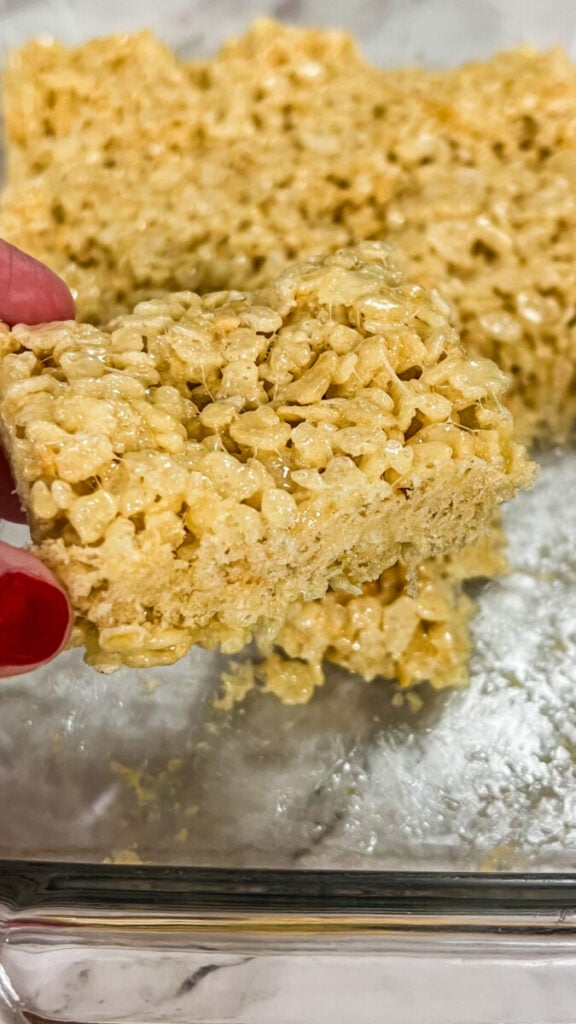
Storage
Store homemade Rice Krispie treats in an airtight container at room temperature. For the best soft and chewy texture, enjoy them within about 2–3 days.
You can place parchment or wax paper between layers if you’re stacking them.