Trick or Treat Halloween Cookies
Trick or Treat Halloween Cookies
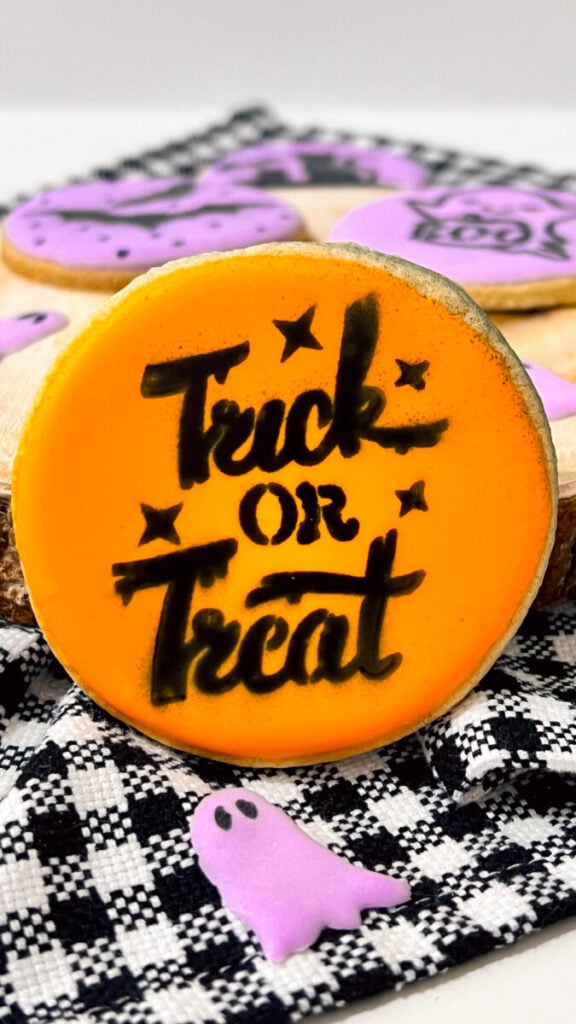
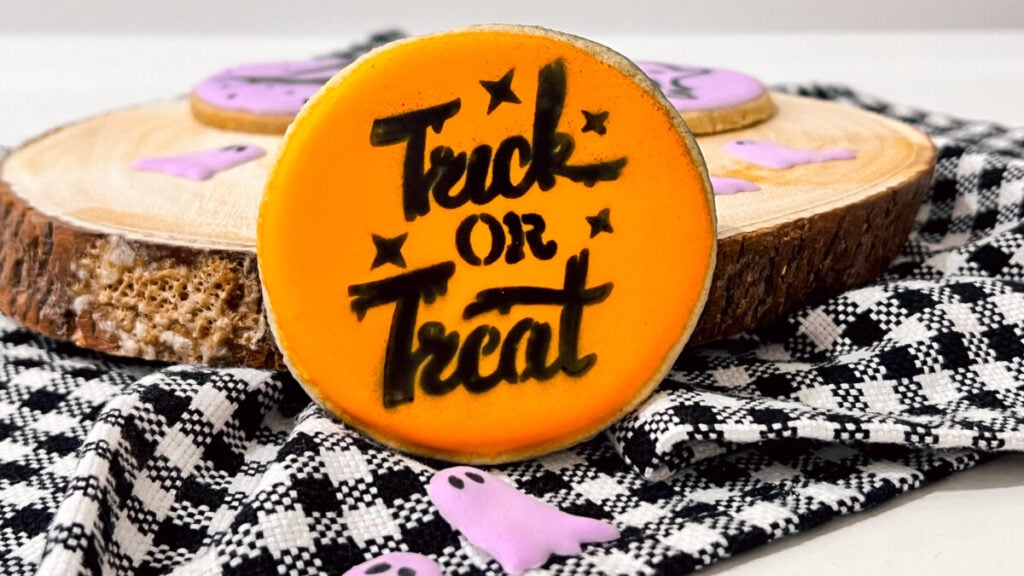
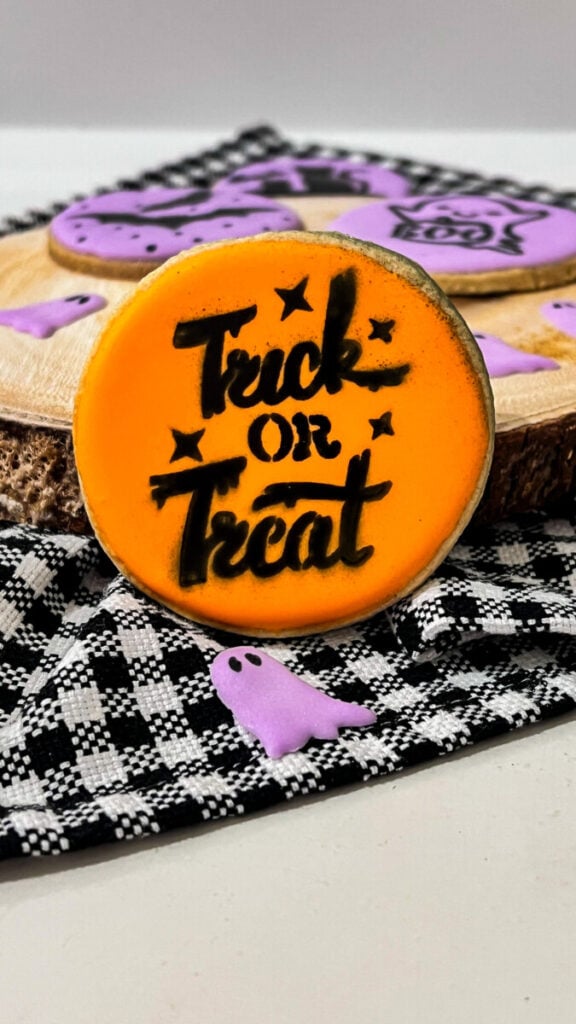
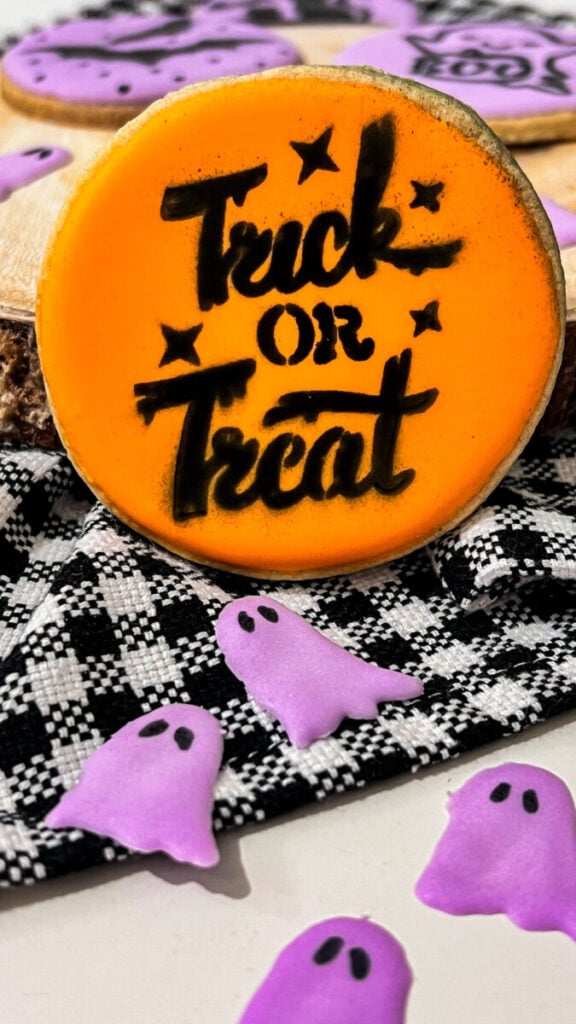
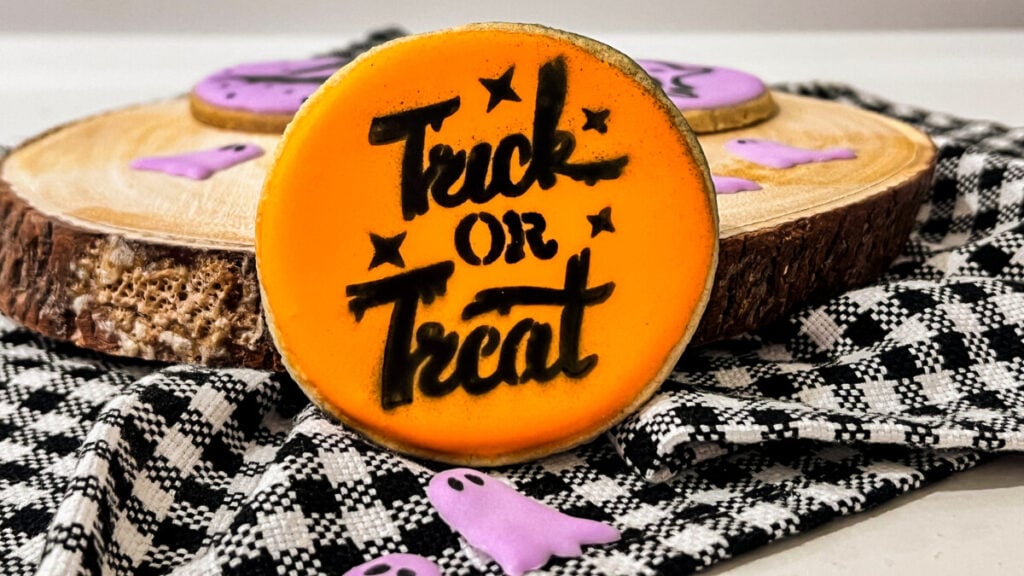
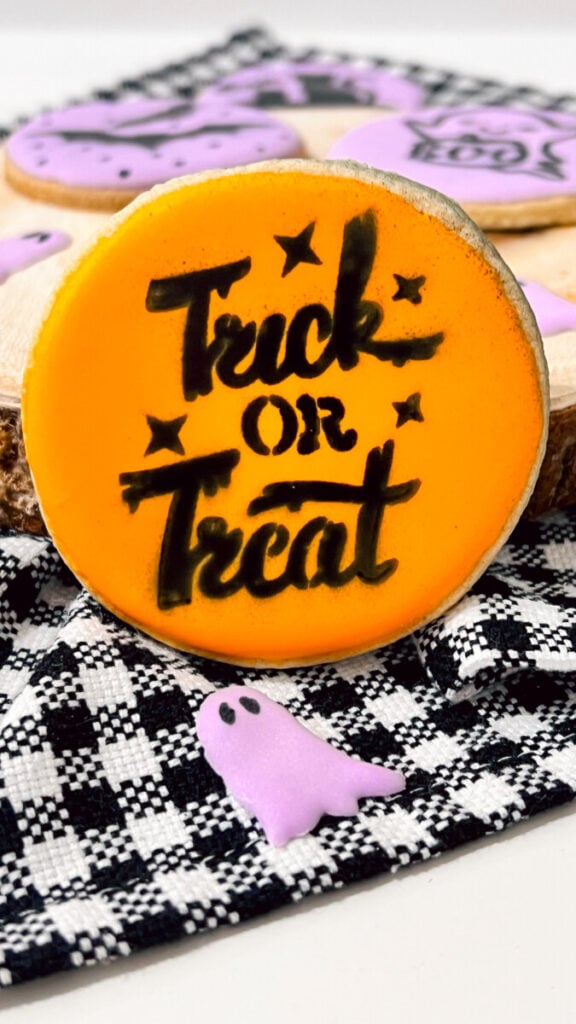
These Trick or Treat Halloween Cookies are bold, festive, and surprisingly easy to decorate! A classic round sugar cookie is covered with smooth orange royal icing, allowed to dry completely, and then finished with a “Trick or Treat” stencil and black edible airbrush color. The result is a crisp, professional-looking design that’s perfect for Halloween parties, trick-or-treat celebrations, bake sales, classroom treats, and spooky dessert tables.
If you’re looking for a Halloween cookie decorating project that makes a big impact without requiring advanced piping skills, this is the perfect design. With just a stencil and an airbrush, you can create bakery-worthy cookies in just a few simple steps.
Why You’ll Love These Trick or Treat Cookies
- Beginner-friendly decorating project.
- No detailed piping required.
- Perfect for Halloween parties.
- Great for cookie platters and gift boxes.
- Easy to decorate in large batches.
- Uses a simple stencil for crisp lettering.
- Beautiful orange and black Halloween color palette.
- Looks professionally decorated with minimal effort.
Jennie’s Thoughts
Sometimes the simplest cookie designs end up being my favorites. I love the bold contrast between the bright orange icing and the crisp black lettering. It instantly reminds me of vintage Halloween decorations, trick-or-treat bags, and everything I love about October. These cookies are also one of my go-to designs when I need to decorate a large batch because the stencil does most of the work while still giving every cookie a polished, professional finish.
Supplies You’ll Need
- Round sugar cookies
- Orange flood consistency royal icing
- Black edible airbrush food coloring
- “Trick or Treat” cookie stencil
- Cookie airbrush machine
- Piping bags
- Scribe tool
- Paper towels
- Turntable (optional)
Step 1: Bake the Sugar Cookies
Bake round sugar cookies using your favorite sugar cookie recipe and allow them to cool completely before decorating.

Step 2: Flood with Orange Royal Icing
Outline each cookie using orange royal icing, then flood the center until smooth. Use a scribe tool to spread the icing evenly and remove any air bubbles.
Allow the icing to dry overnight until it’s completely firm.
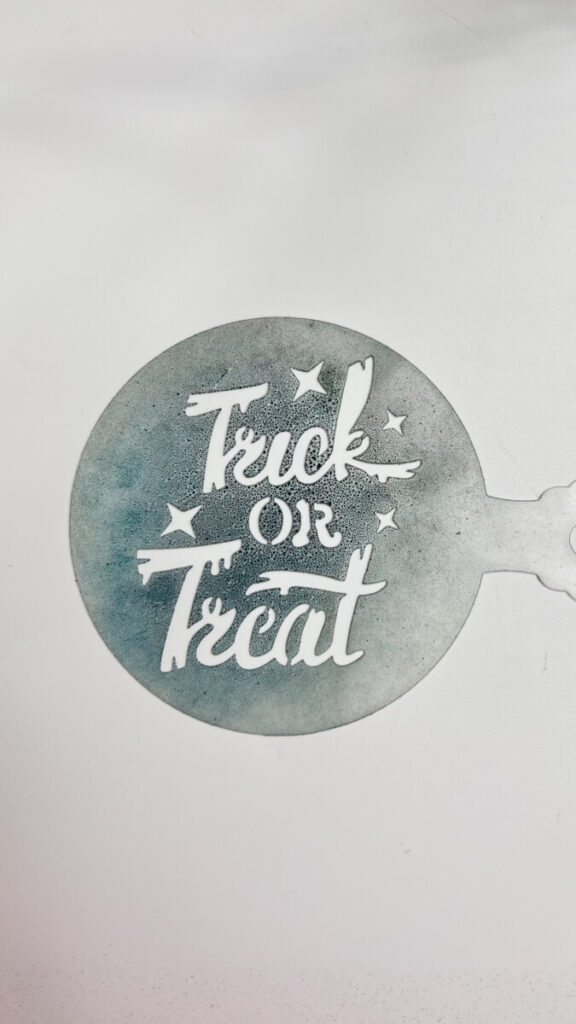
Step 3: Position the Stencil
Carefully center the “Trick or Treat” stencil on top of the cookie. Hold it securely against the icing so the lettering stays crisp while airbrushing.
Step 4: Airbrush the Lettering
Using black edible airbrush coloring, lightly spray over the stencil using several thin coats. Building the color gradually helps prevent overspray and keeps the lettering sharp and clean.
Step 5: Reveal the Finished Design
Slowly lift the stencil straight up to reveal the “Trick or Treat” design. It’s always fun to watch the lettering appear so clean and bold against the bright orange background.
Decorating Tips
- Allow the royal icing to dry overnight before airbrushing.
- Hold the stencil firmly to prevent movement.
- Apply several light coats instead of one heavy spray.
- Clean the stencil regularly for crisp lettering.
- Test your airbrush on parchment paper before decorating.
Fun Variations
Once you’ve mastered this technique, try using other Halloween word stencils like:
- Happy Halloween
- Boo!
- Hocus Pocus
- Spooky
- Witch Please
- Haunted
- October 31
- Eek!
Changing the icing color is another easy way to create a completely different look. Try purple, lime green, white, or teal backgrounds for a fun Halloween collection.
Frequently Asked Questions
Can I make these cookies without an airbrush?
Yes! You can use black royal icing with the stencil, although an airbrush creates the cleanest, most professional-looking finish.
How far ahead can I decorate these cookies?
These cookies can be decorated several days in advance and stored in an airtight container until ready to serve or package.
Do I need a special stencil?
Any food-safe cookie stencil with Halloween wording will work beautifully for this design.
More Halloween Cookie Tutorials
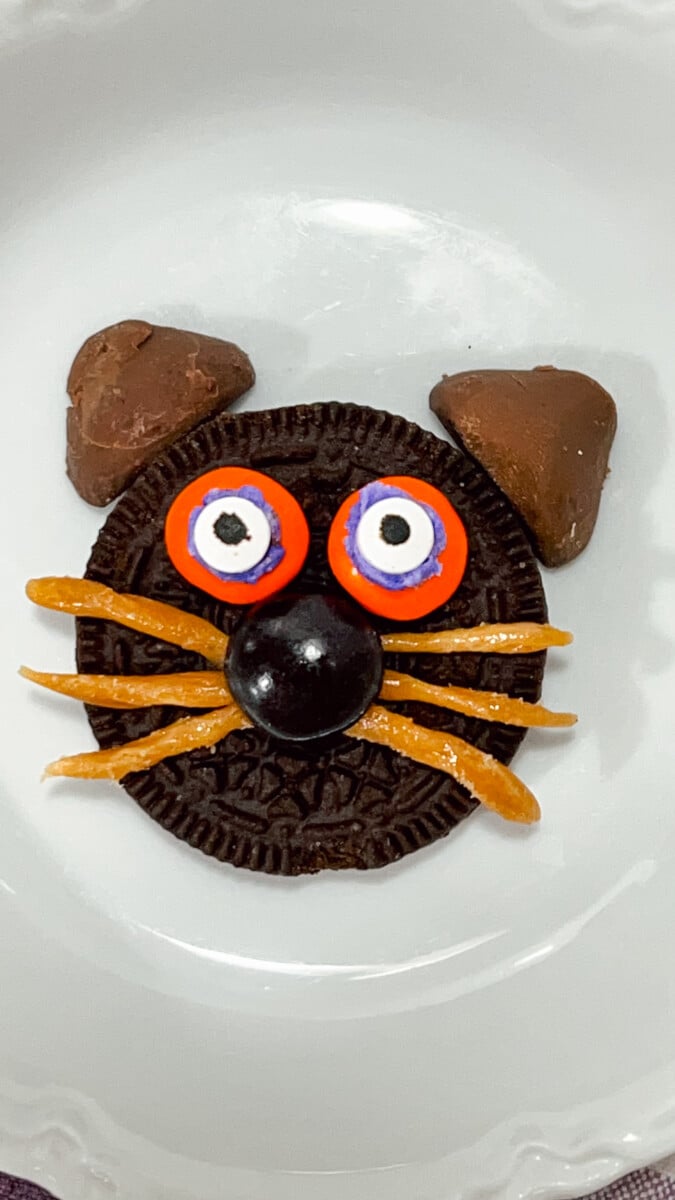
If you enjoyed these Trick or Treat Halloween Cookies, be sure to check out my How to Airbrush Sugar Cookies, Royal Icing Recipe, Royal Icing Consistency Guide, Airbrushed Black Cat Halloween Cookies, and 50+ Halloween Cookie Ideas for even more festive decorating inspiration.