Airbrushed Black Cat Halloween Cookies
Airbrushed Black Cat Halloween Cookies
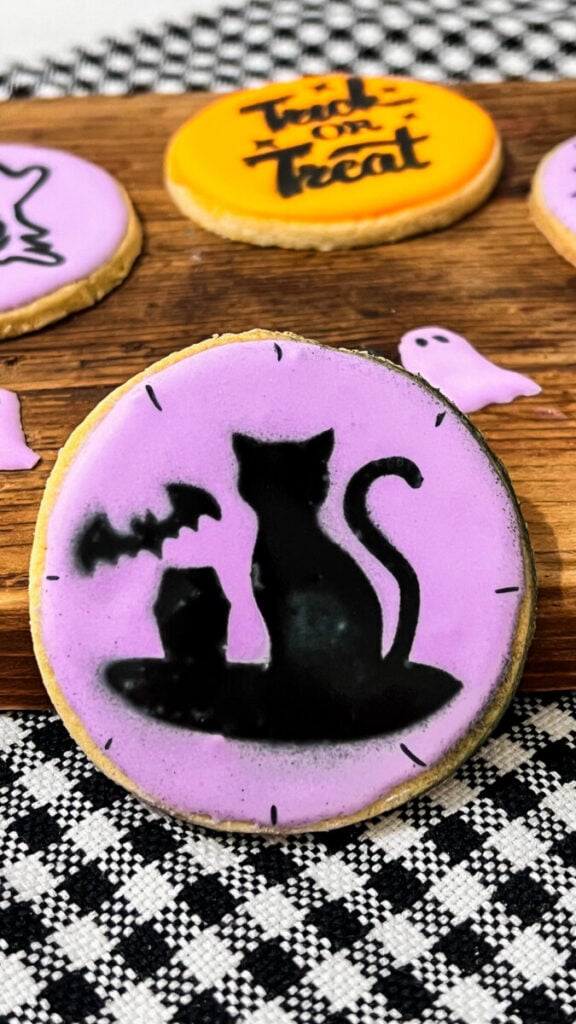
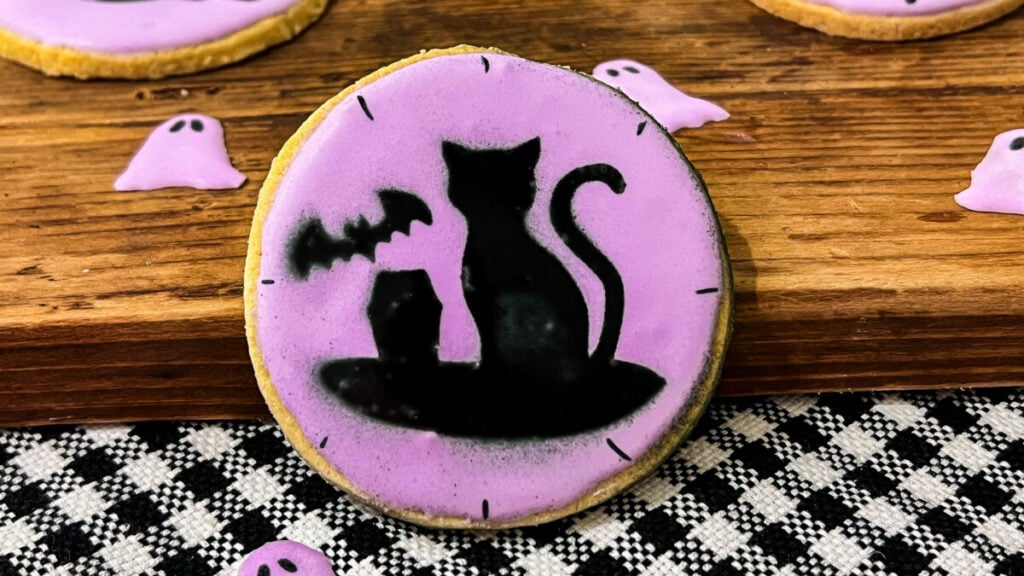
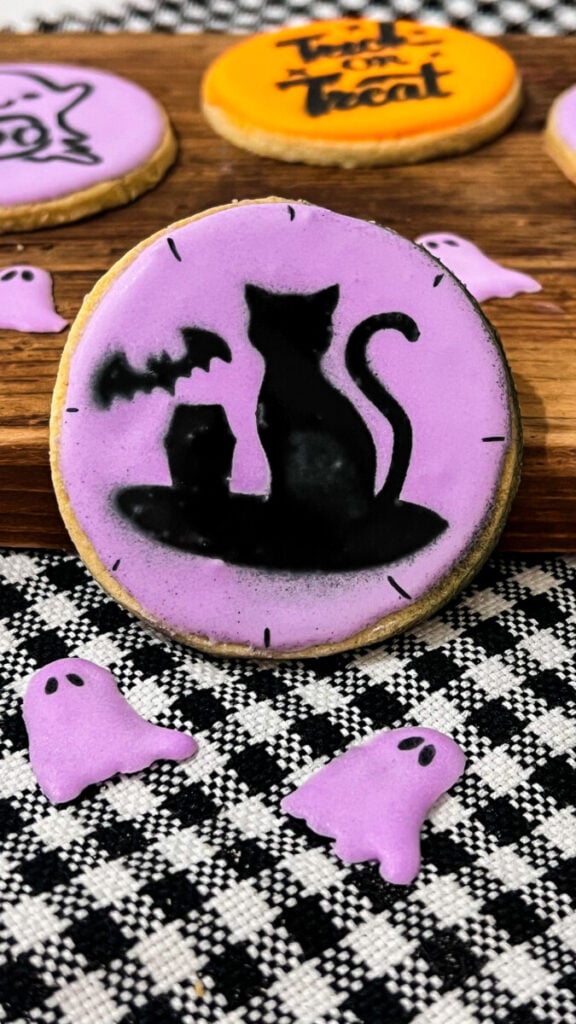
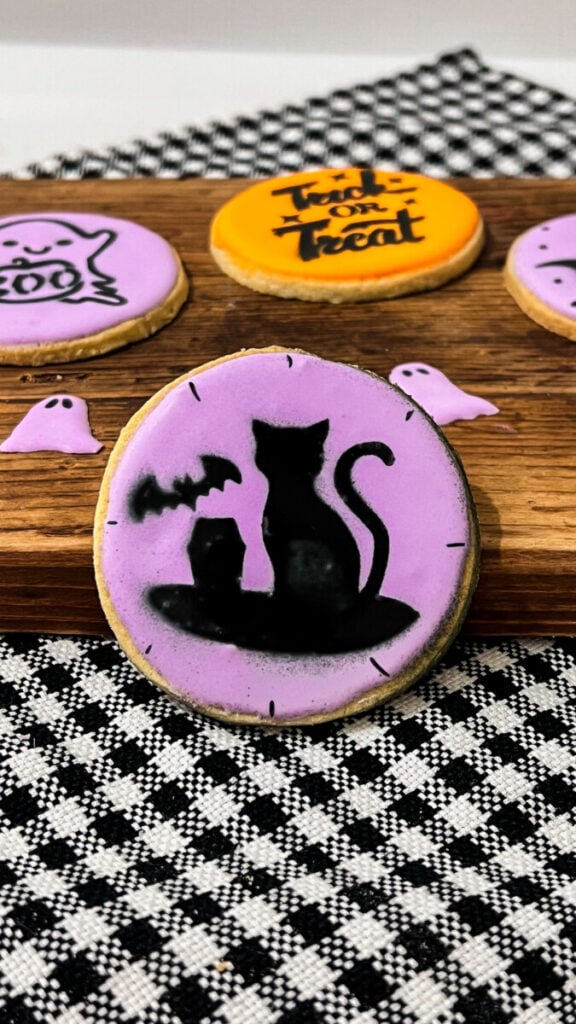
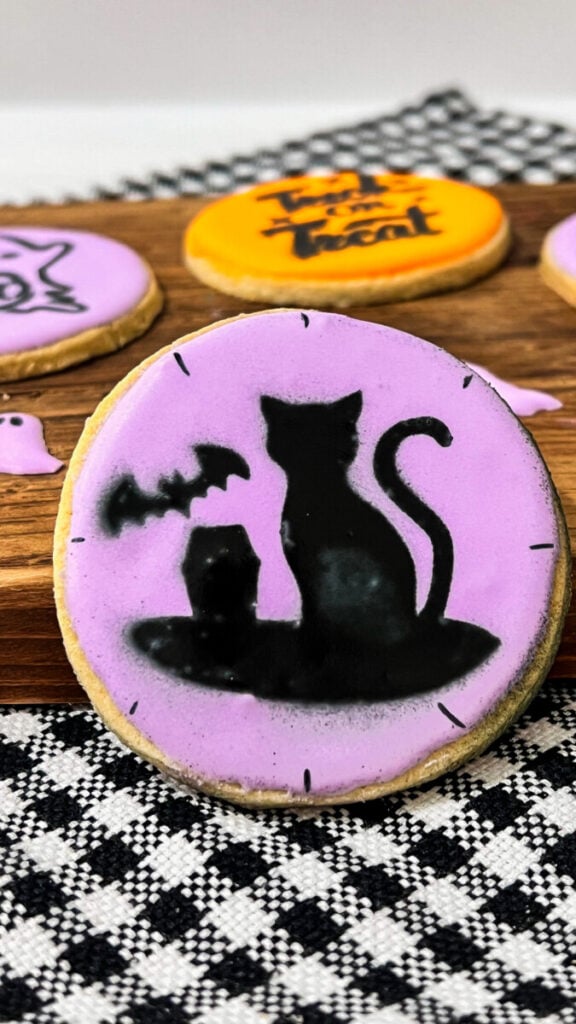
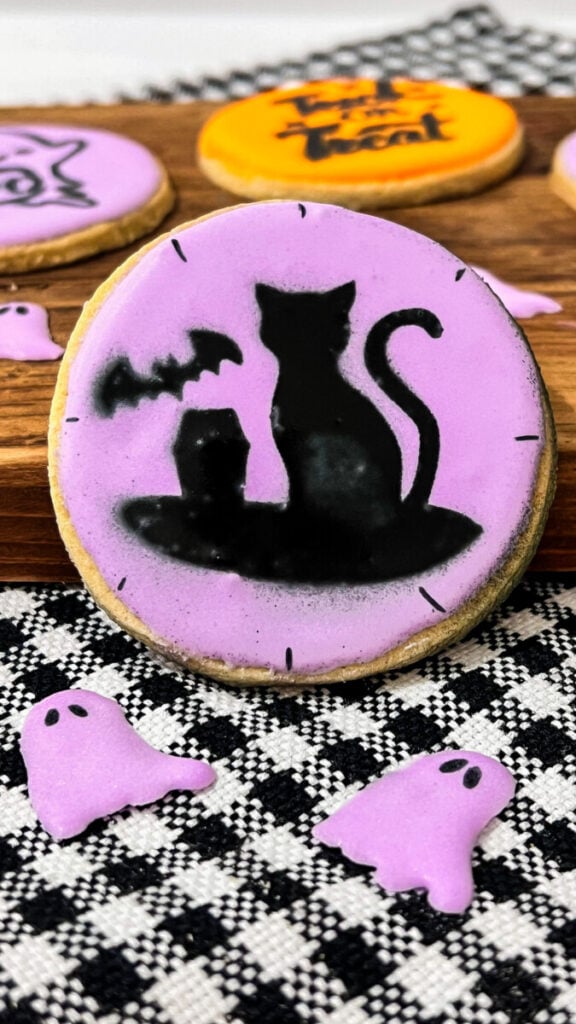
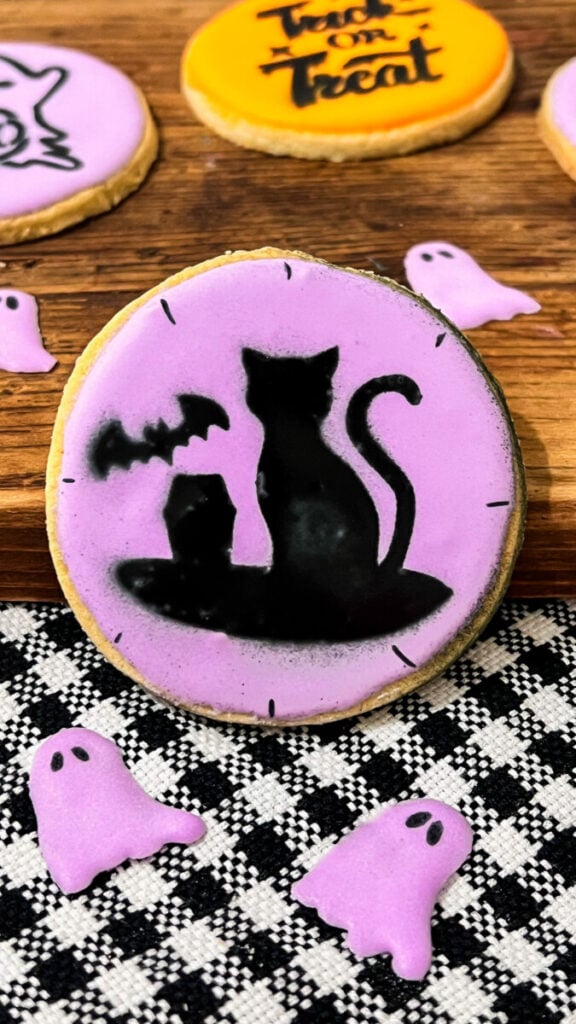
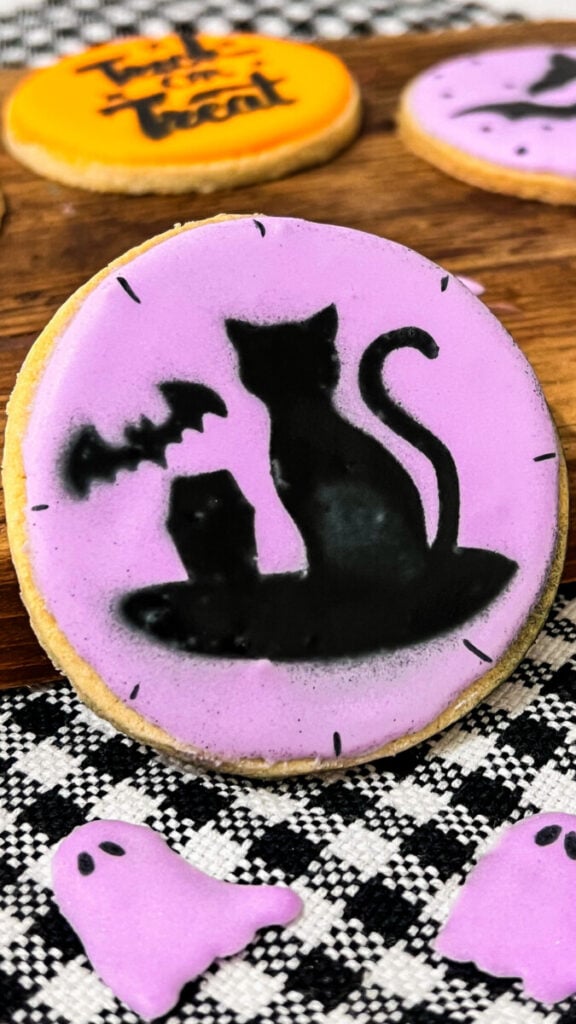
These Airbrushed Black Cat Halloween Cookies are one of the easiest ways to create elegant, vintage-inspired Halloween cookies without hours of detailed piping. A simple round sugar cookie is covered with smooth purple royal icing, allowed to dry completely, then transformed using a black cat stencil and an airbrush. The result is a crisp silhouette that looks like a spooky moonlit Halloween night—perfect for parties, cookie gift boxes, dessert tables, or simply celebrating the season.
One of my favorite things about these cookies is that they look professionally decorated, yet they’re surprisingly beginner-friendly. If you can flood a cookie with royal icing and use an airbrush, you’ll be amazed at how quickly this design comes together. It’s proof that simple techniques often create the biggest impact.
Why You’ll Love These Black Cat Cookies
- Easy enough for beginner cookie decorators.
- No complicated piping details.
- Beautiful vintage Halloween style.
- Perfect for Halloween parties and dessert tables.
- Uses a simple stencil for professional-looking results.
- Great for decorating large batches of cookies.
- Airbrushing adds beautiful depth and contrast.
- A fun project to make every Halloween season.
Jennie’s Thoughts
I’ve always loved vintage Halloween decorations, especially the charming black cats that appeared on old postcards and party decorations. They’re playful instead of scary and have so much personality. When I discovered how beautiful silhouette stencils look over brightly colored royal icing, I knew I had to recreate that nostalgic feeling on cookies. These are honestly one of the fastest decorated cookies I make, but people always assume they took hours because the airbrushed silhouette looks so detailed.
Supplies You’ll Need
- Round sugar cookies
- Purple flood consistency royal icing
- Black edible airbrush food coloring
- Black cat cookie stencil
- Cookie airbrush machine
- Scribe tool
- Piping bags
- Turntable (optional)
- Paper towels
Step 1: Bake Your Sugar Cookies
Bake your favorite round sugar cookies and allow them to cool completely before decorating. Smooth, flat cookies create the best canvas for royal icing.
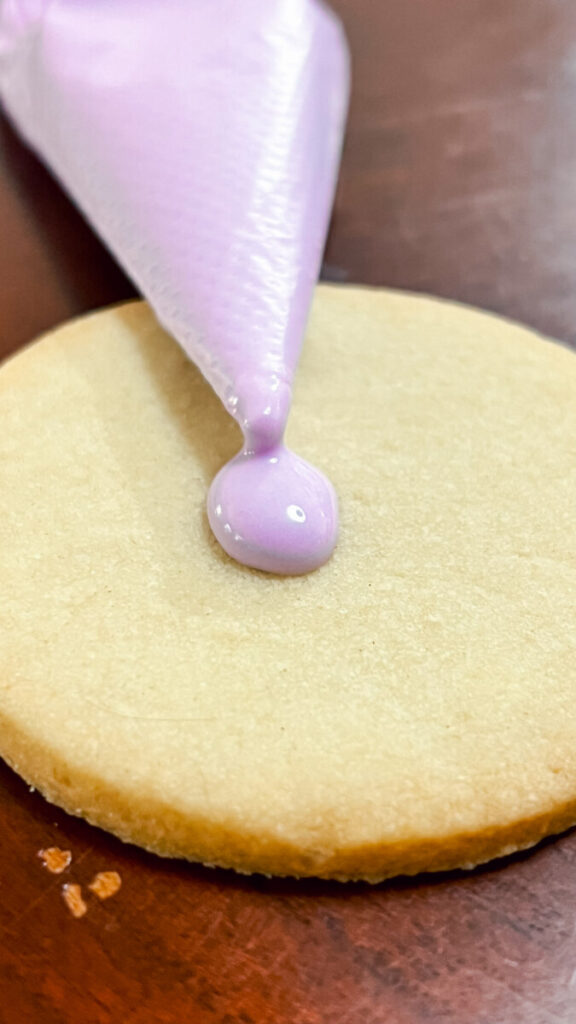
Step 2: Flood with Purple Royal Icing
Outline each cookie with purple royal icing, then flood the center using the same icing consistency. Use a scribe tool to smooth the icing and pop any air bubbles.
Allow the cookies to dry overnight or until the icing is completely firm.
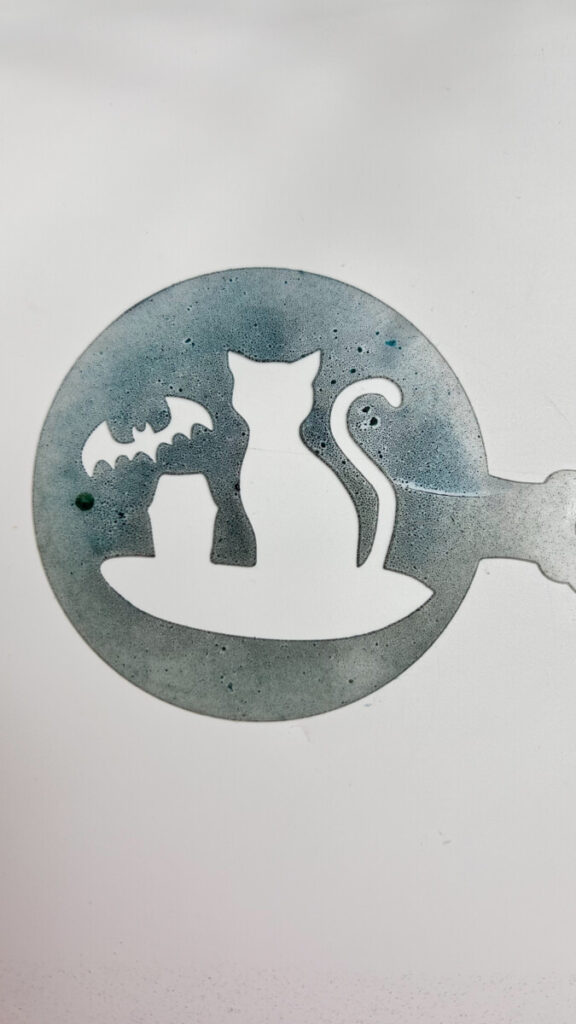
Step 3: Position the Stencil
Once the icing has dried, carefully center the black cat stencil on top of the cookie. Hold it firmly against the surface so the edges stay crisp while airbrushing.
Step 4: Airbrush the Design
Using black edible airbrush coloring, spray several light coats over the stencil instead of one heavy coat. This creates the cleanest silhouette and prevents color from bleeding underneath.
Step 5: Reveal Your Design
Carefully lift the stencil straight off the cookie to reveal your finished black cat silhouette. This is always my favorite part because the image appears instantly and gives the cookie such a dramatic Halloween look.
Decorating Tips
- Make sure the royal icing has dried completely before airbrushing.
- Hold the stencil flat against the cookie to prevent overspray.
- Spray several thin coats rather than one heavy coat.
- Clean your stencil between cookies for the sharpest results.
- Practice your airbrush pressure on parchment paper before decorating your cookies.
Variations
Once you master this technique, try swapping the stencil for other Halloween silhouettes:
- Flying bats
- Haunted houses
- Tombstones
- Full moons
- Bare spooky trees
- Witches on broomsticks
- Ravens
- Pumpkins
- Spider webs
You’ll have an entire collection of coordinating Halloween cookies using the exact same decorating method.
Frequently Asked Questions
Do I need an airbrush machine?
An airbrush creates the cleanest silhouette, but you can also experiment with edible petal dust and a stencil brush for a softer look.
Can beginners make these cookies?
Yes! This is one of the easiest Halloween cookie decorating projects because the stencil creates the artwork for you.
Can I use different icing colors?
Absolutely. Orange, lime green, teal, dusty aqua, or even a full moon yellow background all look beautiful with a black silhouette.
How far in advance can I decorate these cookies?
Decorated sugar cookies can usually be made several days ahead and stored in an airtight container until you’re ready to serve or package them.
More Halloween Cookie Tutorials
If you enjoyed these Airbrushed Black Cat Halloween Cookies, be sure to check out my How to Airbrush Sugar Cookies guide, Royal Icing Recipe, Royal Icing Consistency Guide, and 50+ Halloween Cookie Ideas for even more spooky decorating inspiration. You’ll also love my Vintage Ghost Cookies, Pumpkin Cookies, Witch Hat Cookies, and Flying Bat Cookies.