Halloween Snowball Cookies
Halloween Snowball Cookies
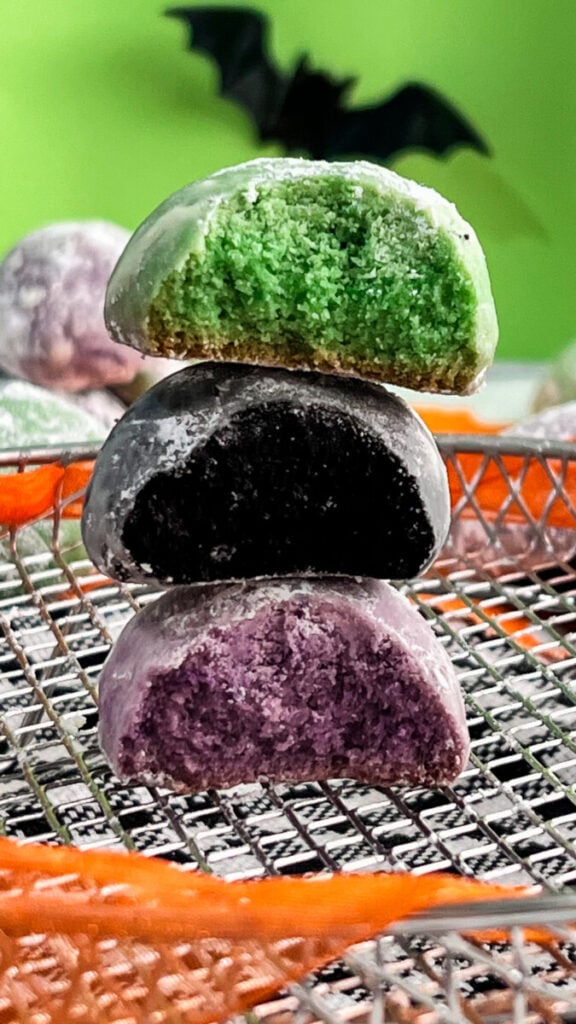
These colorful Halloween Snowball Cookies are buttery, melt-in-your-mouth treats dressed up in spooky shades of green, black, and purple! Made with a classic snowball cookie dough and rolled in brightly colored powdered sugar, they’re a fun twist on a traditional holiday favorite that’s perfect for Halloween parties, cookie exchanges, dessert tables, and spooky movie nights.
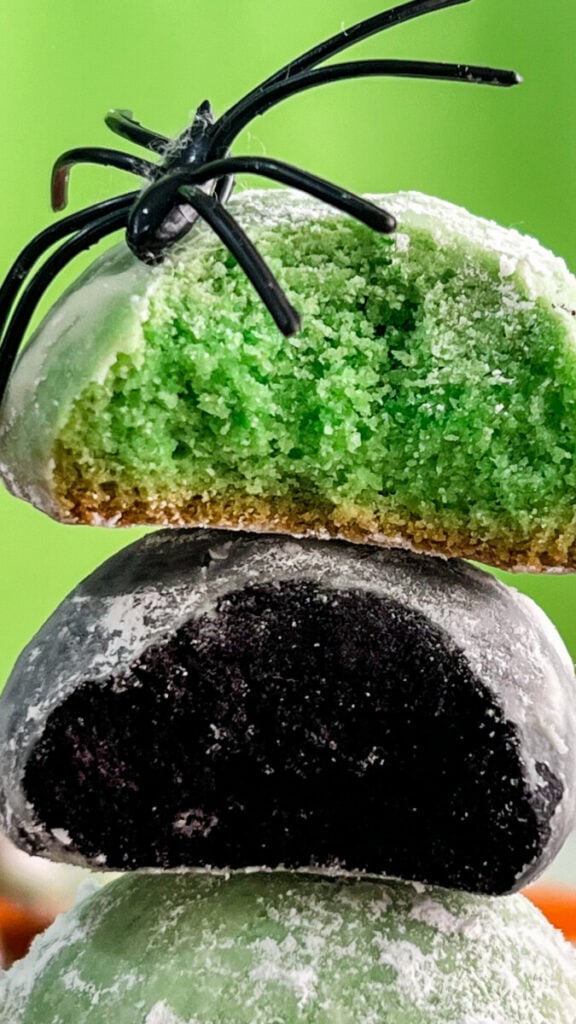
With their soft, crumbly texture and festive colors, these cookies are just as delicious as they are eye-catching. They’re easy to make ahead and are guaranteed to disappear from the Halloween dessert table.
Why You’ll Love These Cookies
- Festive green, black, and purple Halloween colors
- Soft, buttery, melt-in-your-mouth texture
- Easy to decorate with colored powdered sugar
- Great for Halloween parties
- Perfect make-ahead cookie
- Freezer friendly
- Fun baking project with kids
Ingredients
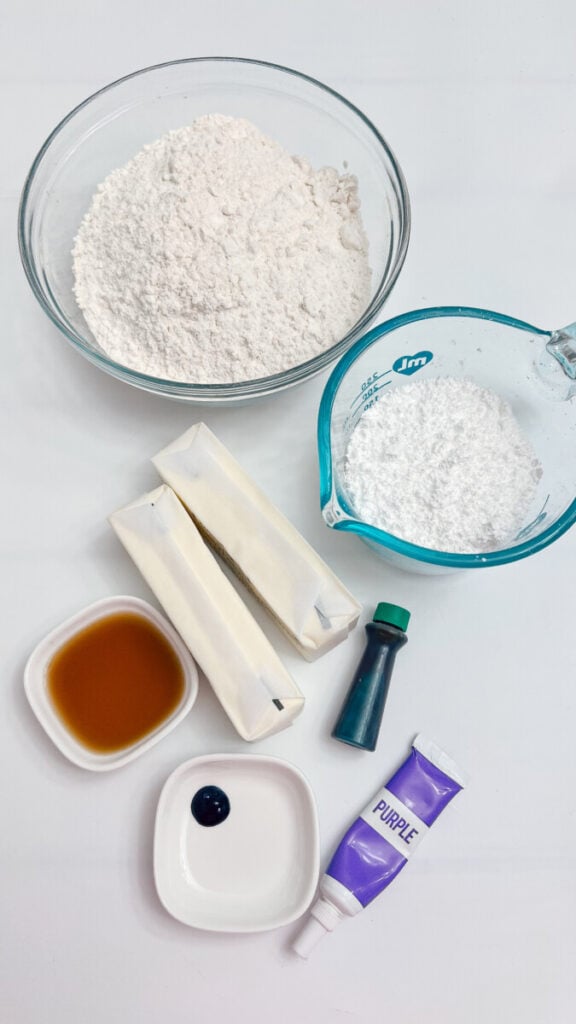
- 1 cup unsalted butter, softened
- ½ cup powdered sugar
- 1 teaspoon vanilla extract
- 2¼ cups all-purpose flour
- ¼ teaspoon salt
- 1 cup finely chopped pecans or walnuts (optional)
Coating
- 2½ cups powdered sugar
How to Make Halloween Snowball Cookies
Step 1: Preheat the Oven
Preheat your oven to 350°F. Line two baking sheets with parchment paper.
Step 2: Make the Cookie Dough
In a large mixing bowl, beat the softened butter and powdered sugar until light and fluffy, about 2–3 minutes.
Mix in the vanilla extract.
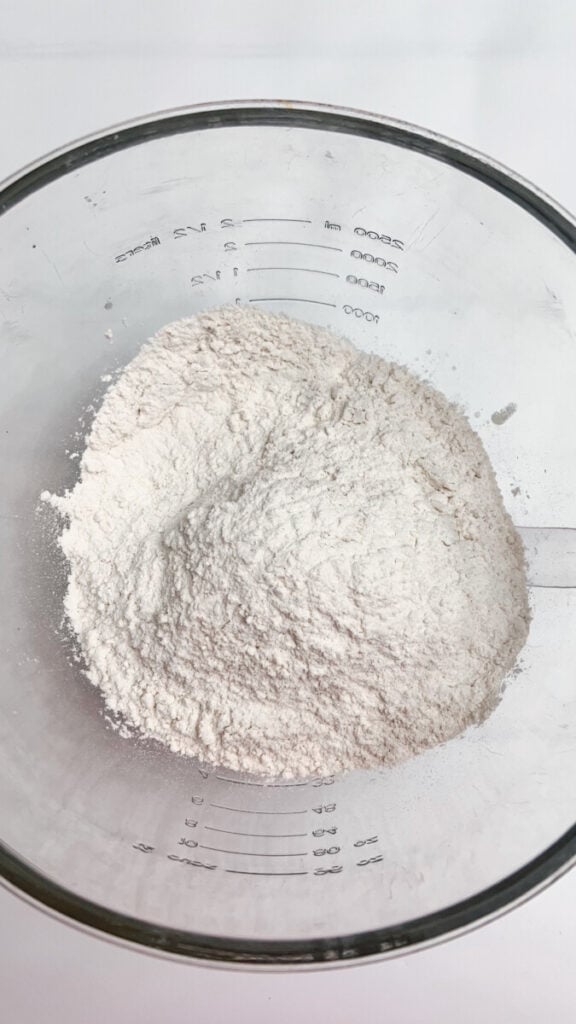
Gradually add the flour and salt, mixing just until combined. Fold in the chopped pecans or walnuts, if using.
Step 3: Color the Dough
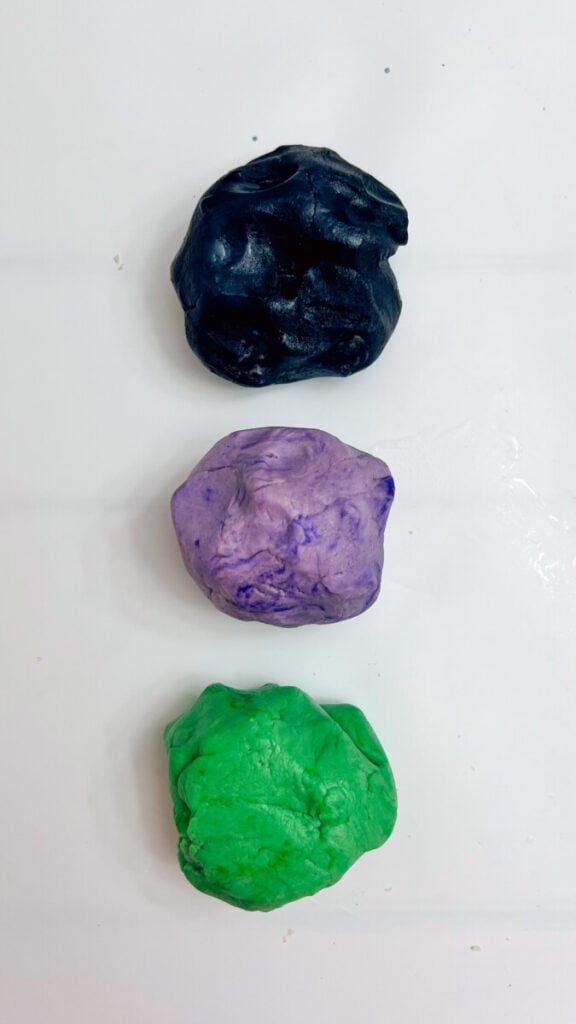
Divide the dough evenly into three bowls.
Tint one portion green, one purple, and one black using gel food coloring. Mix each portion until the color is evenly distributed. Add more gel coloring as needed to achieve vibrant Halloween shades.
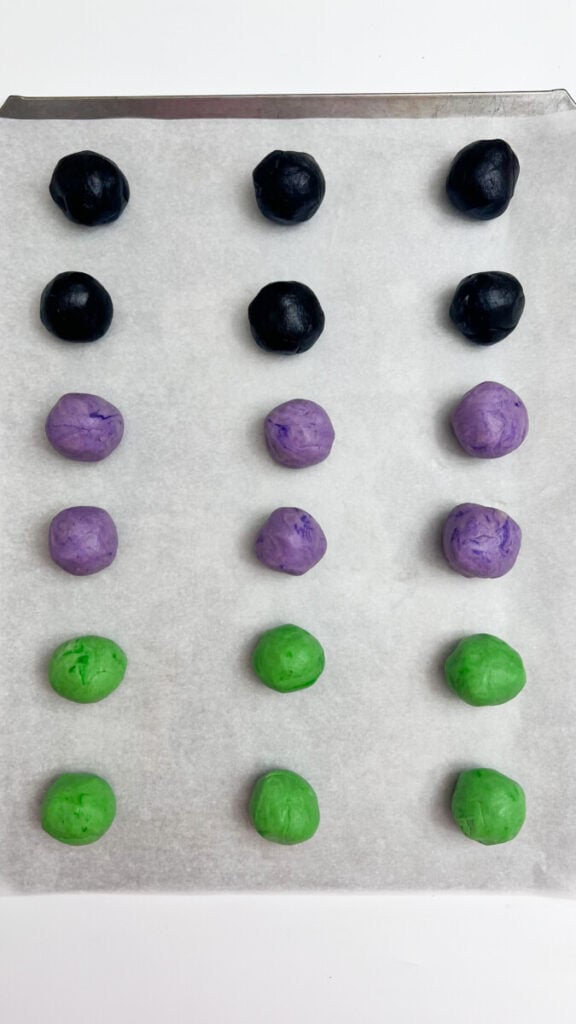
Step 4: Roll the Cookies
Roll each colored dough into 1-inch balls and place them about 2 inches apart on the prepared baking sheets.
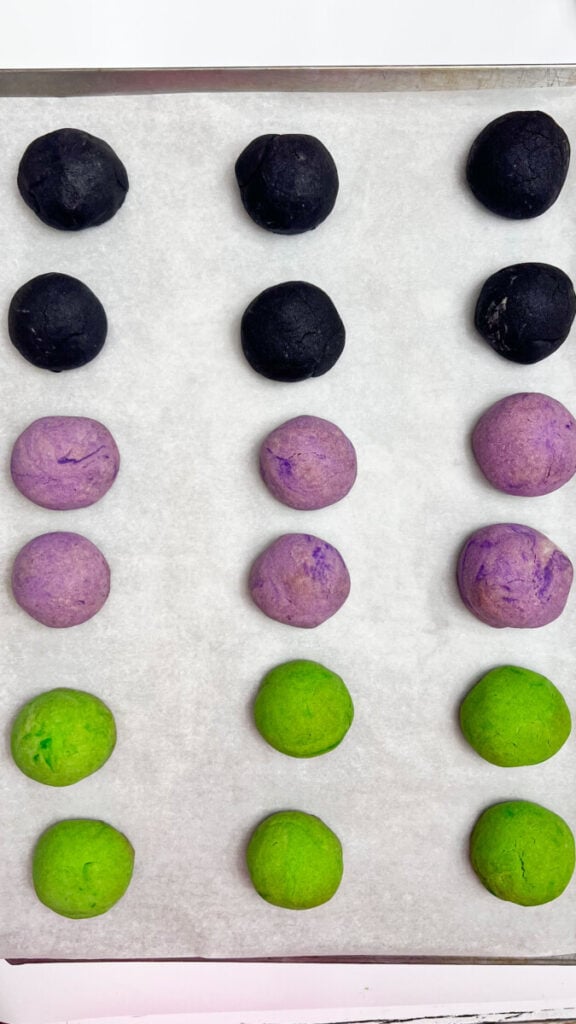
Step 5: Bake
Bake for 10–12 minutes, or until the bottoms are just lightly golden. The cookies should remain soft and not brown on top.
Allow the cookies to cool on the baking sheet for about 5 minutes.
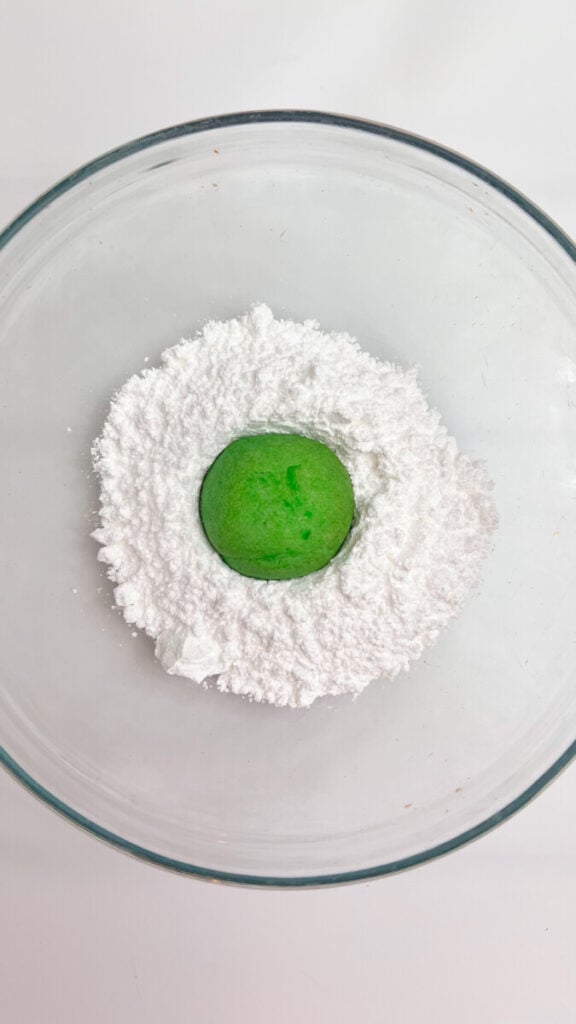
Step 6: Coat in Powdered Sugar
While the cookies are still slightly warm, gently roll each one in powdered sugar until completely coated.
Once the cookies have cooled completely, roll them in powdered sugar a second time for the classic snowball cookie finish.
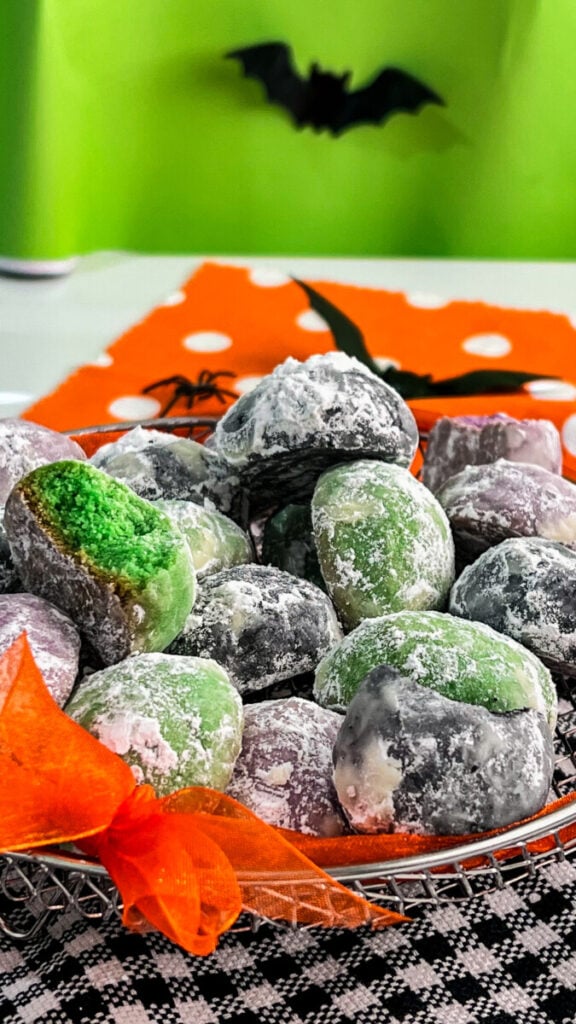
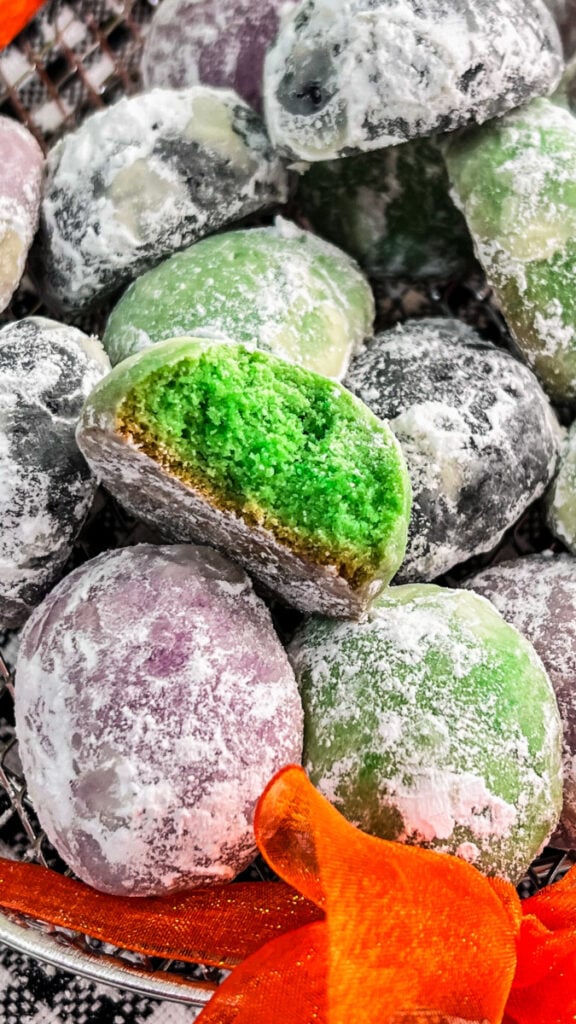
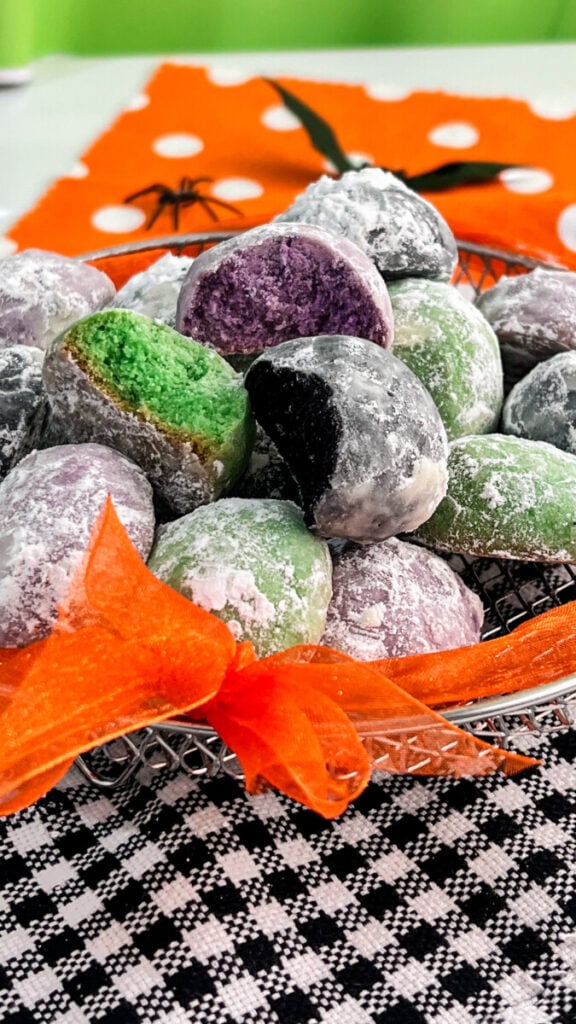
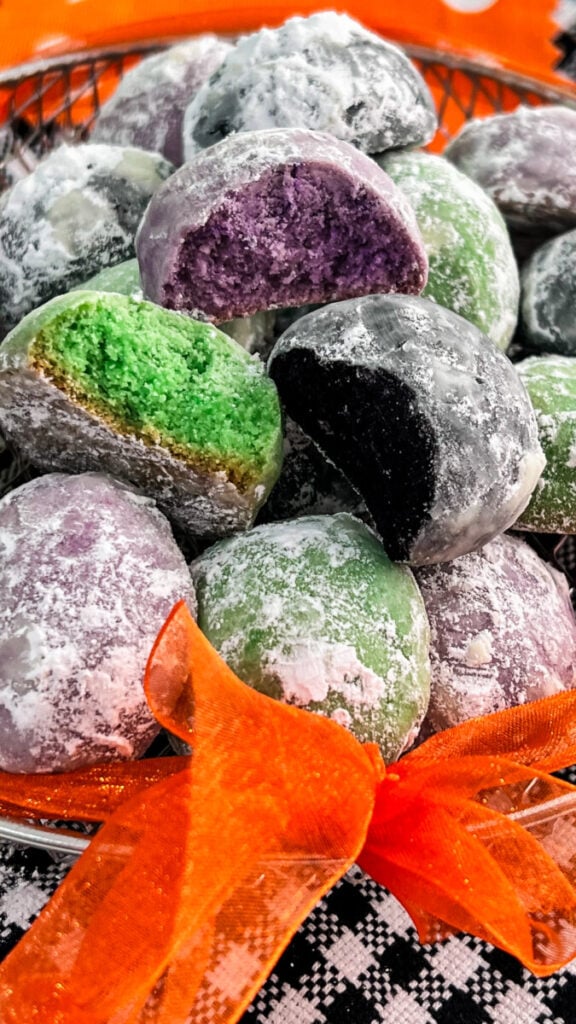
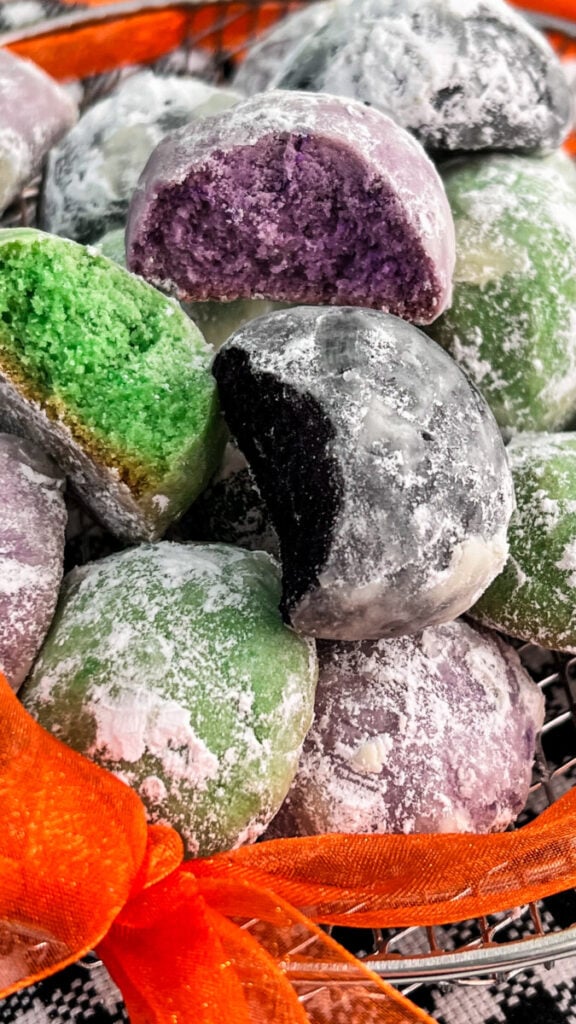
These cookies will have colorful centers with a beautiful white snowy coating that cracks slightly as you bite into them, revealing the spooky green, purple, and black dough inside—making them a fun surprise for Halloween dessert tables!
Tips
- Gel food coloring creates the brightest colors without making the sugar wet.
- Wear disposable gloves when mixing the colored sugar.
- Roll the cookies twice for a thicker coating.
- Let the cookies cool completely before storing.
Variations
Monster Mix
Decorate with candy eyeballs after rolling.
Witch’s Brew
Add a drop of peppermint extract for a cool flavor.
Chocolate Snowballs
Replace ¼ cup flour with cocoa powder.
Sprinkle Version
Finish with Halloween sprinkles while the sugar coating is fresh.
Storage
Store in an airtight container at room temperature for up to 5 days.
Freeze baked cookies for up to 2 months. Thaw and roll in fresh colored powdered sugar before serving if desired.
Frequently Asked Questions
Can I make these ahead?
Yes! These cookies stay soft for several days and freeze beautifully.
Why roll them twice?
The first coating melts slightly into the warm cookies, while the second creates that classic snowy appearance.
Can I use different colors?
Absolutely! Orange, white, and even bright pink work well for different holidays and themes.
Do I have to use nuts?
No. Simply omit them if you prefer a nut-free version.
Jennie’s Thoughts
Snowball cookies have always been one of my favorite holiday cookies, so giving them a spooky Halloween makeover was too much fun. Instead of the traditional white powdered sugar, I colored the coating green, purple, and black to create a dessert that’s festive without being complicated.
Looking for more spooky recipes? Browse my collection of Halloween recipes filled with festive desserts, appetizers, cocktails, party food, and easy treats perfect for your Halloween celebration.
Love homemade drinks? Explore my drink recipes for everything from coffee and hot chocolate to cocktails, mocktails, milkshakes, lemonades, and seasonal beverages.
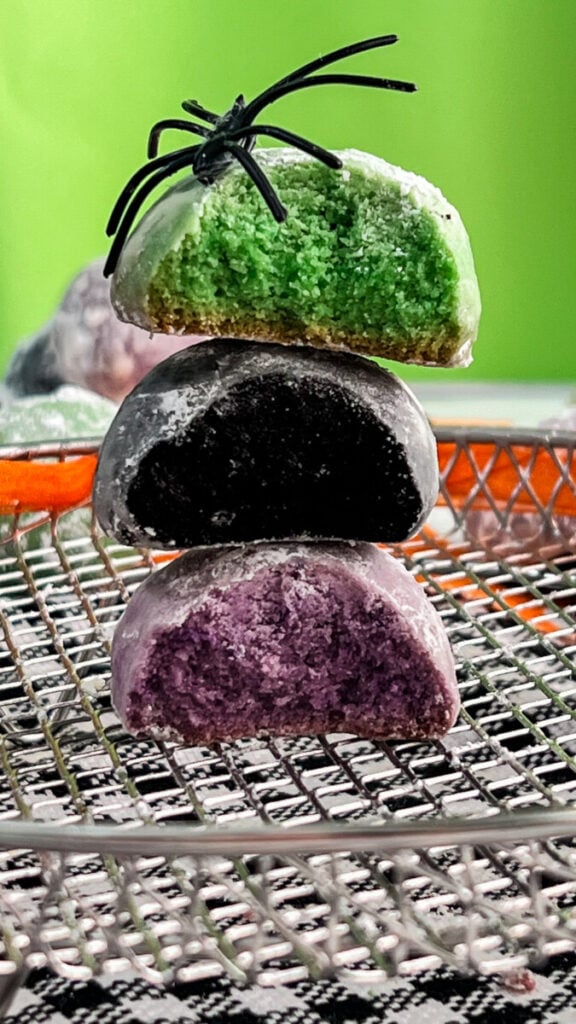
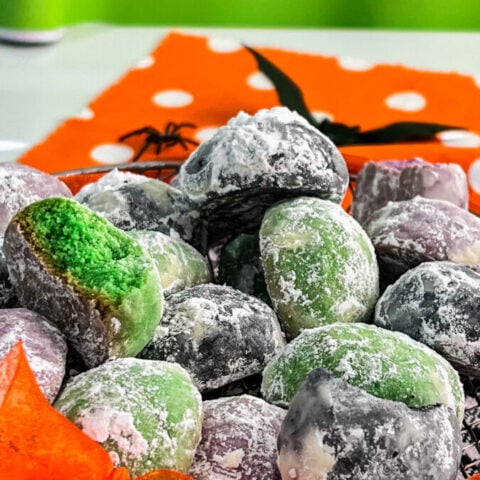
I love arranging all three colors together on a serving platter because they instantly add a pop of Halloween fun. They’re buttery, tender, and almost melt in your mouth, making them just as delicious as they are colorful. Whether you’re hosting a Halloween party or putting together a spooky cookie tray, these Halloween Snowball Cookies are sure to become a new seasonal favorite.
Prep Time: 20 minutes
Cook Time: 12 minutes
Total Time: 32 minutes
Servings: 30 cookies
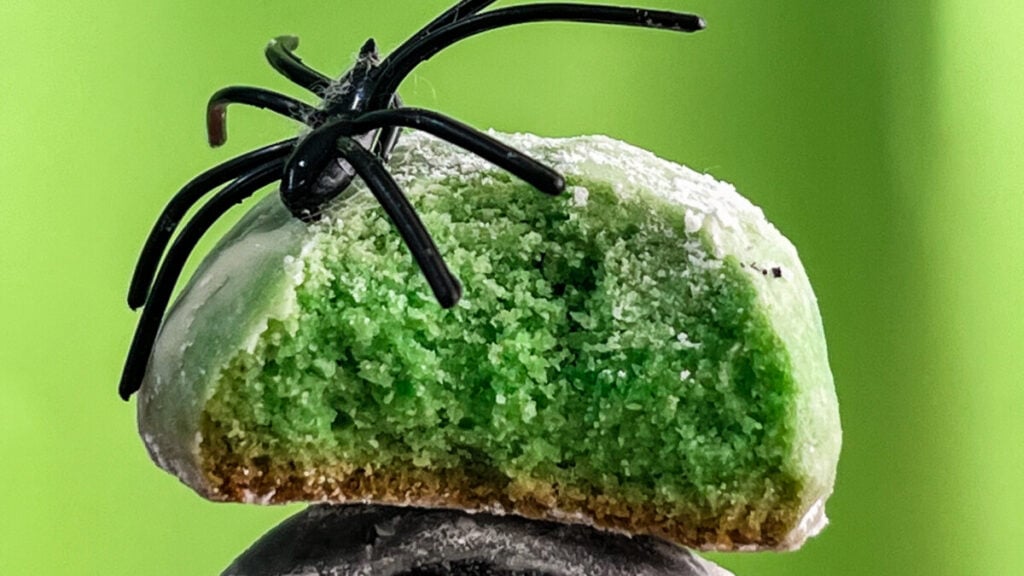
Notes
- Gel food coloring works best for vivid colors.
- Rolling the cookies twice creates the prettiest coating.
- Mix the different colored cookies together on a platter for a fun Halloween display.
Halloween Snowball Cookies
These colorful Halloween Snowball Cookies are buttery, melt-in-your-mouth treats dressed up in spooky shades of green, black, and purple! Made with a classic snowball cookie dough and rolled in brightly colored powdered sugar, they're a fun twist on a traditional holiday favorite that's perfect for Halloween parties, cookie exchanges, dessert tables, and spooky movie nights.
Ingredients
- 1 cup unsalted butter, softened
- ½ cup powdered sugar
- 1 teaspoon vanilla extract
- 2¼ cups all-purpose flour
- ¼ teaspoon salt
- 1 cup finely chopped pecans or walnuts (optional)
- 2½ cups powdered sugar
Instructions
- Preheat your oven to 350°F. Line two baking sheets with parchment paper.
- In a large mixing bowl, beat the softened butter and powdered sugar until light and fluffy, about 2–3 minutes.
- Mix in the vanilla extract.
- Gradually add the flour and salt, mixing just until combined. Fold in the chopped pecans or walnuts, if using.
- Divide the dough evenly into three bowls.
- Tint one portion green, one purple, and one black using gel food coloring. Mix each portion until the color is evenly distributed. Add more gel coloring as needed to achieve vibrant Halloween shades.
- Roll each colored dough into 1-inch balls and place them about 2 inches apart on the prepared baking sheets.
- Bake for 10–12 minutes, or until the bottoms are just lightly golden. The cookies should remain soft and not brown on top.
- Allow the cookies to cool on the baking sheet for about 5 minutes.
- Coat in Powdered Sugar
- While the cookies are still slightly warm, gently roll each one in powdered sugar until completely coated.
- Once the cookies have cooled completely, roll them in powdered sugar a second time for the classic snowball cookie finish.
- These cookies will have colorful centers with a beautiful white snowy coating that cracks slightly as you bite into them, revealing the spooky green, purple, and black dough inside—making them a fun surprise for Halloween dessert tables!