Baked BBQ Kielbasa Coins
Baked BBQ Kielbasa Coins
These Baked BBQ Kielbasa Coins are a sweet, smoky, sticky-saucy dream — and one of the easiest recipes you’ll ever make.
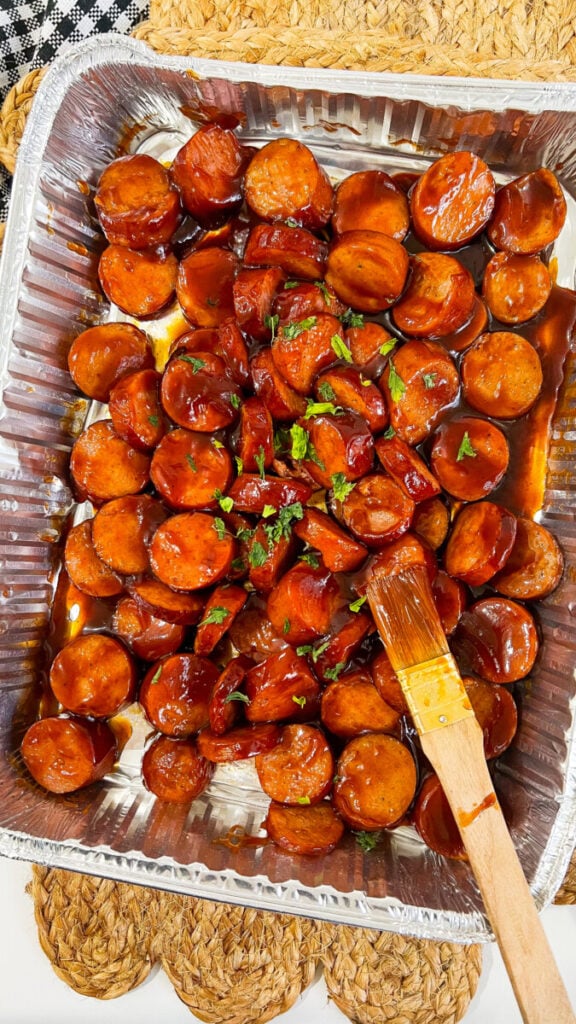
Just slice up a few links of kielbasa, toss them in your favorite barbecue sauce, and bake them in a foil pan until they’re golden, caramelized, and irresistibly crisp around the edges.

Whether you’re feeding a hungry family or bringing a dish to a party, these BBQ bites are guaranteed to disappear fast — and cleanup is practically nonexistent.

Ingredients
- 2 (14 oz) fully cooked kielbasa sausages, sliced into ½-inch coins
- ¾ to 1 cup of your favorite barbecue sauce
- 1 tbsp brown sugar (optional, for extra caramelization)
- 1 tsp garlic powder
- Olive oil spray (for foil pan)
- Optional: chopped parsley or green onions, for garnish

Instructions
1. Preheat & Prep
Preheat your oven to 400°F (200°C).
Lightly spray a disposable foil pan with olive oil for easy cleanup.
2. Slice & Sauce
Cut the kielbasa into thick coins, about ½ inch wide.
Add the sliced sausage to the foil pan.
In a small bowl, mix the barbecue sauce with brown sugar and garlic powder. Pour the sauce over the kielbasa and toss to coat every piece evenly.
3. Bake Until Sticky & Crisp
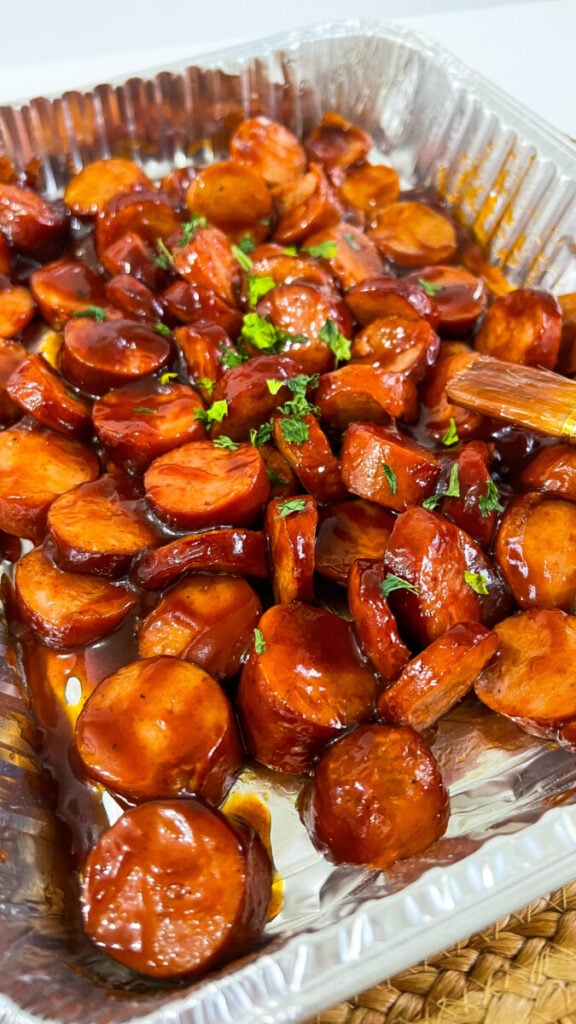
Bake uncovered for 25–30 minutes, stirring halfway through. The sauce should bubble, thicken, and start to caramelize — coating each coin in a sweet, smoky glaze.
If you want them extra crisp, broil for the last 2–3 minutes — just keep an eye on them!
4. Serve & Enjoy
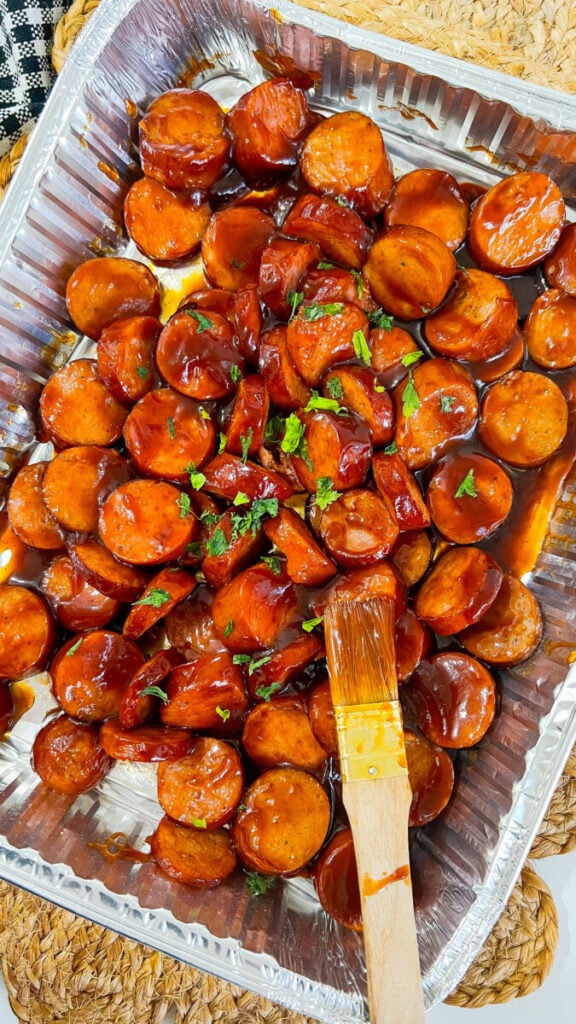
Serve hot with toothpicks for a party snack or spoon them over rice, mashed potatoes, or baked beans for a hearty dinner.
Tips & Variations
- Use honey BBQ or spicy BBQ sauce for different flavor profiles.
- Add sliced onions or bell peppers to the pan for a veggie boost.
- Double the batch in a larger foil pan for parties — these go fast!
Perfect For:
- Weeknight dinners
- Potlucks & tailgates
- Halloween or holiday parties
- Meal prep or game day snacks

Final Note
These Baked BBQ Kielbasa Coins are quick, flavorful, and just the kind of easy recipe that becomes a family favorite. That sticky-sweet glaze paired with crispy kielbasa edges? If you like this recipe you are sure to love our Kielbasa Mac & Cheese recipe.

Pure comfort food. And when it’s done in a foil pan with zero cleanup — it’s a win all around.

Baked BBQ Kielbasa Coins
These Baked BBQ Kielbasa Coins are a sweet, smoky, sticky-saucy dream — and one of the easiest recipes you’ll ever make.
Ingredients
- 2 (14 oz) fully cooked kielbasa sausages, sliced into ½-inch coins
- ¾ to 1 cup of your favorite barbecue sauce
- 1 tbsp brown sugar (optional, for extra caramelization)
- 1 tsp garlic powder
- Olive oil spray (for foil pan)
- Optional: chopped parsley or green onions, for garnish
Instructions
- Preheat your oven to 400°F (200°C).Lightly spray a disposable foil pan with olive oil for easy cleanup
- Slice & Sauce Cut the kielbasa into thick coins, about ½ inch wide. Add the sliced sausage to the foil pan.
- In a small bowl, mix the barbecue sauce with brown sugar and garlic powder. Pour the sauce over the kielbasa and toss to coat every piece evenly.
- Bake Until Sticky & Crisp Bake uncovered for 25–30 minutes, stirring halfway through. The sauce should bubble, thicken, and start to caramelize — coating each coin in a sweet, smoky glaze.
- If you want them extra crisp, broil for the last 2–3 minutes — just keep an eye on them!
- Serve & Enjoy Serve hot with toothpicks for a party snack or spoon them over rice, mashed potatoes, or baked beans for a hearty dinner.