Pumpkin Patch Chocolate Cupcakes
Pumpkin Patch Chocolate Cupcakes
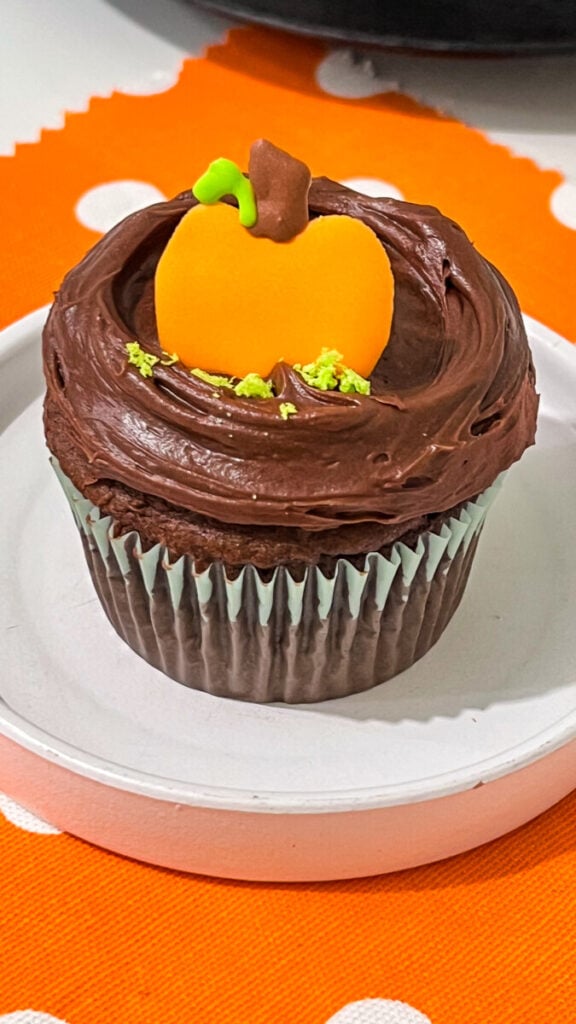
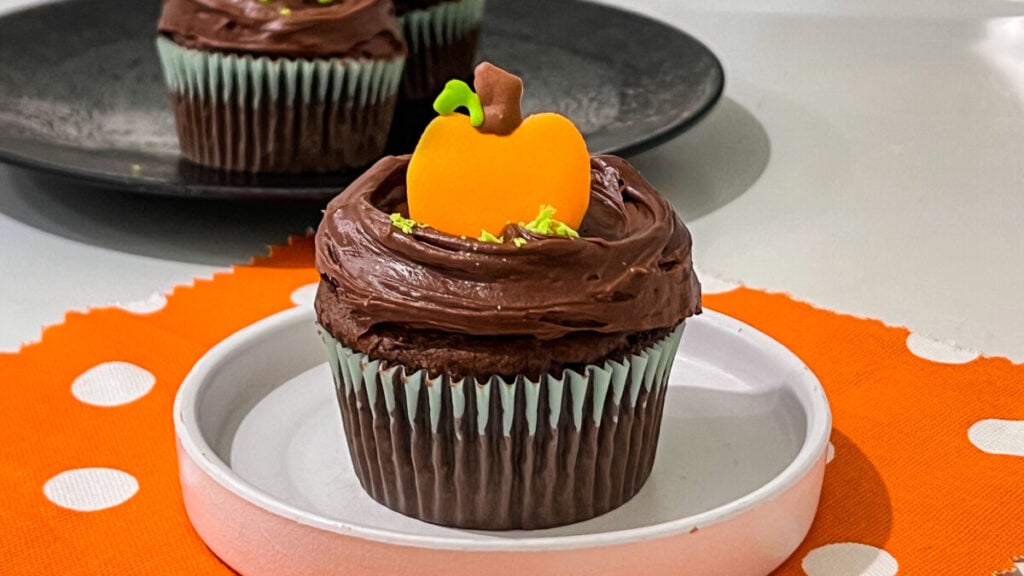
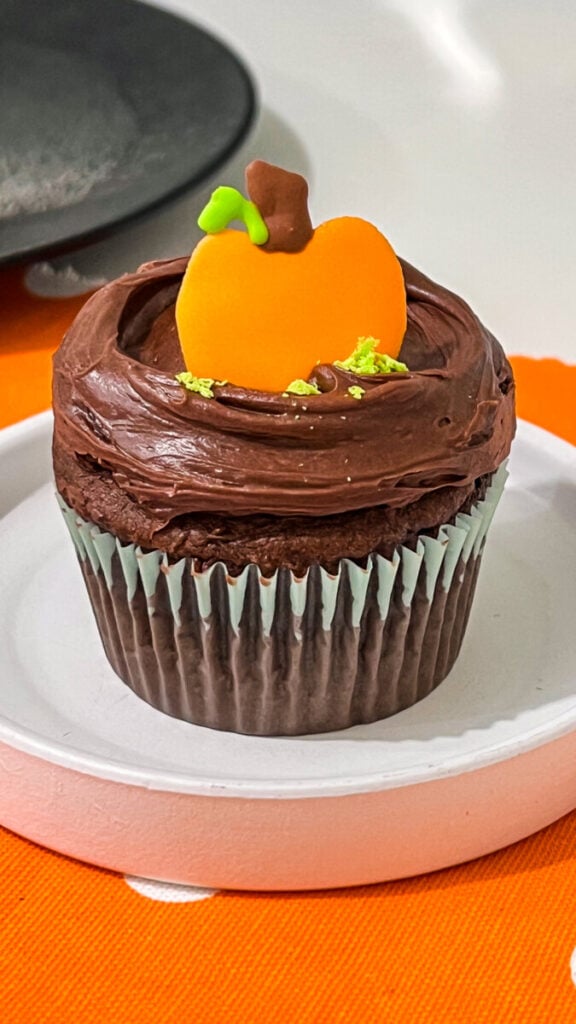
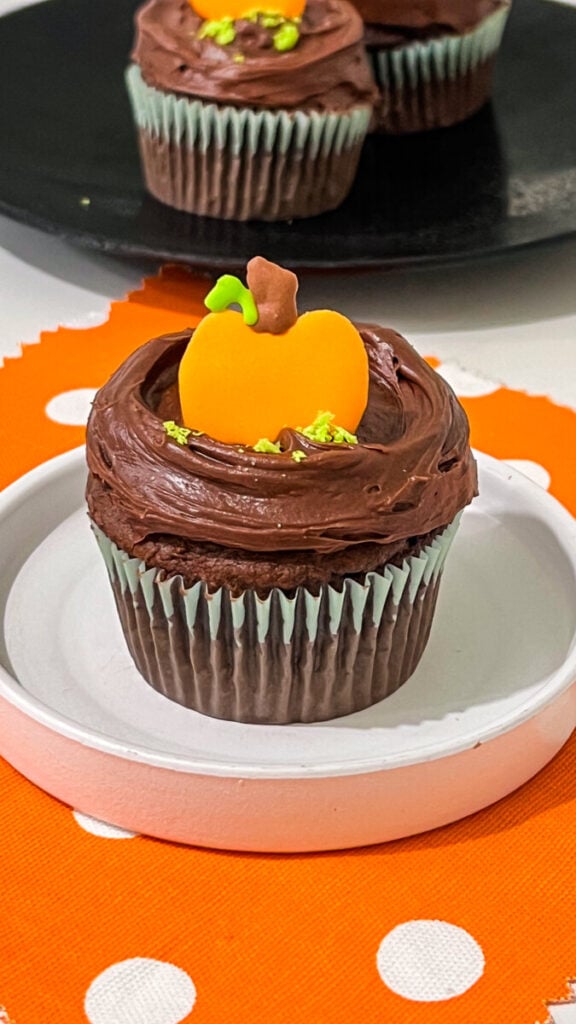
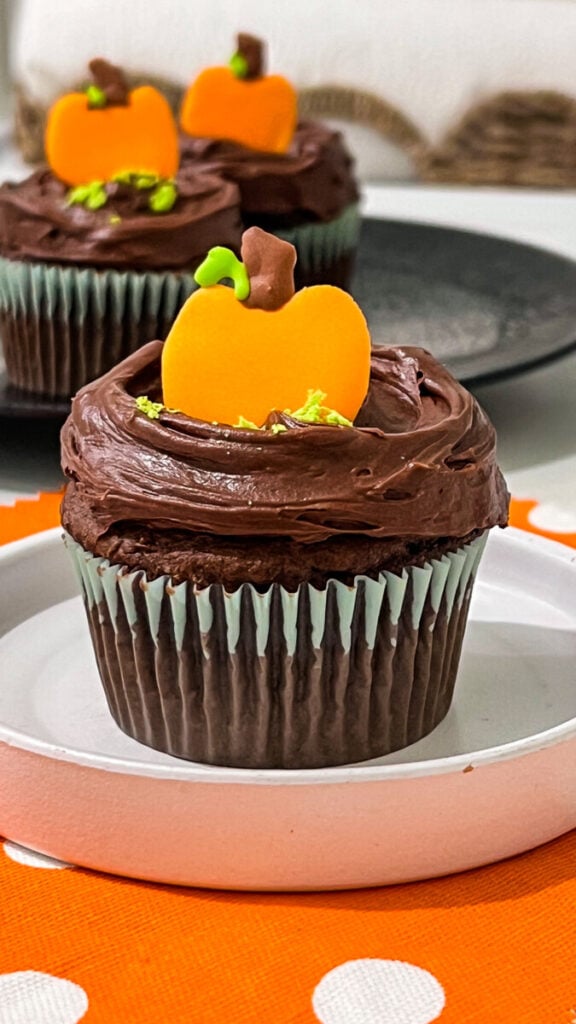
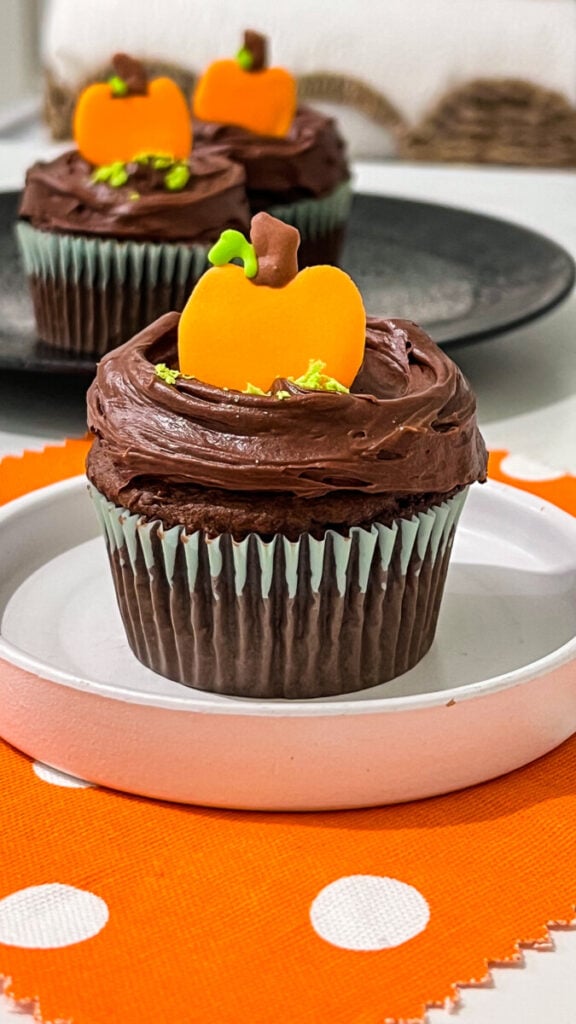
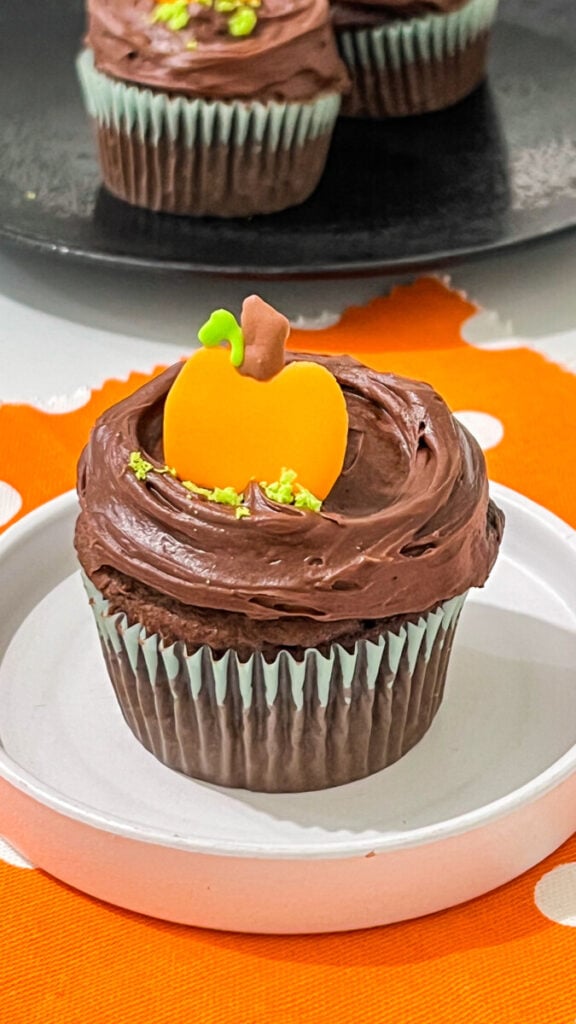
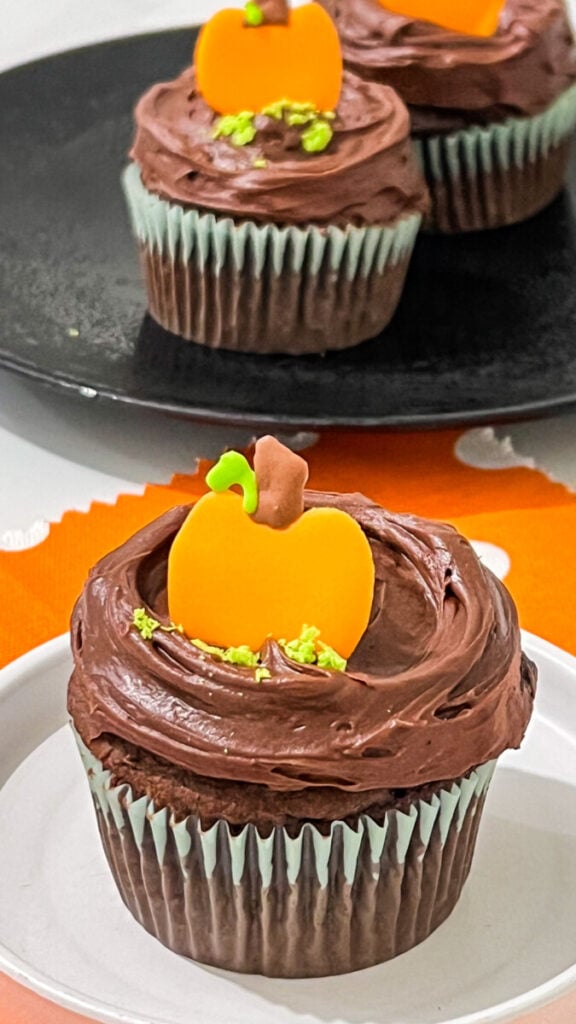
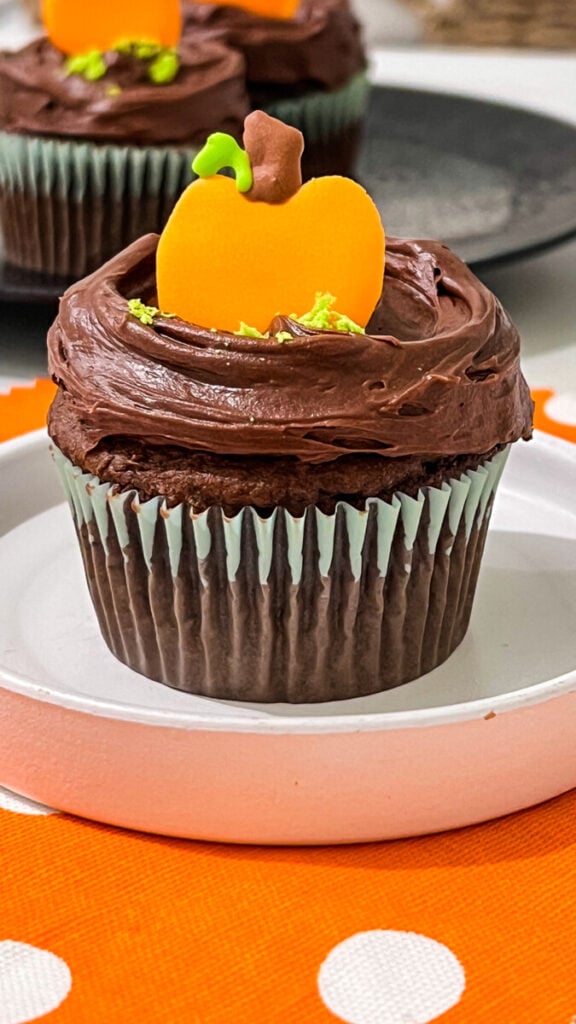
These Pumpkin Patch Chocolate Cupcakes are the perfect Halloween dessert for parties, classroom celebrations, bake sales, and spooky gatherings! Rich, moist chocolate cupcakes are topped with silky chocolate buttercream and finished with adorable handmade pumpkin icing transfers featuring bright orange pumpkins, brown stems, and green leaves. The result is an elegant Halloween cupcake that’s surprisingly easy to decorate and guaranteed to impress.
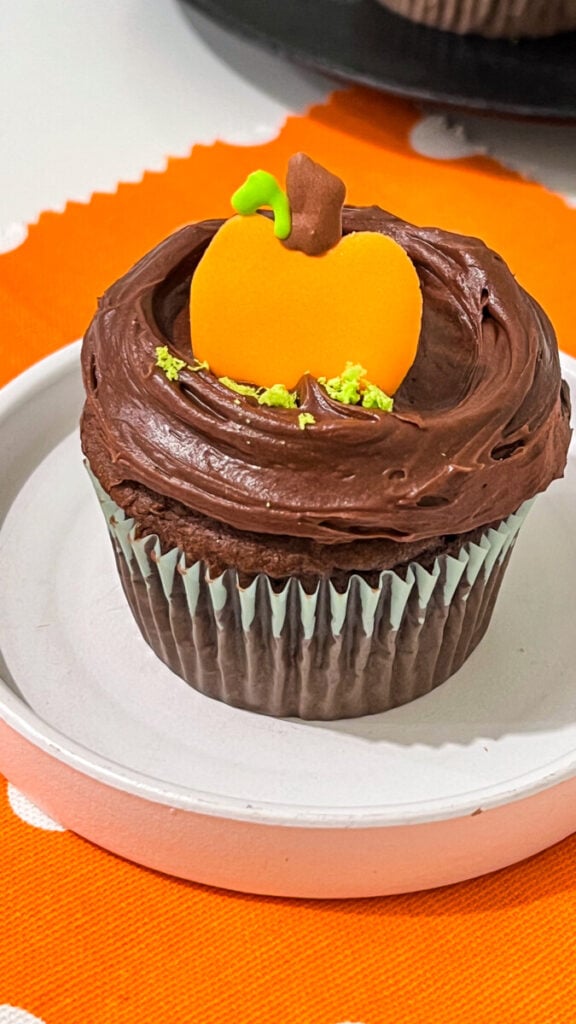
The best part? The pumpkin decorations can be made days—or even weeks—ahead of time using royal icing transfers, making decorating day quick and stress-free. If you’ve never made icing transfers before, don’t worry! I have a complete tutorial showing you exactly how to make them. Be sure to check out my What Is an Icing Transfer? guide for step-by-step instructions before getting started.
Why You’ll Love These Pumpkin Patch Chocolate Cupcakes
If you’re looking for a Halloween dessert that’s festive without being overly complicated, these cupcakes are the answer.
You’ll love this recipe because:
- Rich, moist homemade chocolate cupcakes
- Creamy chocolate buttercream frosting
- Beautiful edible pumpkin decorations
- Perfect for Halloween parties
- Great make-ahead dessert
- Kid-friendly decorating project
- Bakery-worthy presentation
- Easy to customize
What Is an Icing Transfer?
The adorable pumpkins on top of these cupcakes are made using royal icing transfers. Instead of piping directly onto the cupcakes, you’ll pipe the pumpkins onto wax paper or acetate, allow them to dry completely, and then simply place them on top of the frosting.
Royal icing transfers are one of my favorite decorating techniques because they:
- Can be made several days or weeks ahead
- Give your desserts a professional look
- Make decorating fast and easy
- Hold their shape beautifully
Be sure to read my full tutorial: What Is an Icing Transfer? where I walk you through the supplies, piping techniques, drying times, storage tips, and how to make perfect edible decorations every time.
Ingredients
Chocolate Cupcakes
- 1¾ cups all-purpose flour
- ¾ cup unsweetened cocoa powder
- 2 cups granulated sugar
- 2 teaspoons baking soda
- 1 teaspoon baking powder
- 1 teaspoon salt
- 2 large eggs
- 1 cup buttermilk
- ½ cup vegetable oil
- 2 teaspoons vanilla extract
- 1 cup hot coffee (or hot water)
Chocolate Buttercream
- 1 cup unsalted butter, softened
- 3½ cups powdered sugar
- ½ cup unsweetened cocoa powder
- 2 teaspoons vanilla extract
- 3–4 tablespoons heavy cream
- Pinch of salt
Pumpkin Icing Transfers
- Orange royal icing
- Brown royal icing
- Green royal icing
- Pumpkin template
- Wax paper or acetate sheets
- Piping bags fitted with small round tips
Supplies
- Cupcake pan
- Cupcake liners
- Piping bags
- Large star piping tip (1M or similar)
- Offset spatula (optional)
How to Make Pumpkin Icing Transfers
The pumpkin decorations can be made well in advance.
Step 1
Place a printed pumpkin template underneath a sheet of wax paper or acetate.
Step 2
Pipe the pumpkin outline using orange royal icing.
Fill in the pumpkin completely.
Step 3
Add a small brown stem.
Pipe a green leaf beside the stem.
Step 4
Allow the icing transfers to dry overnight until completely hard.
Carefully peel each pumpkin away from the wax paper.
Store in an airtight container until ready to decorate.
For complete step-by-step instructions with photos, visit my What Is an Icing Transfer? tutorial.
How to Make Chocolate Cupcakes
Step 1
Preheat your oven to 350°F.
Line a muffin pan with cupcake liners.
Step 2
In a large bowl whisk together:
- Flour
- Cocoa powder
- Sugar
- Baking soda
- Baking powder
- Salt
Step 3
Add:
- Eggs
- Buttermilk
- Vegetable oil
- Vanilla
Mix until smooth.
Step 4
Slowly stir in the hot coffee.
The batter will be thin.
Step 5
Fill cupcake liners about ⅔ full.
Bake for 18–22 minutes, or until a toothpick inserted into the center comes out clean.
Allow cupcakes to cool completely.
Chocolate Buttercream
Beat the butter until smooth and fluffy.
Gradually add:
- Powdered sugar
- Cocoa powder
Mix in:
- Vanilla
- Heavy cream
- Pinch of salt
Beat for about 3–5 minutes until light and fluffy.
Decorating the Cupcakes
Pipe generous swirls of chocolate buttercream onto each cooled cupcake using a large star tip.
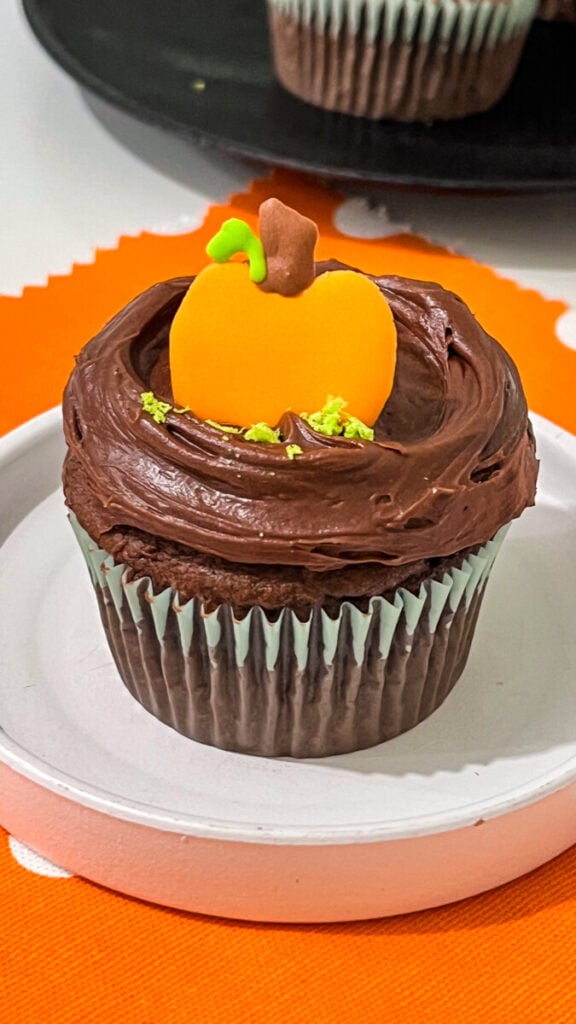
Carefully place one pumpkin icing transfer on top of each frosting swirl.
Serve immediately or refrigerate until ready to enjoy.
Tips for the Best Halloween Cupcakes
Make the icing transfers first. They need time to dry completely.
Use coffee in the batter. It deepens the chocolate flavor without tasting like coffee.
Cool the cupcakes completely. Warm cupcakes will melt the buttercream.
Use gel food coloring. It creates vibrant pumpkins without thinning the royal icing.
Pipe the frosting generously. The pumpkin decoration looks best sitting on a tall swirl of frosting.
Fun Variations
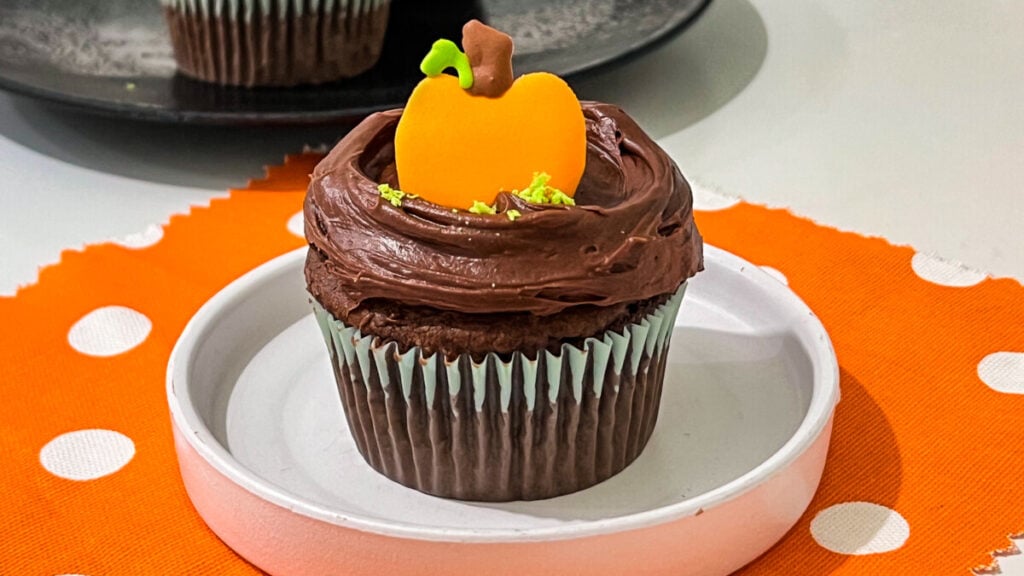
Pumpkin Patch Cupcakes
Scatter chocolate cookie crumbs around the base of the frosting to resemble soil before adding the pumpkin topper.
Fall Leaves
Add royal icing leaves in shades of red, orange, and yellow around the pumpkin.
Jack-o’-Lantern Version
Pipe smiling jack-o’-lantern faces onto the icing transfers using black royal icing or an edible food marker.
Chocolate Orange Cupcakes
Add a teaspoon of orange zest to the cupcake batter for a delicious chocolate-orange flavor combination.
Make Ahead Instructions
These cupcakes are perfect for planning ahead.
- Pumpkin icing transfers: Up to 2 weeks ahead
- Cupcakes: Bake 2 days ahead
- Buttercream: Make 3 days ahead and refrigerate
- Decorate the day of serving for the freshest presentation
Storage
Store frosted cupcakes in an airtight container for up to 3 days.
If your kitchen is warm, refrigerate them and let them come to room temperature before serving.
Frequently Asked Questions
Can I use a boxed cake mix?
Absolutely! Homemade cupcakes have the best flavor, but your favorite chocolate cake mix works as a convenient shortcut.
Can I freeze these cupcakes?
Yes. Freeze the unfrosted cupcakes for up to 3 months. Thaw, frost, and decorate before serving.
Can I use vanilla frosting instead?
Definitely! Cream cheese frosting or vanilla buttercream are also delicious with chocolate cupcakes.
How long do icing transfers last?
Royal icing transfers can last for several weeks when stored in an airtight container in a cool, dry place.
More Halloween Desserts You’ll Love
If you love festive Halloween treats, be sure to try these recipes:
- Ghost Jello Shots
- Spooky Eyes Halloween Jello Shots
- Monster Mash Jello Shots
- Ghost Strawberries
- Mummy Oreos
- Black Cat Oreos
- Halloween Chocolate Chip Cookies
- Trick-or-Treat Cookies
- Candy Corn Mug Sitter Cookies
- Pumpkin Bread Cookies
Jennie’s Thoughts
These Pumpkin Patch Chocolate Cupcakes are the perfect combination of rich chocolate flavor and festive Halloween charm. The moist chocolate cupcakes, creamy chocolate buttercream, and handcrafted pumpkin icing transfers create a bakery-quality dessert that’s almost too cute to eat. Whether you’re making them for a Halloween party, school celebration, or cozy fall gathering, they’re sure to be the centerpiece of your dessert table.
Recipe Information
- Prep Time: 40 minutes (plus time for icing transfers to dry)
- Cook Time: 20 minutes
- Cooling Time: 1 hour
- Total Time: 2 hours (plus overnight drying for icing transfers)
- Servings: 24 cupcakes