Homemade Cherry Pie Filling
Homemade Cherry Pie Filling
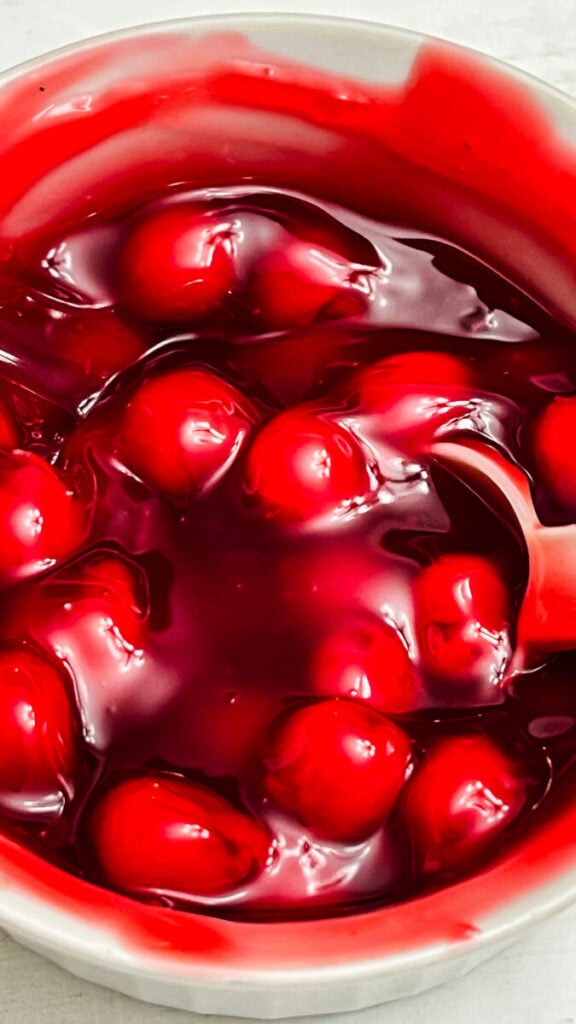
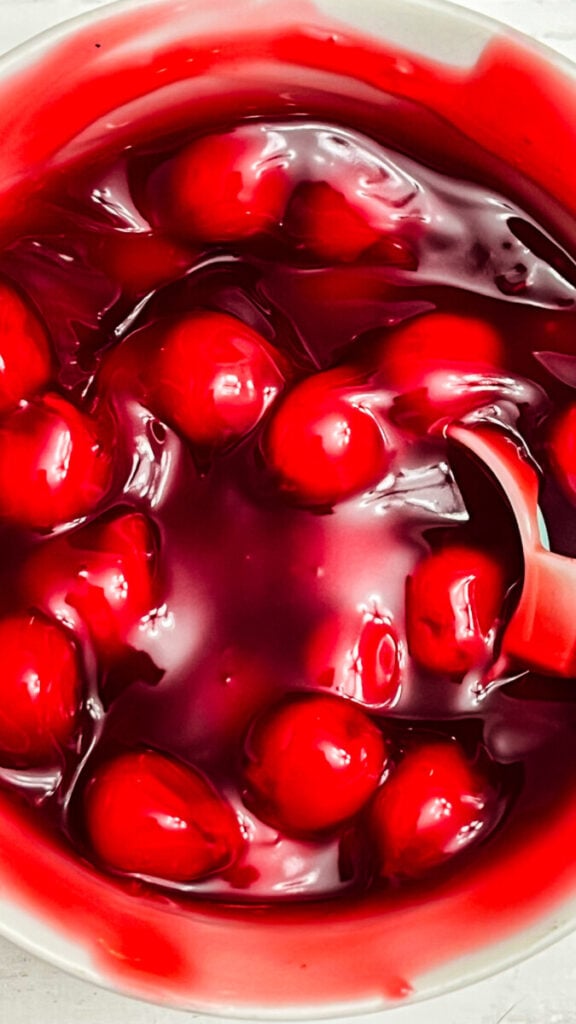
Sweet, glossy, and bursting with juicy cherries, this homemade cherry pie filling is one of those recipes every home baker should have. Whether you’re making a classic cherry pie, spooning it over cheesecake, or layering it into a trifle, this easy filling comes together in about 20 minutes using simple pantry ingredients.
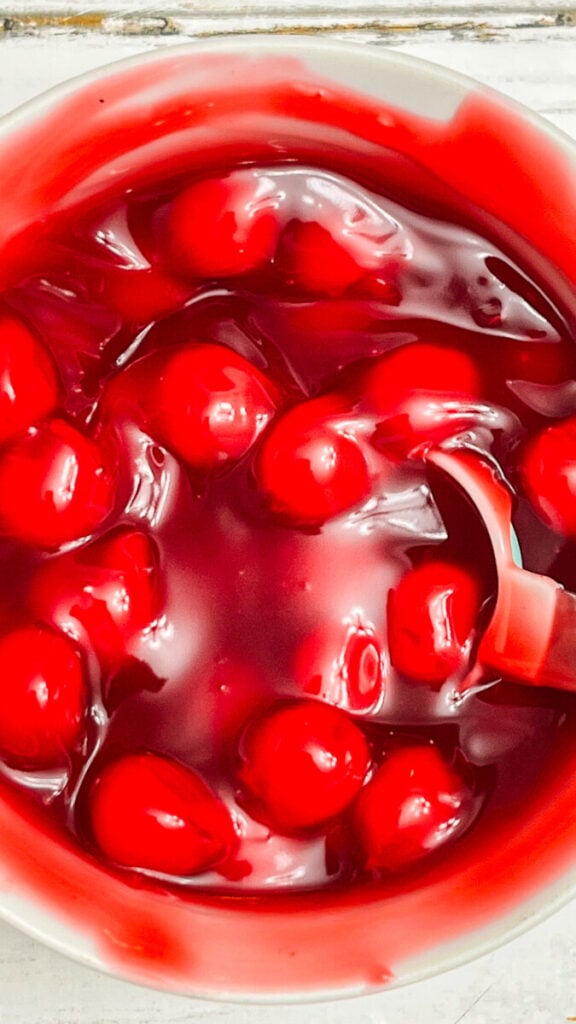
Unlike canned pie filling, this homemade version lets the natural flavor of the cherries shine. It’s perfectly sweet with just the right amount of tartness, and the thick, silky sauce holds together beautifully when baked into pies or used as a dessert topping.
If you have fresh cherries during the summer, this recipe is a wonderful way to enjoy them. Frozen cherries work just as well, making it easy to prepare homemade cherry pie filling any time of the year.
Why You’ll Love This Recipe
- Ready in just 20 minutes
- Better than canned pie filling
- Made with simple pantry ingredients
- Perfect for pies, cheesecakes, ice cream, and more
- Works with fresh or frozen cherries
- Freezes beautifully
Ingredients
- 5 cups pitted sweet cherries (fresh or frozen)
- ¾ cup granulated sugar
- ¼ cup cornstarch
- ¼ teaspoon salt
- 1 tablespoon fresh lemon juice
- 1 teaspoon vanilla extract
- ¼ teaspoon almond extract (optional, but highly recommended)
- ½ cup water
Instructions
- Wash and pit the cherries if using fresh cherries. If using frozen cherries, there’s no need to thaw them first.
- In a medium saucepan, whisk together the sugar, cornstarch, salt, and water until smooth.
- Stir in the cherries and place the saucepan over medium heat.
- Cook, stirring frequently, for 8 to 12 minutes. As the cherries soften, they’ll release their juices and the mixture will begin to thicken.
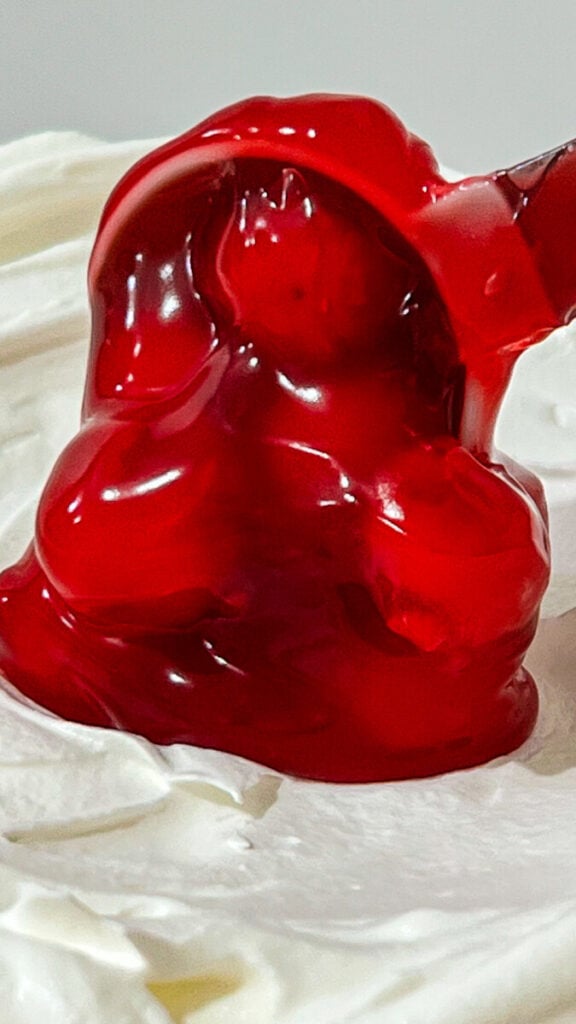
- Once the filling reaches a glossy, pie filling consistency, remove it from the heat.
- Stir in the lemon juice, vanilla extract, and almond extract.
- Allow the filling to cool for 20 to 30 minutes before using. It will continue to thicken as it cools.
Serving Ideas
This homemade cherry pie filling is delicious served:
- Inside a homemade cherry pie
- Over cheesecake
- On vanilla ice cream
- With pancakes or waffles
- Layered into parfaits
- Over pound cake
- Swirled into yogurt
- As a filling for turnovers
- On biscuits or scones
- Between cake layers
Tips for the Best Cherry Pie Filling
- Sweet cherries produce a sweeter filling, while tart cherries create a more traditional bakery-style flavor.
- Almond extract adds incredible flavor, but a little goes a long way.
- Stir frequently while cooking to prevent the filling from sticking to the bottom of the pan.
- If the filling becomes too thick, stir in a tablespoon or two of water until it reaches your desired consistency.
- Let the filling cool completely before adding it to a pie crust.
Storage
Store cooled cherry pie filling in an airtight container in the refrigerator for up to 5 days.
To freeze, transfer the cooled filling to a freezer-safe container or freezer bag. Freeze for up to 3 months and thaw overnight in the refrigerator before using.
Frequently Asked Questions
Can I use frozen cherries?
Yes! Frozen cherries work wonderfully in this recipe and don’t need to be thawed before cooking.
Can I use tart cherries?
Absolutely. Tart cherries create a more classic cherry pie flavor. You may want to add an extra tablespoon or two of sugar depending on your taste.
How do I make the filling thicker?
Continue simmering the mixture for a few extra minutes. If needed, whisk together 1 teaspoon cornstarch with 1 tablespoon cold water and stir it into the filling.
Can I can this recipe?
This recipe is designed for immediate use or refrigeration and freezing. If you’d like to preserve it through canning, follow a tested canning recipe specifically developed for safe water-bath canning.
Recipe Details
Prep Time: 10 minutes
Cook Time: 12 minutes
Total Time: 22 minutes
Servings: 8
Yield: About 4 cups
Jennie’s Thoughts
Once you make homemade cherry pie filling from scratch, you’ll never want to go back to the canned version. It’s rich, flavorful, and incredibly versatile, making it the perfect addition to everything from homemade pies to cheesecakes and breakfast treats. Keep a batch in the refrigerator or freezer so you’re always just minutes away from creating an unforgettable dessert.