How to Airbrush Sugar Cookies Like a Pro
How to Airbrush Sugar Cookies Like a Pro (Beginner’s Guide)
If you’ve ever admired beautifully decorated sugar cookies with soft gradients, glowing pumpkins, vintage ghosts, or realistic shading, chances are they were finished with an airbrush. While airbrushing may look intimidating, it’s actually one of the easiest ways to take your decorated cookies from pretty to professional.
Whether you’re decorating cookies for Halloween, Christmas, birthdays, baby showers, or weddings, learning to use an airbrush opens up endless creative possibilities. Instead of spending hours trying to blend royal icing by hand, you can create smooth color transitions, realistic shadows, glowing highlights, and beautiful backgrounds in just a few seconds.
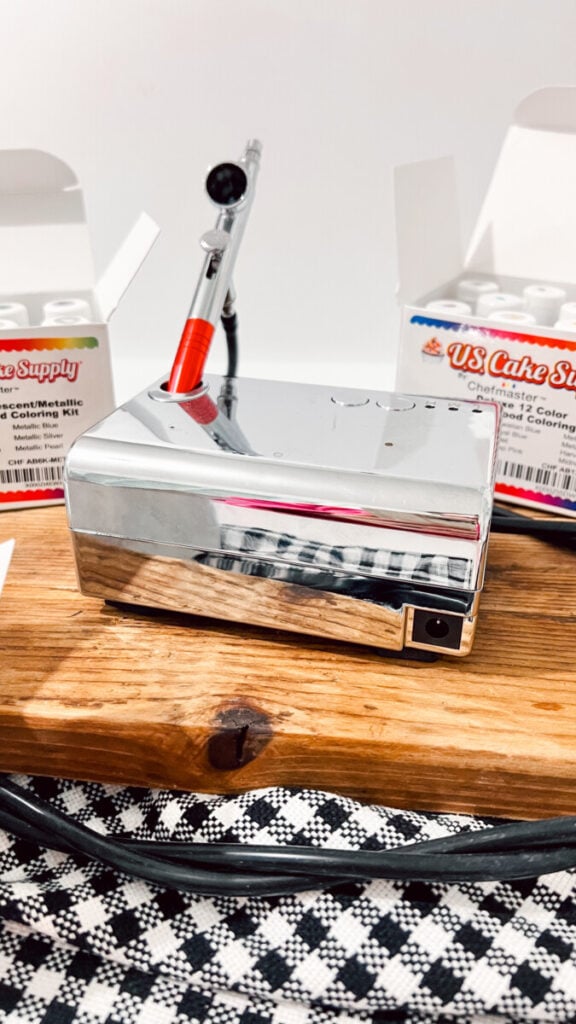
The Airbrush Machine I Use
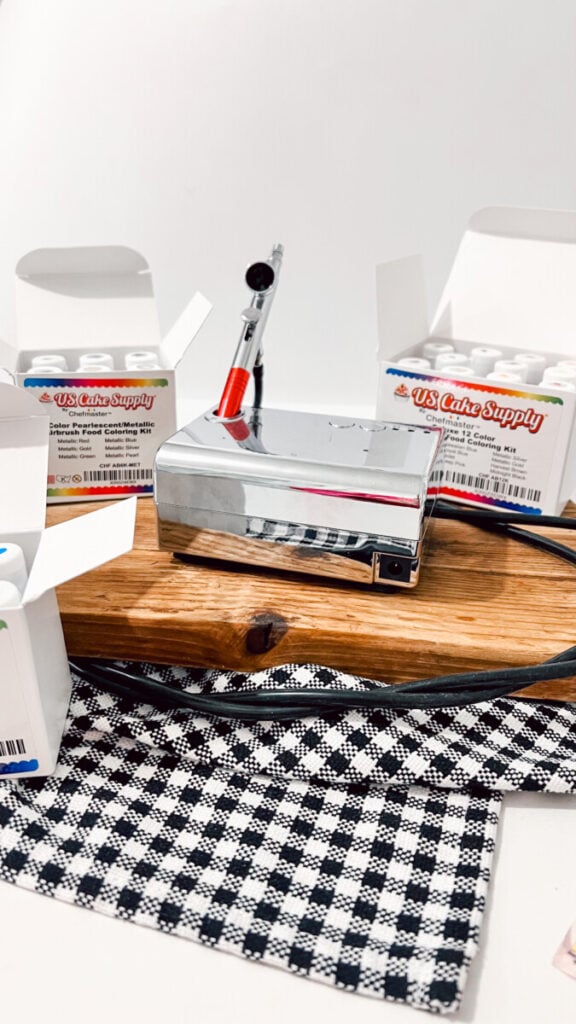
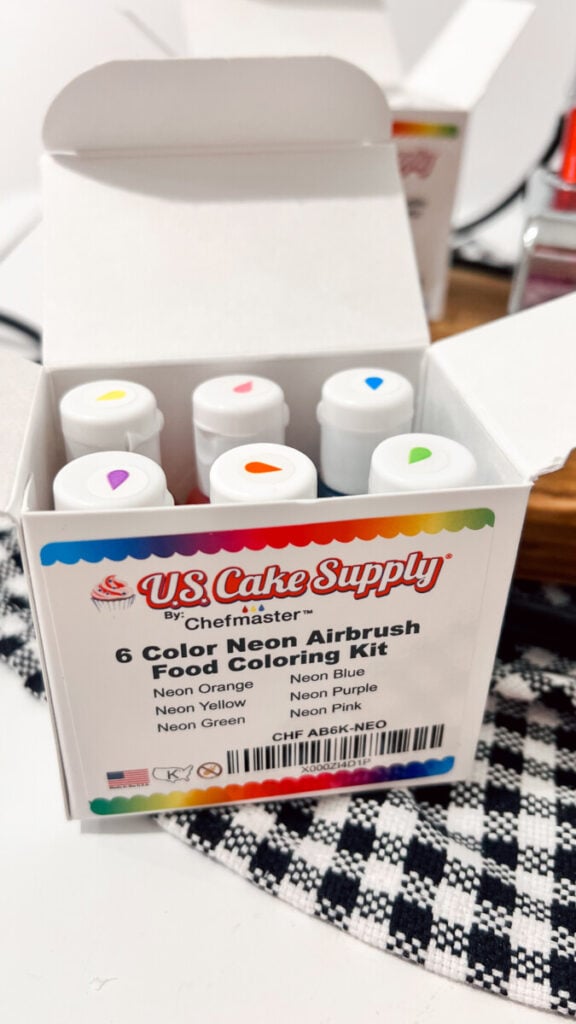
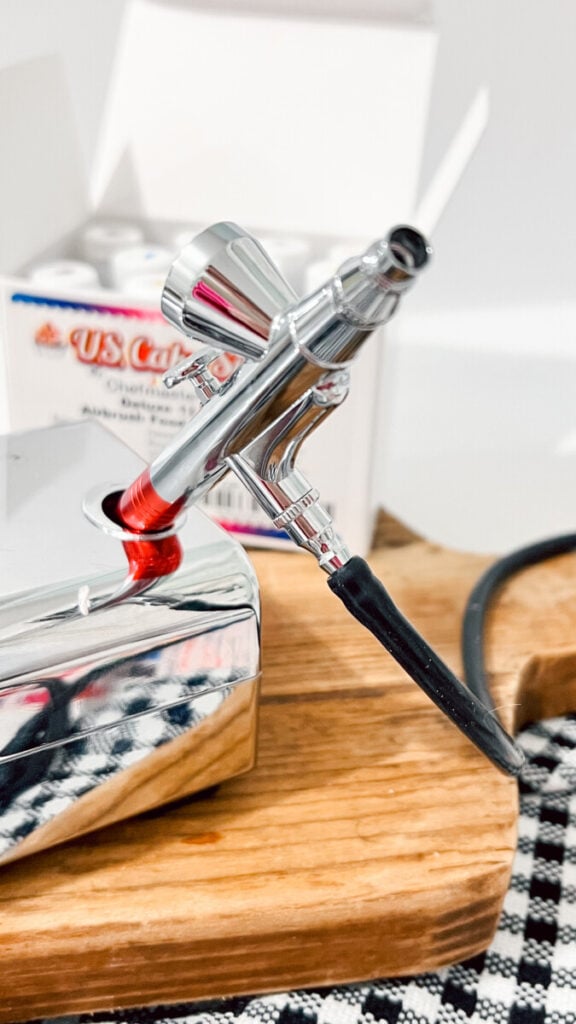
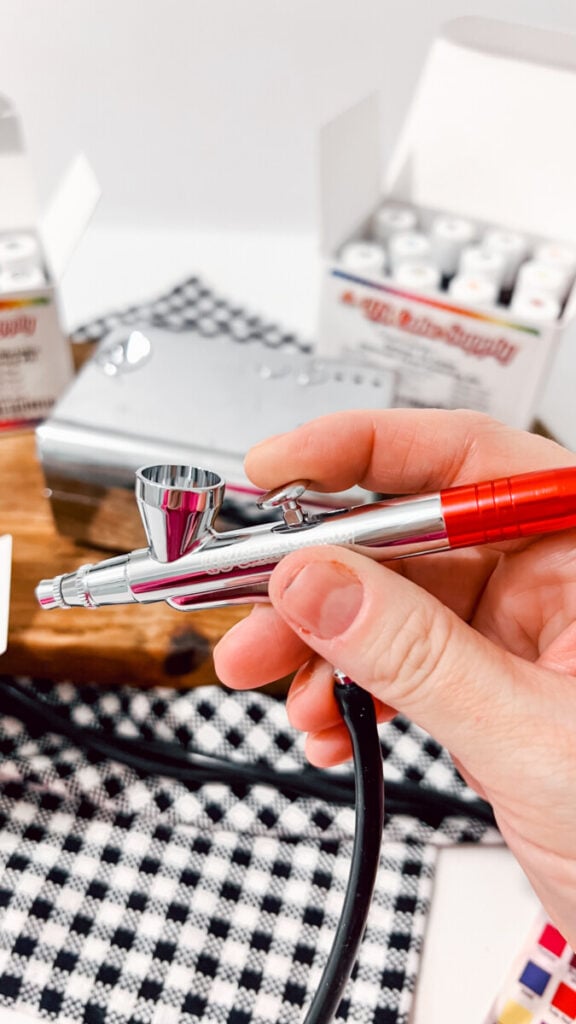
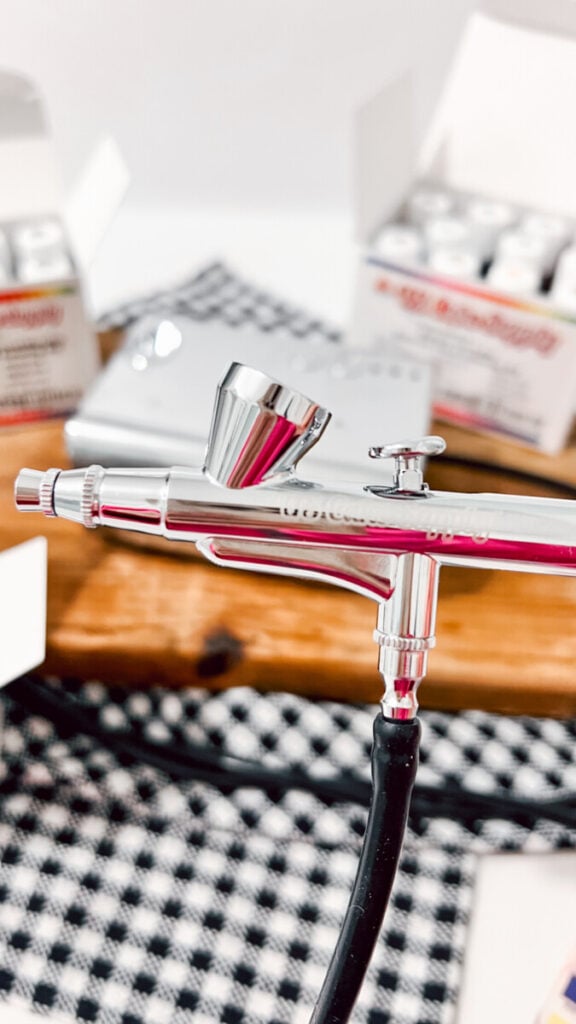
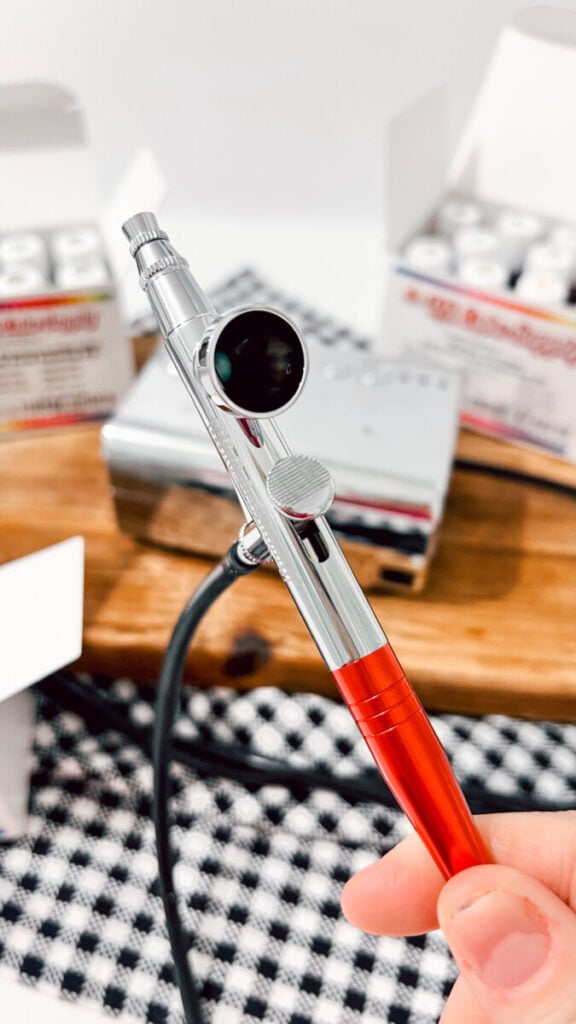
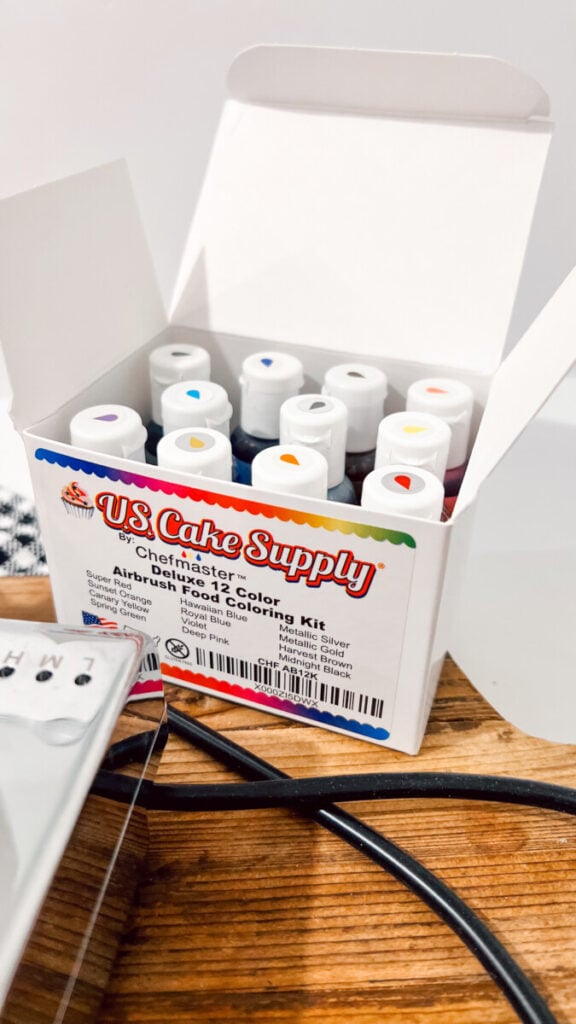
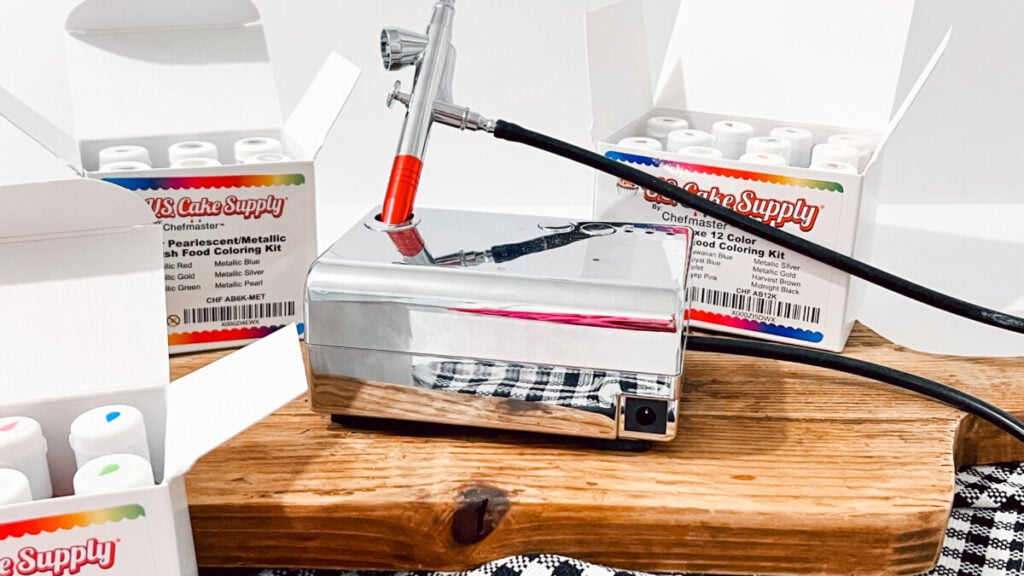
One of the questions I get asked most often is which airbrush machine I use for decorating cookies. After trying different decorating tools over the years, I’ve had great success with the US Cake Supply Airbrush Cake Decorating Kit. I originally purchased it on Amazon, and it’s been a wonderful beginner-friendly airbrush for decorating sugar cookies.
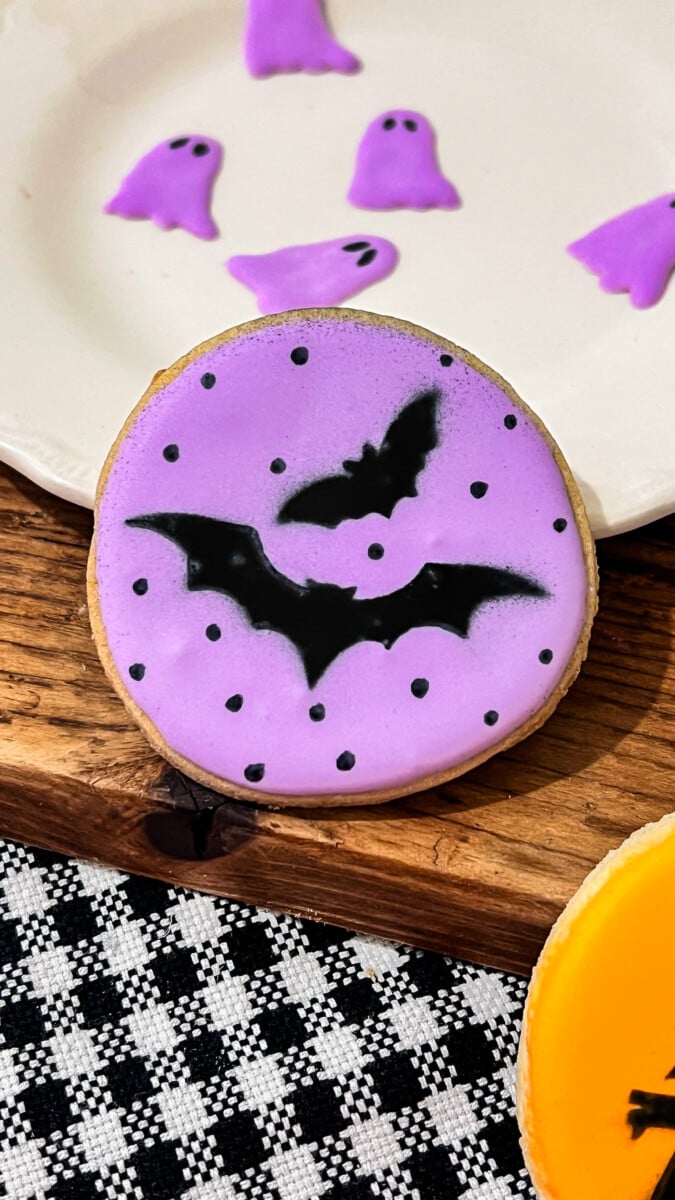
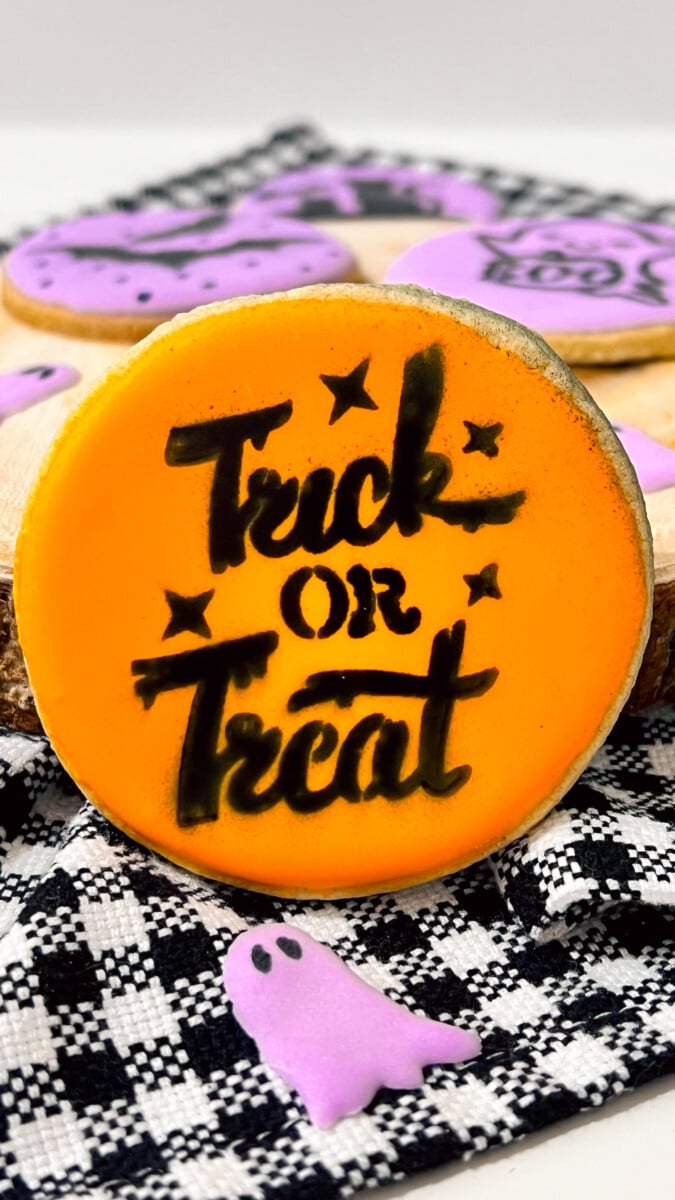
I love that it’s easy to set up, comfortable to hold, and creates a smooth, even spray that’s perfect for cookie stencils, soft shading, and vintage-inspired Halloween designs. Whether I’m airbrushing black cats, flying bats, ghosts, pumpkins, or lettering, it consistently gives me crisp, clean results.
In this guide, I’ll walk you through everything you need to know about airbrushing sugar cookies, from choosing the right equipment to creating beautiful finishes that will make your cookies stand out.
What Is Cookie Airbrushing?
Airbrushing is the process of spraying a fine mist of edible food coloring onto decorated cookies using a small airbrush machine. Because the color is applied in thin layers, it creates soft shading and gradients that simply aren’t possible with royal icing alone.
Professional cookie decorators often use an airbrush to add depth, dimension, highlights, shadows, vintage effects, and background colors to their cookies.
Why I Love Airbrushing Cookies
After decorating cookies by hand for years, I finally decided to add an airbrush to my decorating toolbox—and I honestly wish I had started sooner.
The difference is incredible.
Instead of spending extra time piping tiny details, I can create beautiful backgrounds, softly shaded pumpkins, glowing ghosts, spooky skies, and realistic vintage effects in just a few minutes. It instantly gives decorated cookies a polished, professional appearance while still allowing my hand-painted details and royal icing work to shine.
For seasonal cookie decorating, especially Halloween and Christmas, an airbrush has become one of my favorite tools.
Supplies You’ll Need
Before you begin, gather a few basic supplies:
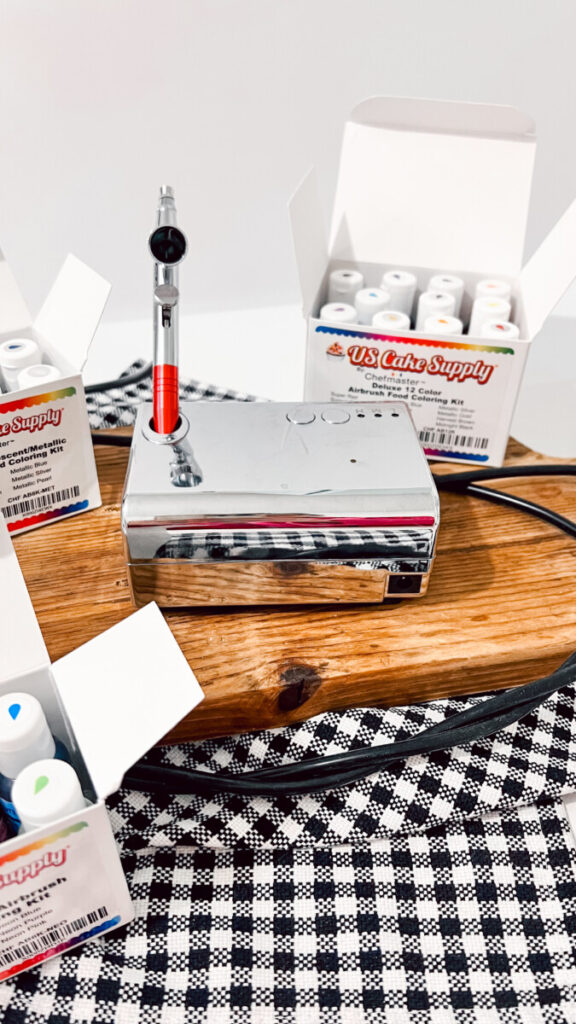
- Airbrush machine
- Airbrush gun
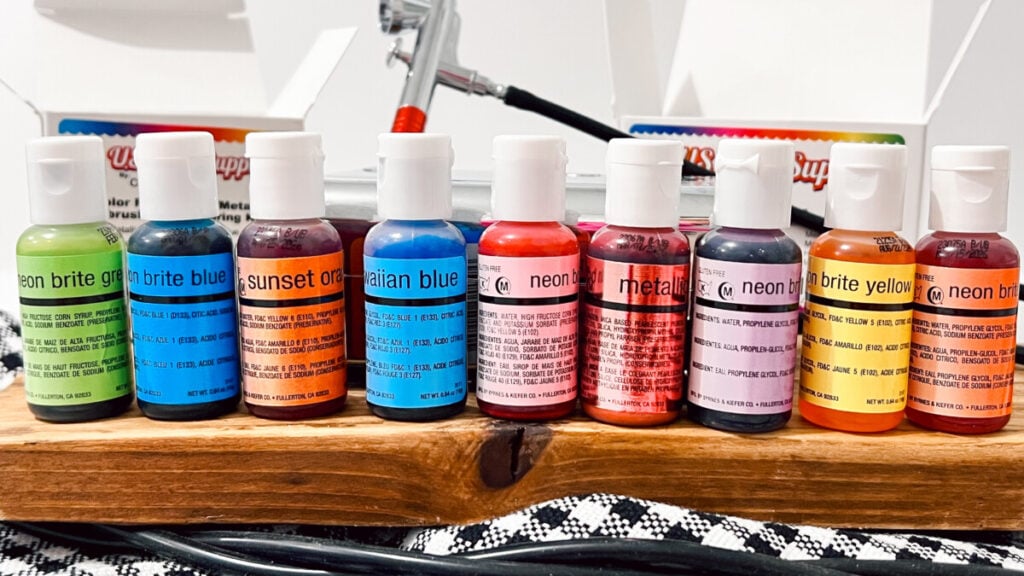
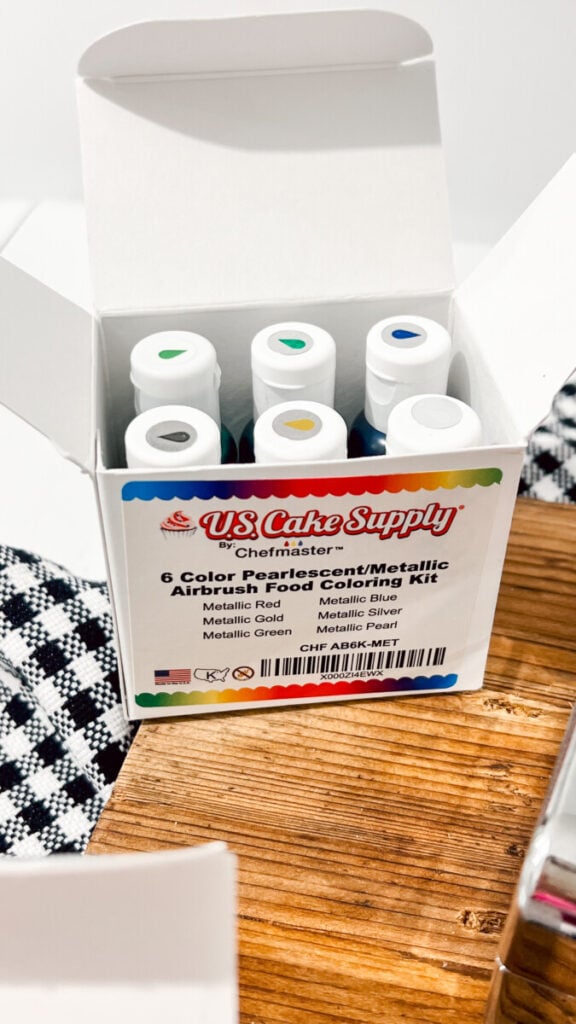
- Airbrush food coloring
- Decorated royal icing cookies
- Paper towels
- Cookie turntable (optional)
- Airbrush booth or cardboard box to catch overspray
- Cookie stencils (optional)
How to Airbrush Sugar Cookies
Step 1: Allow your royal icing to dry completely.
Airbrushing should always be the final decorating step. If the icing is still soft, the airflow can damage the surface.
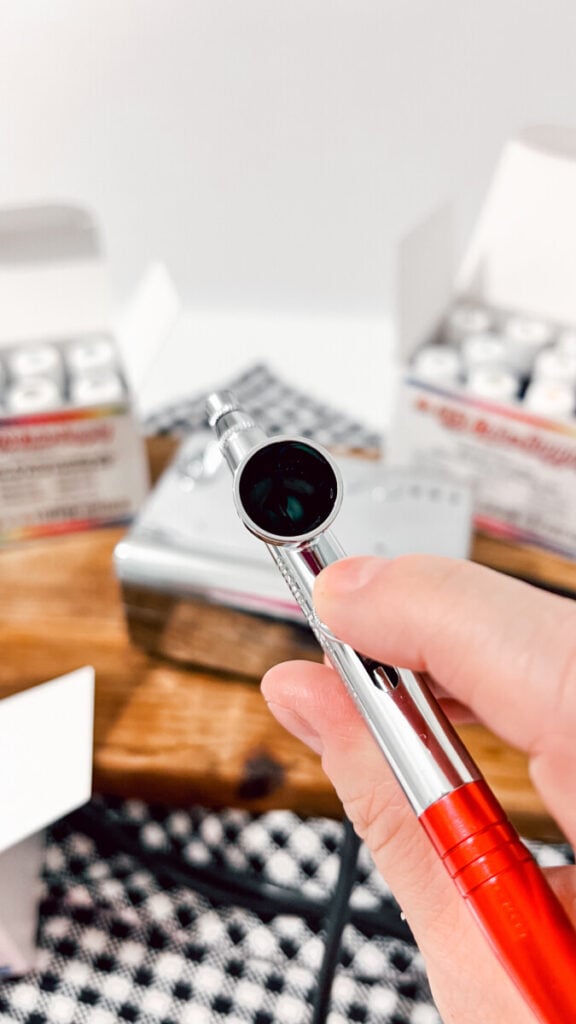
Step 2: Fill your airbrush.
Add several drops of edible airbrush food coloring to the airbrush cup.
Step 3: Test your spray.
Always test the airflow on paper before spraying your cookie.
Step 4: Apply light coats.
Hold the airbrush about 4 to 6 inches away from the cookie and spray using light, even passes. Several thin coats always look better than one heavy coat.
Step 5: Build dimension.
Continue layering color until you achieve the amount of shading you’d like.
Beginner Airbrush Tips
- Less color is almost always better.
- Keep the airbrush moving.
- Spray multiple light coats instead of one heavy coat.
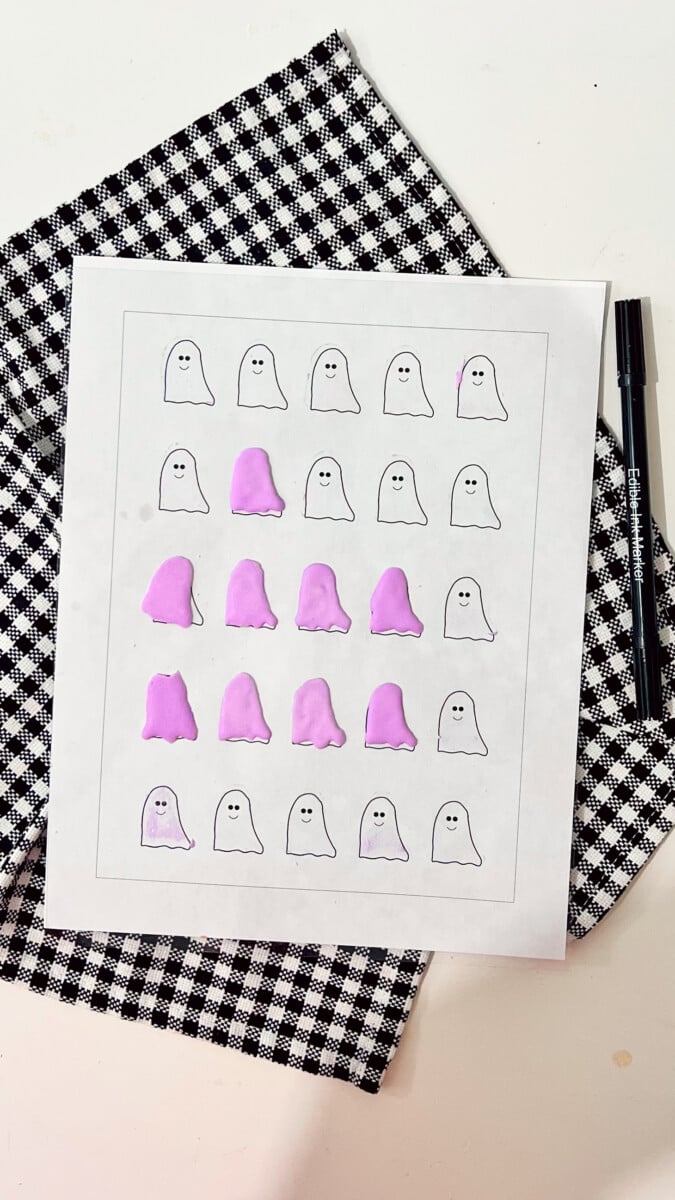
- Practice on parchment paper first.
- Clean the airbrush immediately after decorating.
Common Airbrush Mistakes
- Spraying too close.
- Using too much color.
- Decorating before the icing has dried.
- Forgetting to clean the airbrush.
- Holding the trigger too long.
Best Cookies for Airbrushing
An airbrush works beautifully on almost any decorated sugar cookie, but some of my favorite designs include:
- Vintage Halloween pumpkins
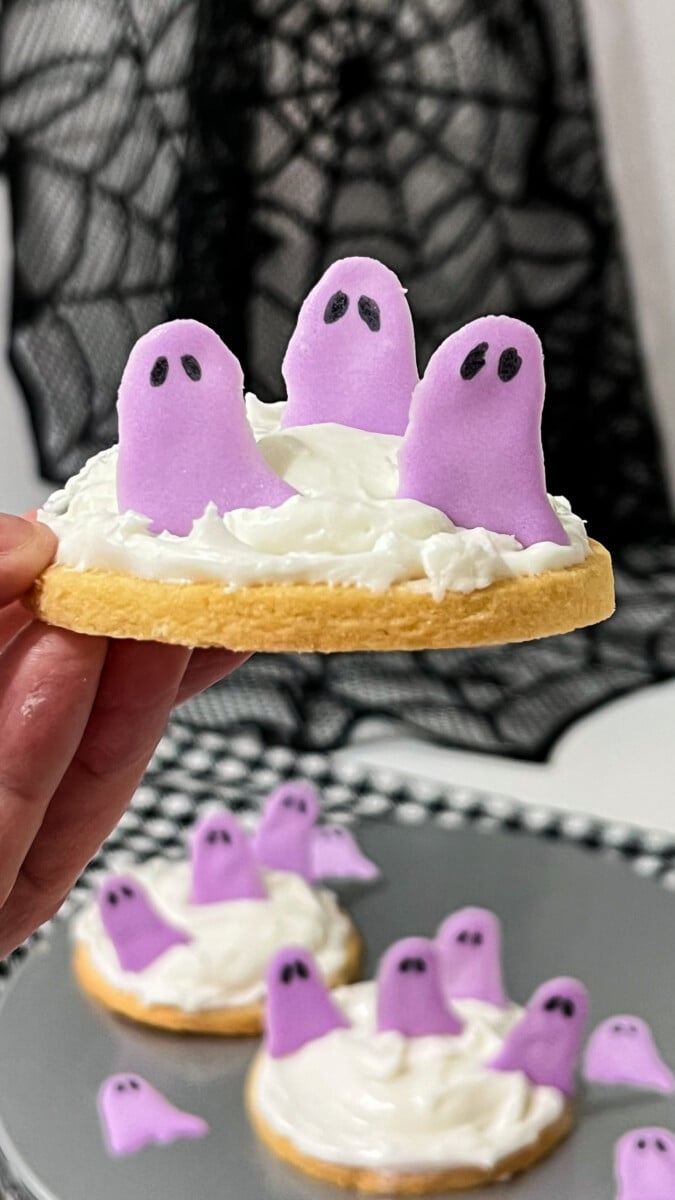
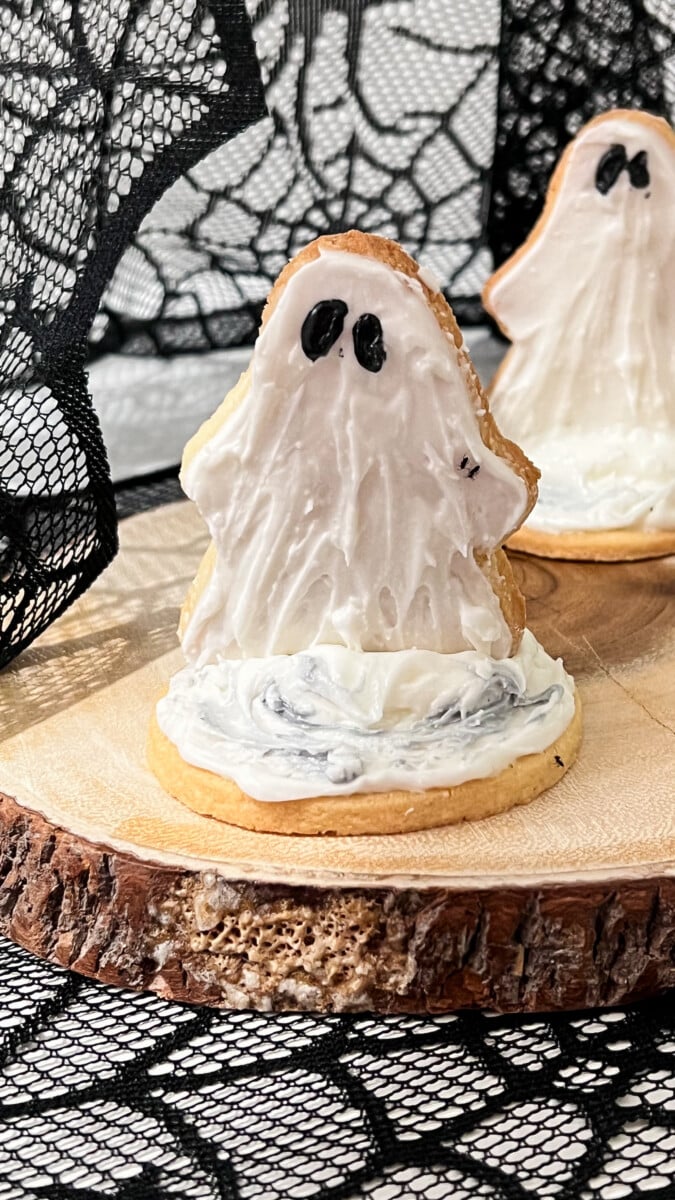
- Friendly ghost cookies
- Witch hats
- Black cats
- Christmas ornaments
- Snowflakes
- Florals
- Easter eggs
- Butterflies
- Fall leaves
Frequently Asked Questions
Can beginners use an airbrush?
Absolutely! Most decorators are surprised by how quickly they learn. After a little practice, you’ll be creating beautiful shaded cookies in no time.
Do I need stencils?
No. Stencils are helpful for backgrounds, spider webs, lettering, and repeating patterns, but you can create beautiful shading without them.
How do I clean an airbrush?
Flush the airbrush with warm water after each color change, then thoroughly clean it after every decorating session to prevent clogs.
Jennie’s Thoughts
When I first started decorating cookies, I thought airbrushing was something only professional bakeries used. Once I finally gave it a try, I realized it was one of the easiest ways to instantly improve my cookie decorating.
I especially love using it on my Halloween cookies because it creates soft vintage pumpkins, glowing little ghosts, spooky nighttime skies, and subtle shading that would be nearly impossible to achieve with icing alone. If you’re looking to elevate your decorated sugar cookies, I honestly think an airbrush is one of the best investments you can make.
Related Cookie Decorating Tutorials
- How to Make Royal Icing
- Royal Icing Consistency Guide
- What Are Royal Icing Transfers?
- How to Use Cookie Stencils
- 50+ Halloween Cookie Ideas
- Vintage Halloween Cookie Decorating Ideas
- Ghost Cookie Tutorial
- Pumpkin Cookie Tutorial