Ghost Pumpkin Halloween Cookies
Ghost Pumpkin Halloween Cookies
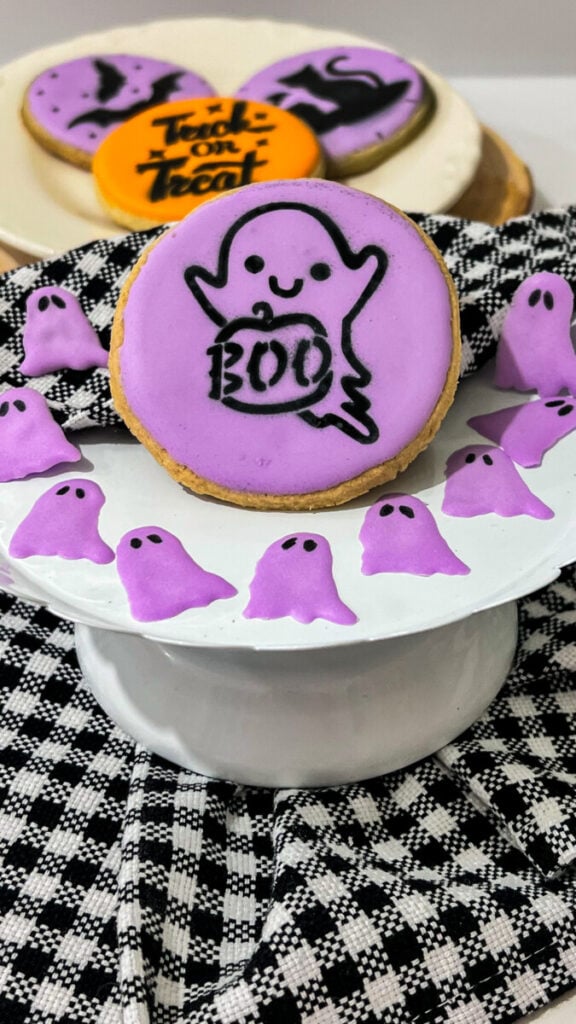
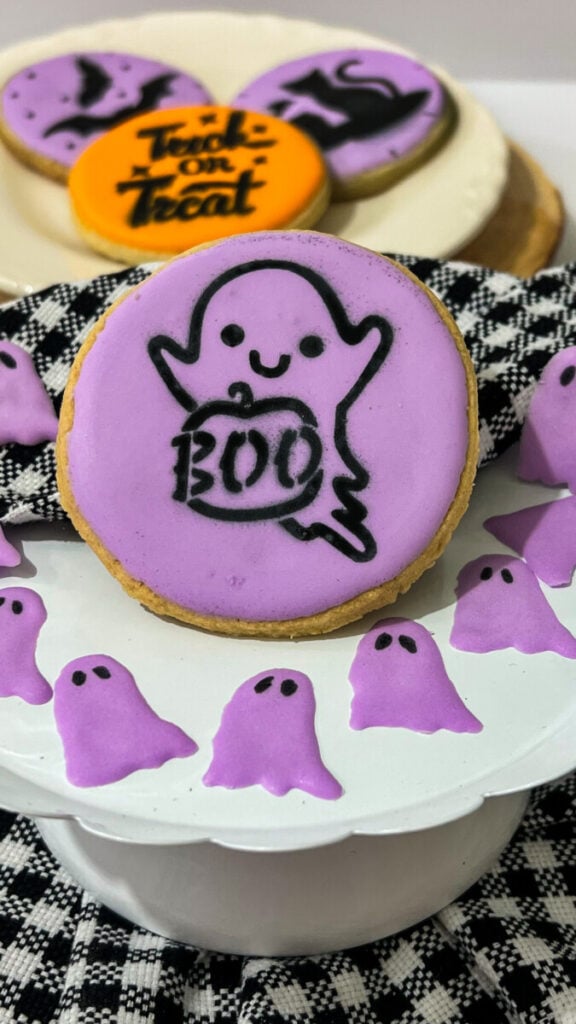
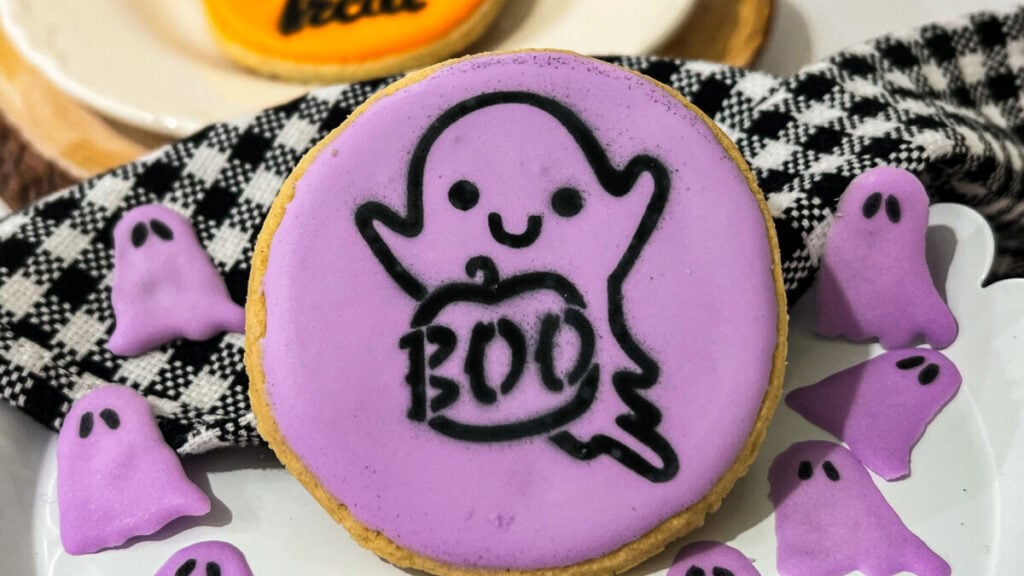
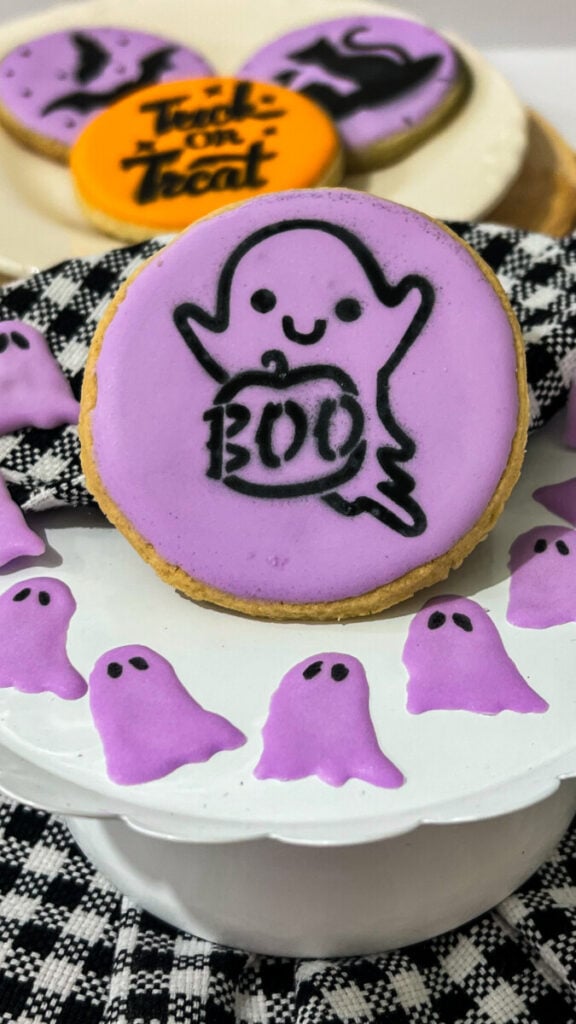
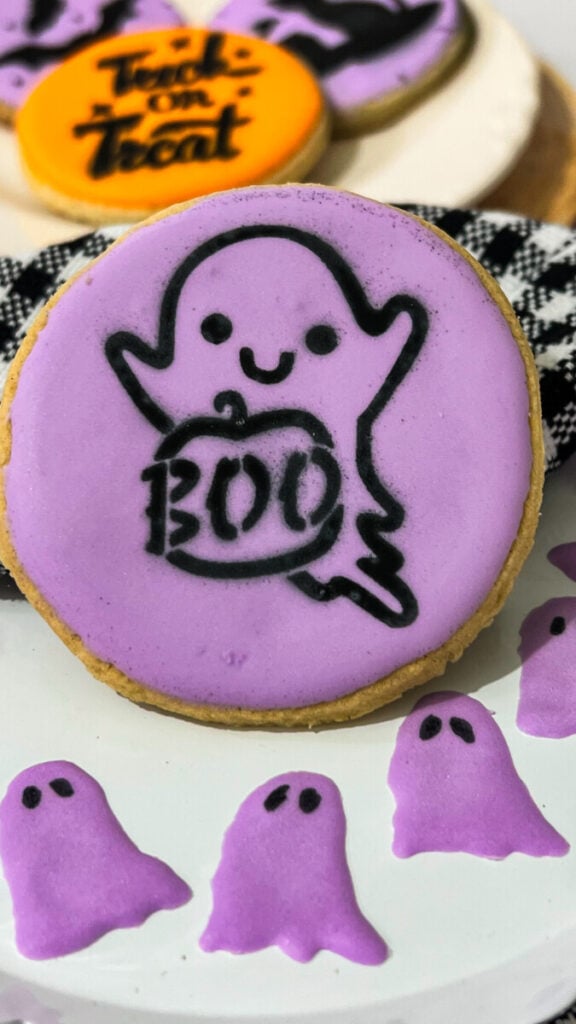
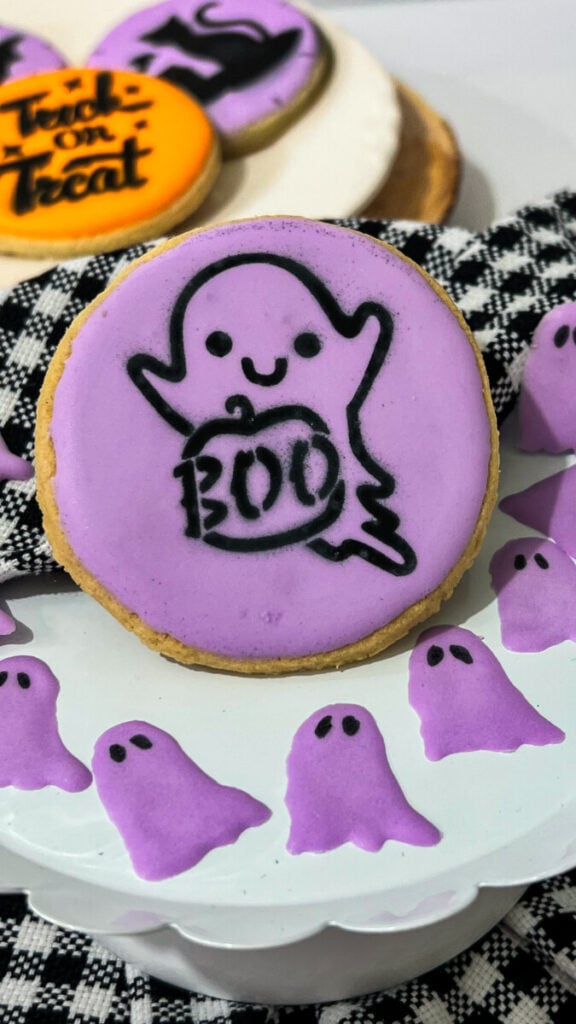
These adorable Ghost Pumpkin Halloween Cookies are one of the sweetest Halloween cookie designs you’ll ever make! A bright purple royal icing background creates the perfect nighttime sky while a stencil featuring a happy little ghost holding a pumpkin with the word “BOO” is airbrushed in black to create a crisp silhouette. They’re simple enough for beginner cookie decorators but look like they came straight from a professional bakery.
Using a cookie stencil and an airbrush is one of my favorite ways to decorate Halloween cookies because it creates clean, detailed designs without complicated piping. These cookies are perfect for Halloween parties, dessert tables, cookie exchanges, classroom treats, and festive gift boxes.
Why You’ll Love These Ghost Pumpkin Cookies
- Beginner-friendly decorating project.
- Uses a simple stencil and airbrush.
- Beautiful vintage Halloween style.
- Perfect for Halloween parties.
- Easy to decorate large batches.
- No detailed piping required.
- Great for cookie gift boxes.
- Adorable ghost design everyone will love.
Jennie’s Thoughts
I think these little ghost cookies perfectly capture everything I love about Halloween. They’re playful instead of scary and remind me of the vintage Halloween decorations I grew up loving. The little ghost carrying a pumpkin with “BOO” written across it makes me smile every time I see it.
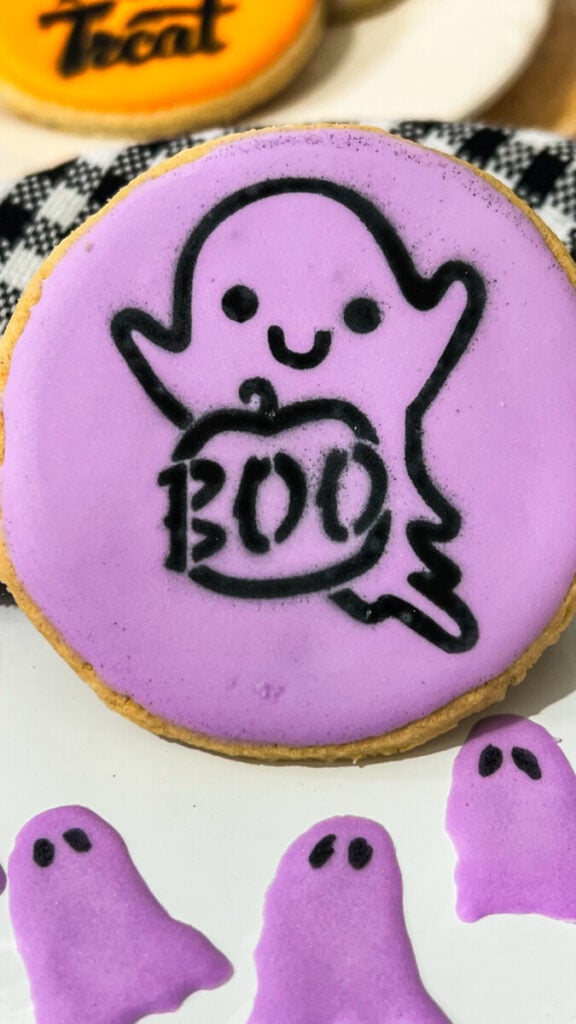
Against the bright purple icing, the black silhouette really pops, creating a cookie that’s simple to decorate but incredibly eye-catching.
Supplies You’ll Need
- Round sugar cookies
- Purple flood consistency royal icing
- Black edible airbrush coloring
- Ghost with pumpkin cookie stencil
- Cookie airbrush machine
- Piping bags
- Scribe tool
- Paper towels
- Turntable (optional)
Step 1: Bake the Cookies
Bake round sugar cookies and allow them to cool completely before decorating.
Step 2: Flood with Purple Royal Icing
Outline and flood each cookie using purple royal icing. Smooth the icing with a scribe tool and allow it to dry overnight until completely firm.
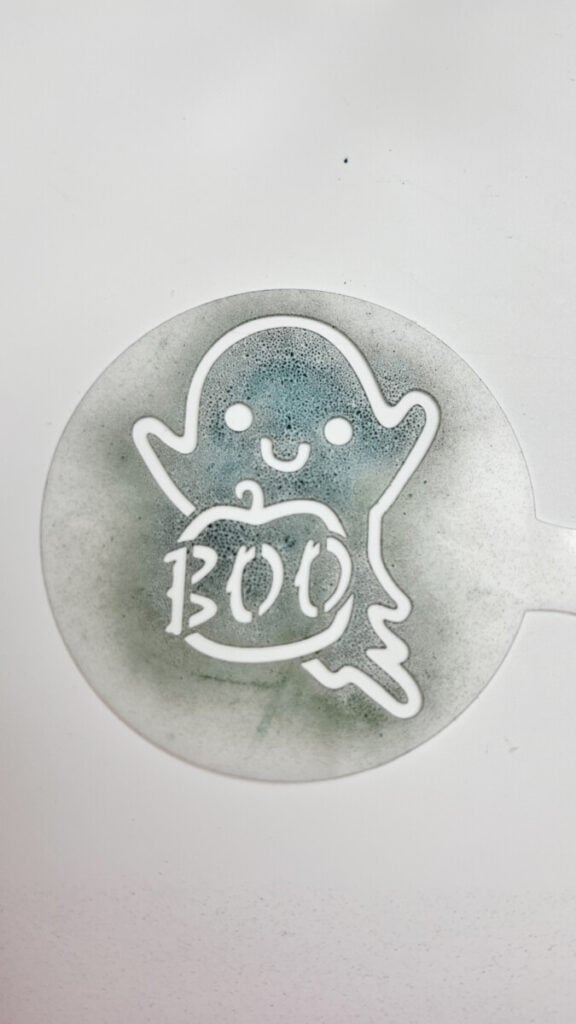
Step 3: Position the Stencil
Center the ghost and pumpkin stencil on the cookie. Hold it firmly against the icing to prevent any movement while airbrushing.
Step 4: Airbrush the Design
Using black edible airbrush coloring, lightly spray several thin coats over the stencil. Slowly build the color until the ghost, pumpkin, and “BOO” lettering appear crisp and bold.
Carefully remove the stencil to reveal the finished Halloween design.
Decorating Tips
- Always let the royal icing dry overnight before airbrushing.
- Apply several light coats instead of one heavy spray.
- Hold the stencil securely for crisp edges.
- Practice on parchment paper before decorating your cookies.
- Clean the stencil every few cookies for the sharpest results.
Fun Variations
Once you’ve mastered this design, try using other Halloween stencils to create a matching cookie collection:
- Black cats
- Flying bats
- Haunted houses
- Witch hats
- Tombstones
- Spider webs
- Jack-o’-lanterns
- Full moons
The same decorating technique works beautifully with almost any Halloween silhouette.

Frequently Asked Questions
Can I make these cookies without an airbrush?
An airbrush produces the cleanest silhouette, but edible dusts applied with a stencil brush can also work.
Can beginners make these cookies?
Absolutely! Since the stencil creates the artwork, this is one of the easiest Halloween decorating projects for new cookie decorators.
How long will decorated cookies stay fresh?
Store them in an airtight container at room temperature for several days. They’re perfect for making ahead before Halloween parties or gifting.

More Halloween Cookie Tutorials
If you loved these Ghost Pumpkin Halloween Cookies, be sure to check out my Standing Ghost Halloween Cookies, Black Cat Halloween Cookies, Purple Bat Halloween Cookies, Trick or Treat Halloween Cookies, How to Airbrush Sugar Cookies, and my collection of 50+ Halloween Cookie Ideas for even more festive inspiration.