Easy Cutout Ghost Cookies
Easy Cutout Ghost Cookies
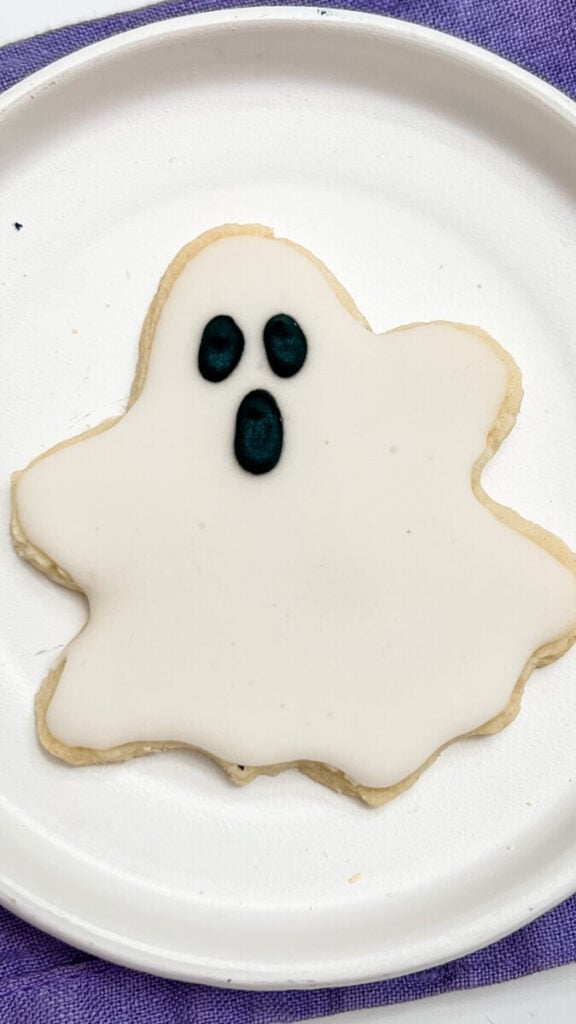
These Easy Cutout Ghost Cookies are one of the simplest Halloween cookies you can make! Soft, buttery cutout sugar cookies are shaped like little ghosts, covered in smooth white icing, and finished with three little black icing details for the eyes and mouth.
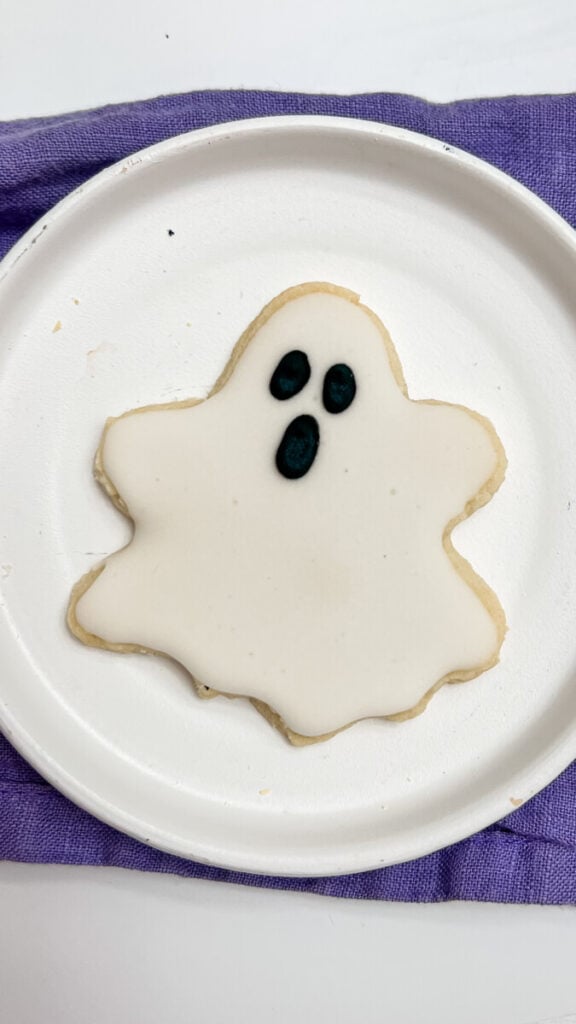
I love how simple these are. You don’t need complicated piping or lots of different icing colors to make a really cute Halloween cookie. The slightly wavy ghost shape and surprised little face give them plenty of personality all on their own.
They’re perfect for Halloween parties, school treats, Halloween cookie platters, or an easy afternoon of spooky-season baking.
Easy Ghost Sugar Cookies
Yield: About 18–24 cookies
Prep Time: 20 minutes
Chill Time: 1 hour
Bake Time: 8–10 minutes
Decorating Time: 20 minutes
Ingredients
For the Cutout Sugar Cookies
- 1 cup unsalted butter, softened
- 1 cup granulated sugar
- 1 large egg
- 2 teaspoons vanilla extract
- 1/2 teaspoon almond extract, optional
- 3 cups all-purpose flour
- 1 teaspoon baking powder
- 1/2 teaspoon salt
For Decorating
- White cookie icing
- Black cookie icing
How to Make Cutout Ghost Cookies
In a large mixing bowl, beat the softened butter and sugar together until light and creamy.
Add the egg and vanilla extract. Add the almond extract, if using, and mix until combined.
In a separate bowl, whisk together the flour, baking powder, and salt.
Gradually add the dry ingredients to the butter mixture. Mix just until a soft cookie dough forms.
Divide the dough into two disks, wrap them, and refrigerate for about 1 hour.
Preheat the oven to 350°F and line a baking sheet with parchment paper.
On a lightly floured surface, roll the chilled dough to about 1/4-inch thick.
Use a ghost-shaped cookie cutter to cut out the cookies. Transfer them carefully to the prepared baking sheet.
Bake for approximately 8–10 minutes, or until the cookies are set and the edges are just beginning to turn a very light golden color.
Allow the cookies to cool on the pan for a few minutes before transferring them to a wire rack. Cool completely before decorating.
How to Decorate Ghost Cookies
These might be some of the easiest decorated Halloween cookies ever.
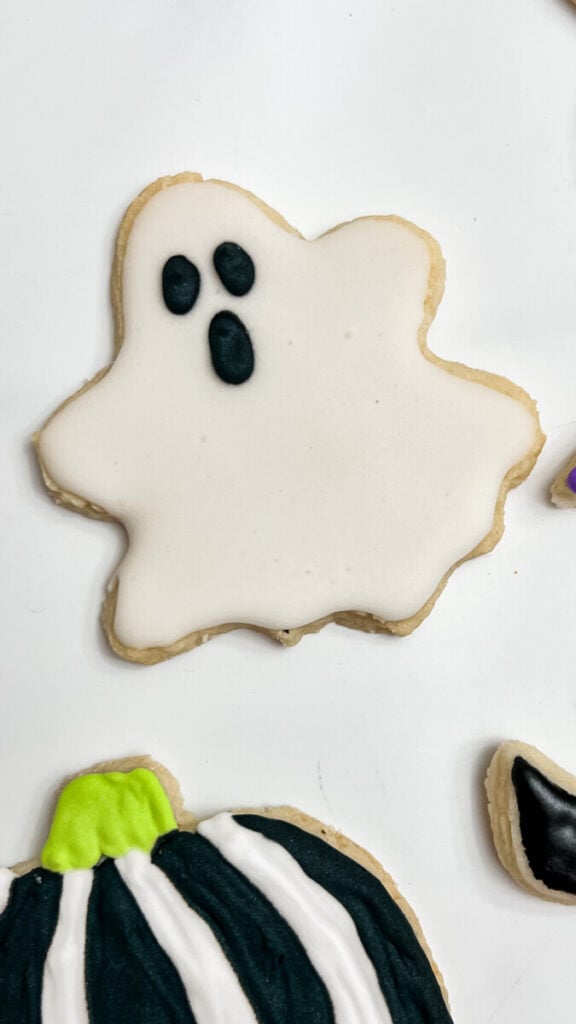
Start by outlining the ghost shape with white cookie icing. Fill the center completely with more white icing, gently spreading it toward the edges as needed.
Allow the white icing to set slightly.
Using black icing, pipe two oval eyes toward the upper portion of the cookie.
Add one slightly larger oval underneath the eyes to make the ghost’s open mouth.
That’s it! Three little black details turn a white iced sugar cookie into an adorable Halloween ghost.
Let the cookies sit flat until the icing has completely set.
Tips for Perfect Cutout Cookies
Chilling the dough is important because it helps your ghosts hold their shape in the oven.
Try not to roll the dough too thin. Around 1/4 inch thick gives you a nice, substantial sugar cookie that’s still soft in the center.
If your dough becomes too warm while you’re cutting the cookies, place it back in the refrigerator for 10–15 minutes before continuing.
And make sure the cookies are completely cool before decorating. Even slightly warm cookies can cause the white icing to melt or run.
An Easy Halloween Cookie for Beginners
What I really like about these ghost cookies is how beginner-friendly they are.
Some decorated sugar cookies require several colors, piping tips, and lots of little details. These only need white and black icing.
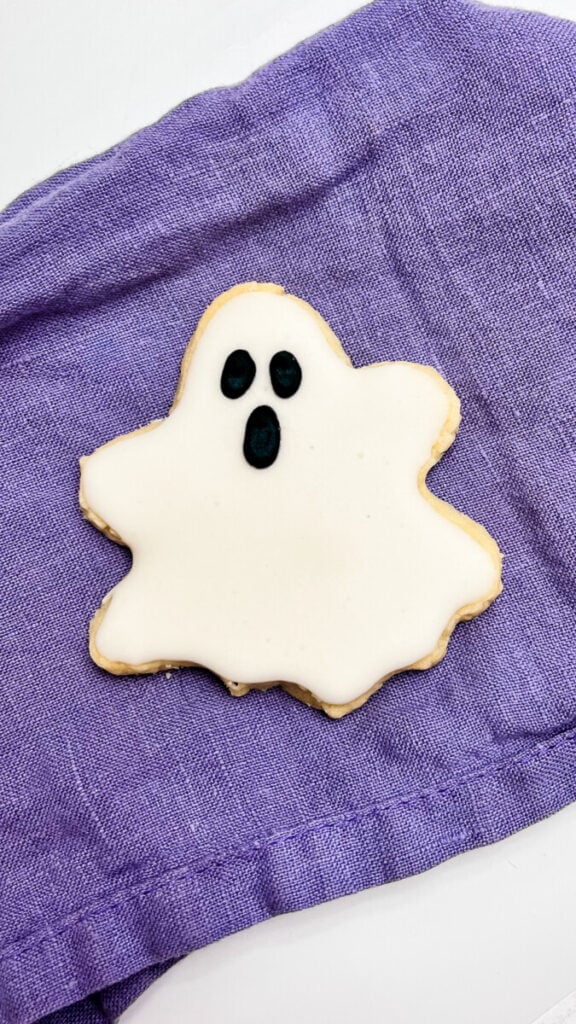
The white icing covers almost the entire cookie, and the face is simply two eyes and an open mouth. They don’t need to be perfectly identical, either. Give some ghosts bigger eyes, smaller mouths, or slightly different expressions.
A whole platter of slightly different little ghosts would be adorable.
Halloween Cookie Platter Idea
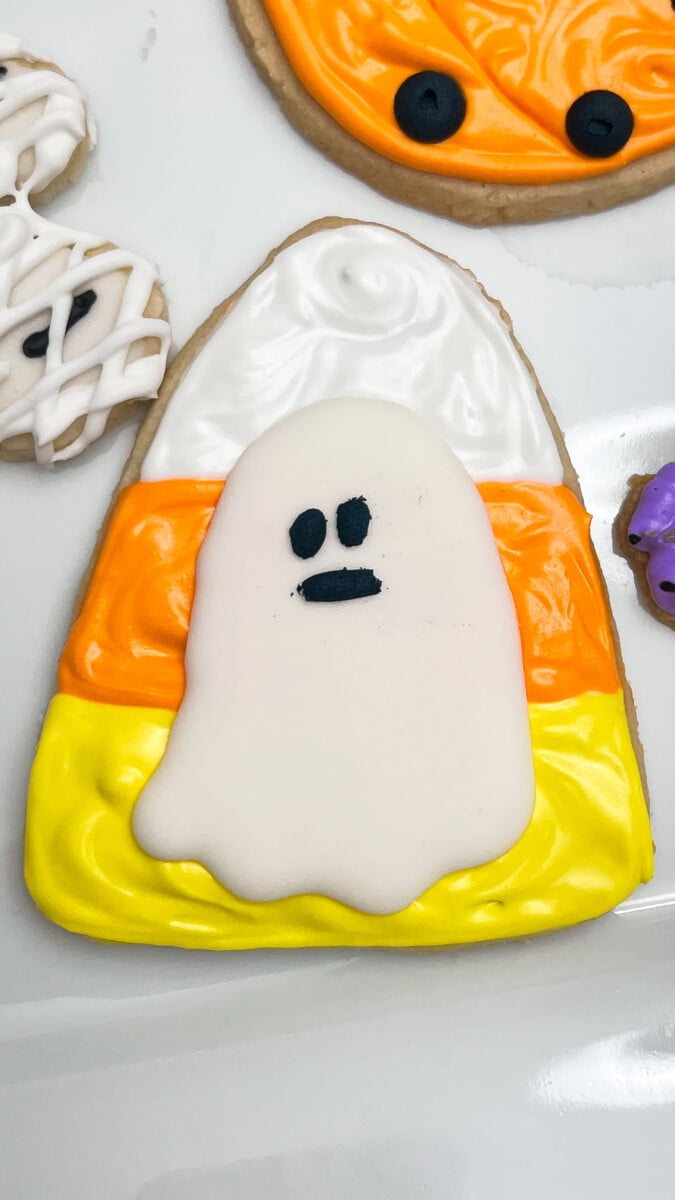
These ghost cookies would be so cute mixed with other Halloween cutout cookies.
Add black cats, pumpkins, witch hats, bats, candy corn cookies, or your favorite decorated Halloween treats to make a colorful Halloween cookie tray.
Because these ghosts are mostly white, they’re also a great way to break up all the black, orange, purple, and green you typically see on a Halloween dessert board.
How to Store Ghost Cookies
Let the icing dry completely before storing the cookies.
Place them in an airtight container at room temperature for up to 4–5 days. If you’re layering decorated cookies, place parchment or wax paper between the layers to protect the icing.
You can also bake the cutout cookies ahead of time and freeze them undecorated. Let them thaw completely before adding the icing.
Jennie’s Thoughts
I love how simple these little ghost cookies are! Sometimes decorated Halloween cookies don’t need a ton of details to be cute, and these are the perfect example.
It’s basically a buttery sugar cookie, smooth white icing, and three little dots of black icing for that surprised ghost face. I think the big oval mouth is what makes them especially adorable.
These would also be such a good cookie to make if you’re decorating several different Halloween designs at once. After some of the more detailed cookies, it’s nice to have one that’s quick and easy!
I can picture a whole tray of these little white ghosts mixed in with my black cats and witch cookies. They’re simple, spooky, and cute—which is exactly what I want from an easy Halloween cookie.