Easy Mummy Brownies
Easy Mummy Brownies
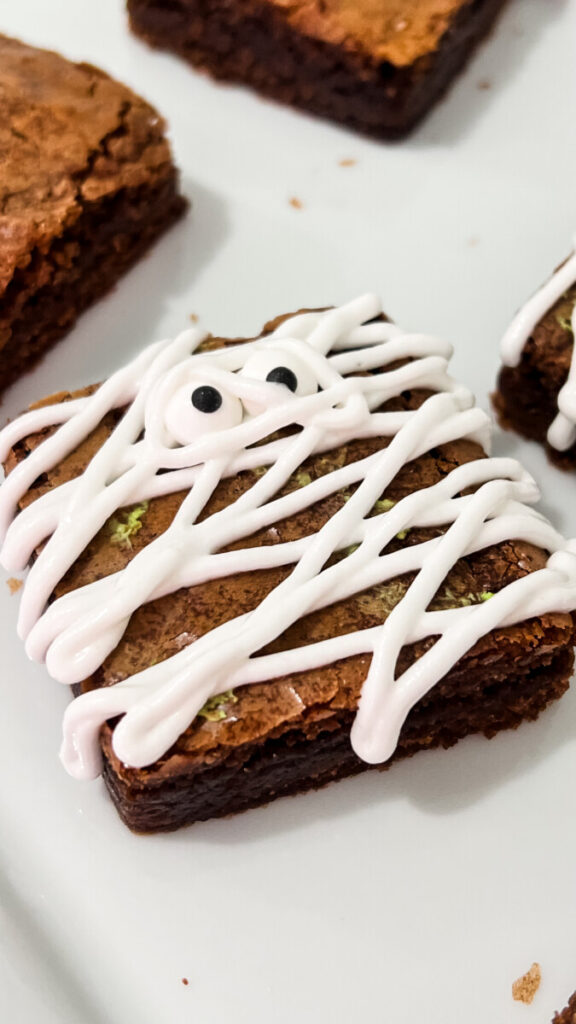
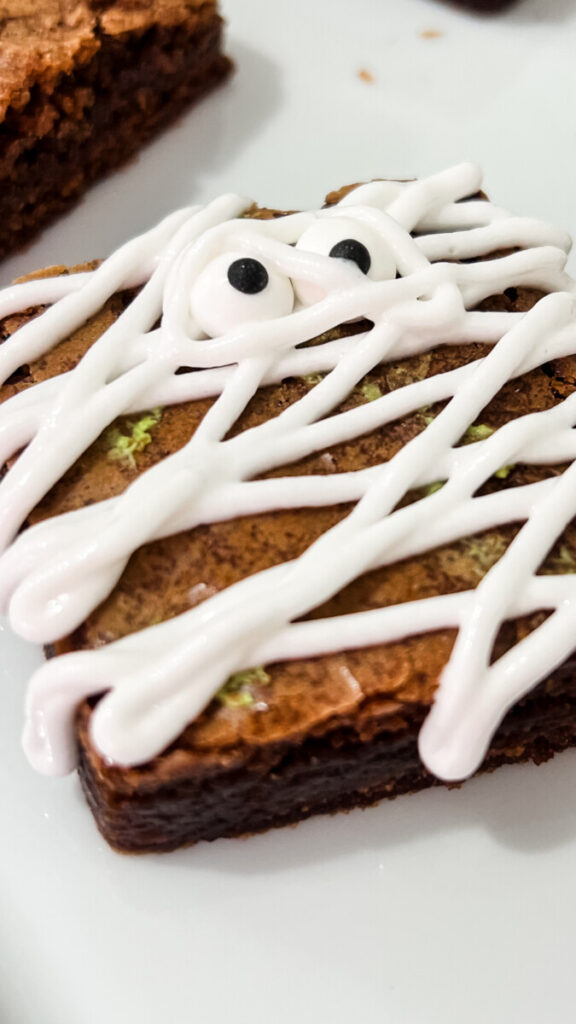
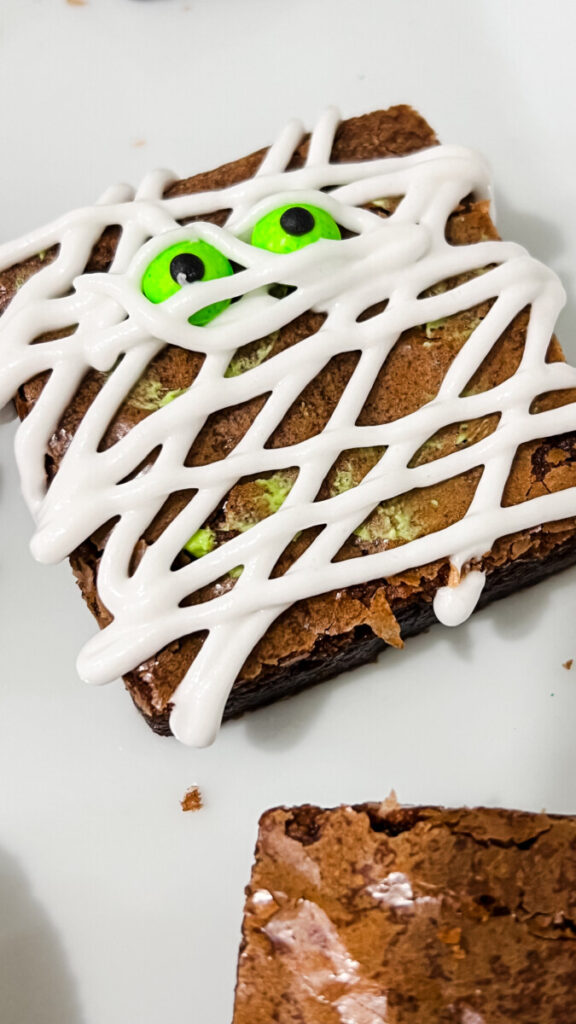
These Easy Mummy Brownies are such a fun and simple Halloween treat! Rich, fudgy chocolate brownies are cut into squares, decorated with white icing mummy bandages, and finished with Wilton candy eyes peeking through the frosting.
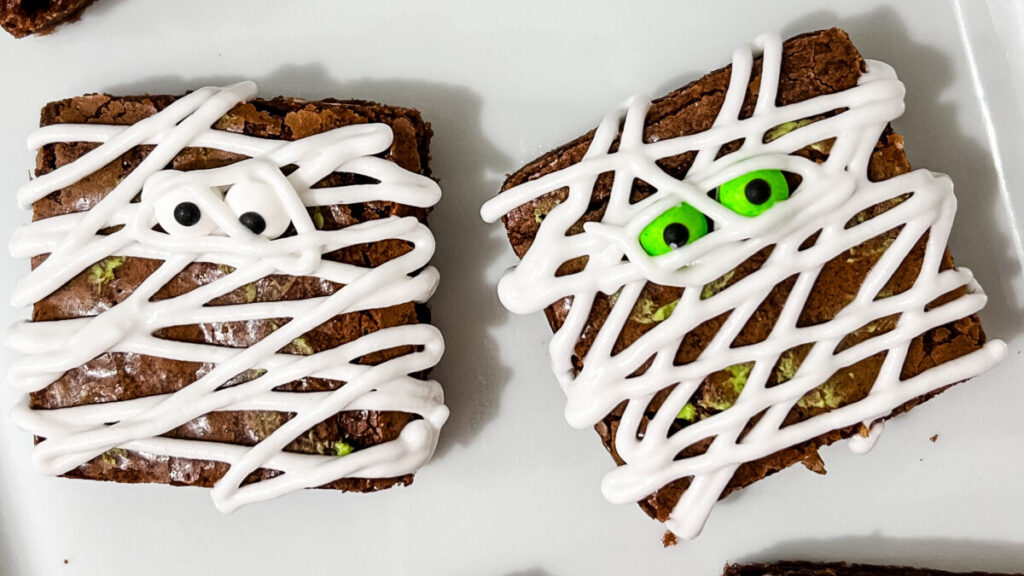
I love how easy these are to make! You don’t need any complicated decorating techniques or special baking equipment. Just bake a pan of brownies, add a few zigzag stripes of white icing, and give each little mummy a pair of candy eyes.
They’re perfect for Halloween parties, school celebrations, spooky dessert platters, or an afternoon of Halloween baking.
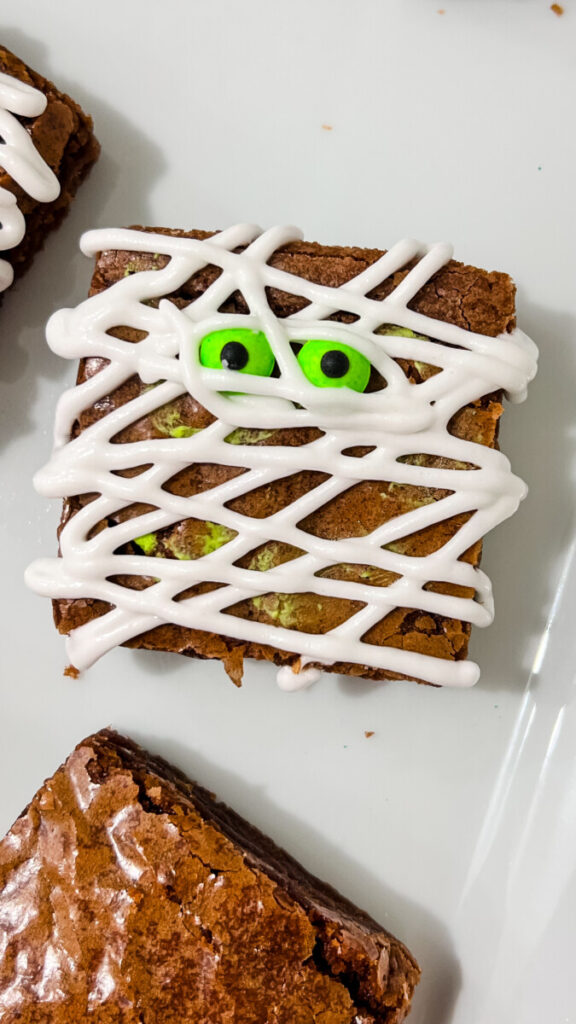
Easy Halloween Mummy Brownies
If you’re looking for a Halloween dessert that looks adorable but takes very little effort, these mummy brownies are perfect.
The dark chocolate brownies make a great background for the bright white icing bandages. I especially love how the candy eyes peek through the icing, giving each mummy its own little personality.
You can make these brownies completely from scratch or use a boxed brownie mix for an even easier Halloween treat.
Mummy Brownies Recipe
Servings: 16 brownies
Prep Time: 15 minutes
Bake Time: 25–30 minutes
Cooling Time: 1 hour
Decorating Time: 15 minutes
Ingredients
For the Brownies
- 1/2 cup unsalted butter, melted
- 1 cup granulated sugar
- 2 large eggs
- 1 teaspoon vanilla extract
- 1/3 cup unsweetened cocoa powder
- 1/2 cup all-purpose flour
- 1/4 teaspoon salt
- 1/4 teaspoon baking powder
- 1/2 cup mini chocolate chips, optional
For Decorating
- White cookie decorating icing
- 32 Wilton candy eyes
- Piping bag or squeeze bottle, if needed
How to Make Mummy Brownies
Step 1: Prepare the Brownie Batter
Preheat the oven to 350°F and line an 8 × 8-inch baking pan with parchment paper.
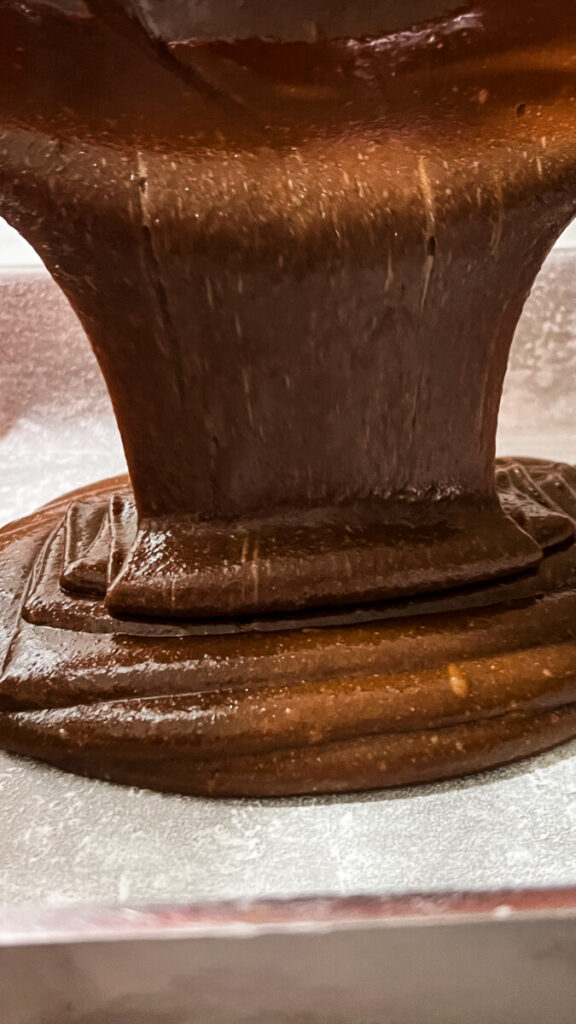
In a large mixing bowl, whisk together the melted butter and granulated sugar until combined.
Add the eggs and vanilla extract and mix until smooth.
Stir in the cocoa powder, flour, salt, and baking powder. Mix just until everything is combined.
Fold in the mini chocolate chips if you’re using them.
Step 2: Bake the Brownies
Spread the brownie batter evenly into the prepared baking pan.
Bake for approximately 25–30 minutes, or until the edges are set and a toothpick inserted near the center comes out with a few moist crumbs.
Remove the brownies from the oven and allow them to cool completely.
Once cooled, lift the brownies out of the pan using the parchment paper and cut them into 16 squares.
Step 3: Add the Candy Eyes
Place two Wilton candy eyes near the upper center of each brownie square.
Use a tiny dot of white icing underneath each eye to help hold it in place.
Step 4: Pipe the Mummy Bandages
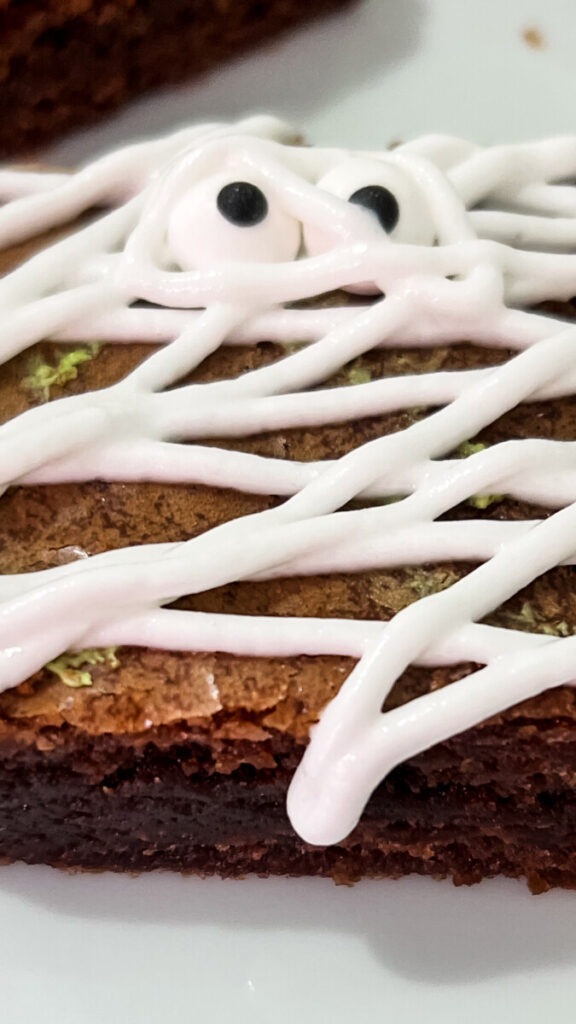
Using white decorating icing, pipe thick zigzag lines across the top of each brownie.
Move the icing back and forth in different directions to create the appearance of mummy bandages.
Pipe some lines horizontally and others diagonally, leaving the candy eyes peeking through the middle.
Don’t worry about making the lines perfectly straight. The overlapping stripes are what make the brownies look like little wrapped mummies.
Step 5: Let the Icing Set
Allow the decorated brownies to sit at room temperature until the icing has set enough to handle.
Arrange them on a Halloween serving platter and enjoy!
Tips for Decorating Mummy Brownies
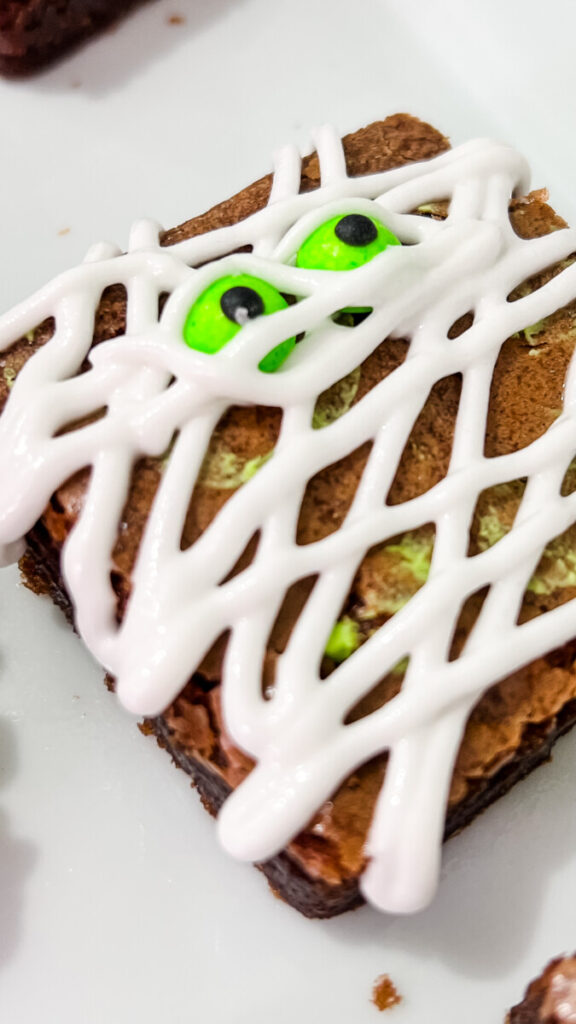
Use thick white icing. Decorating icing that holds its shape works best for creating the mummy bandages. You don’t want the icing to be so thin that the lines run together.
Let the brownies cool completely. Warm brownies can cause the icing to melt and lose its shape.
Place the eyes first. Adding the candy eyes before piping the bandages makes it easier to create the wrapped mummy appearance.
Change the direction of the stripes. Crisscrossing the icing gives the brownies more texture and makes each mummy look a little different.
Use boxed brownies for a shortcut. If you’re short on time, a boxed brownie mix works perfectly for this recipe.
Can I Use Boxed Brownie Mix?
Absolutely! These mummy brownies are really all about the decorating, so you can use any brownie recipe you like.
Prepare your favorite boxed brownie mix according to the package directions and bake in the recommended pan.
Once the brownies are completely cool, cut them into squares and decorate with white icing and Wilton candy eyes.
It’s an easy shortcut for busy Halloween baking days.
Make-Ahead Halloween Brownies
You can bake the brownies a day ahead and store them in an airtight container until you’re ready to decorate.
For the prettiest presentation, add the white icing and candy eyes the day you plan to serve them.
These are especially convenient when you’re making several different Halloween desserts for a party.
How to Store Mummy Brownies
Store the decorated brownies in an airtight container at room temperature for up to 3–4 days, provided you’re using shelf-stable decorating icing.
Arrange them in a single layer or place parchment paper between layers once the icing is completely set.
For the best appearance, avoid stacking the brownies while the icing is still soft.
More Easy Halloween Brownie Ideas
These Mummy Brownies would look adorable on a Halloween dessert platter alongside Marshmallow Ghost Brownies and Floating Ghost Halloween Brownies.
You could make one pan of brownies and decorate different squares with ghosts, mummies, and other Halloween designs.
It’s an easy way to create a whole assortment of Halloween treats without having to bake several different desserts.
Jennie’s Thoughts
I think these little Mummy Brownies turned out so cute! I love how the white icing looks like little mummy bandages wrapped around each brownie, and the Wilton candy eyes peeking through the middle are just adorable.
What I really love about this recipe is how easy it is. You don’t have to spend forever decorating, and you definitely don’t need to make every mummy look the same. Just pipe the icing back and forth, overlap a few stripes, and let those little eyes peek out.
I also think these would be so fun to make with kids because the decorating is really simple. Everyone can create their own mummy, and the messier the bandages look, the cuter they are!
These would be perfect for a big Halloween brownie platter with my ghost brownies. They’re chocolatey, festive, and such an easy way to make an ordinary pan of brownies into something special for Halloween!