Crispy Hand-Breaded Fried Chicken Tenders
Crispy Hand-Breaded Fried Chicken Tenders
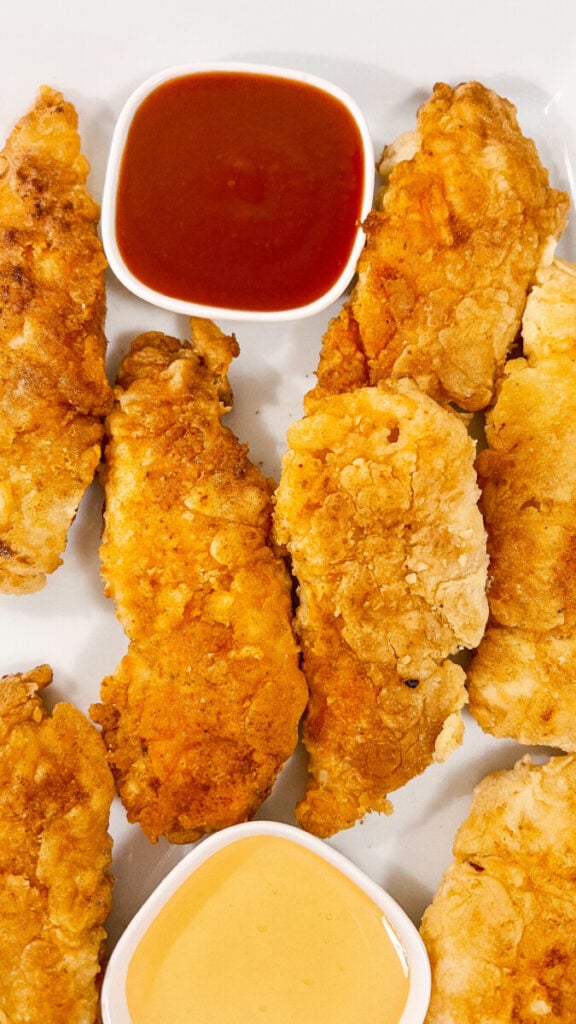
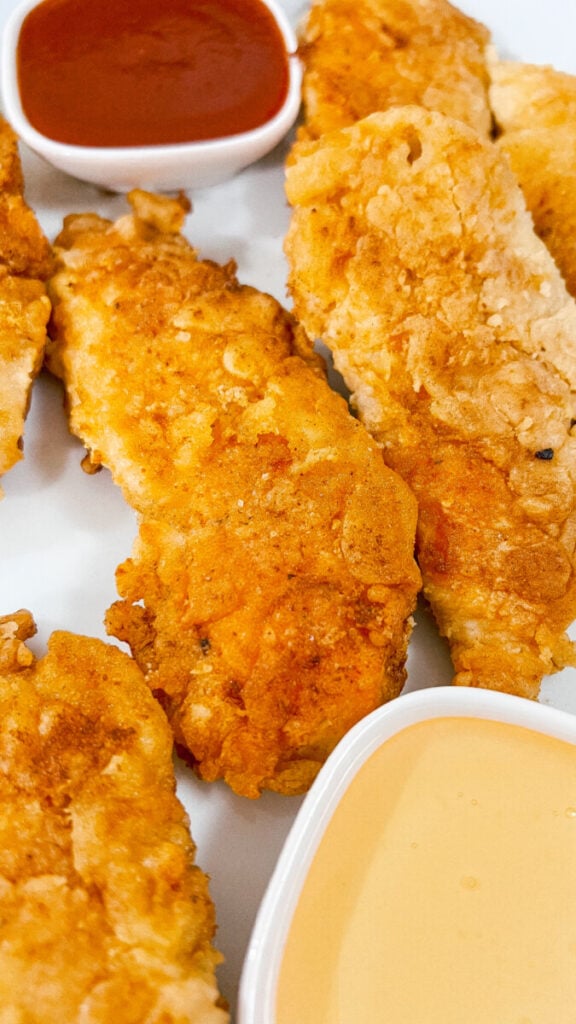
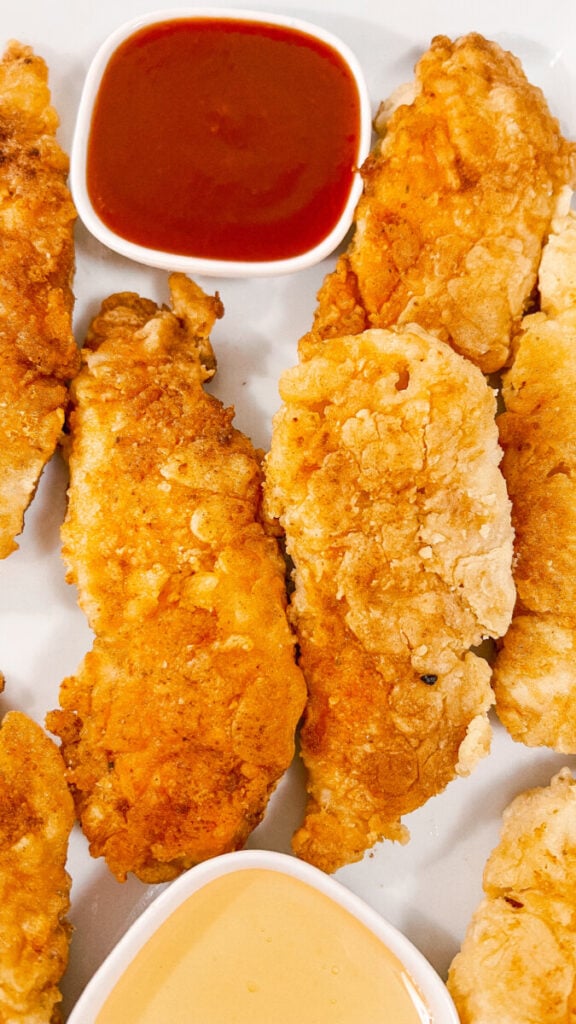
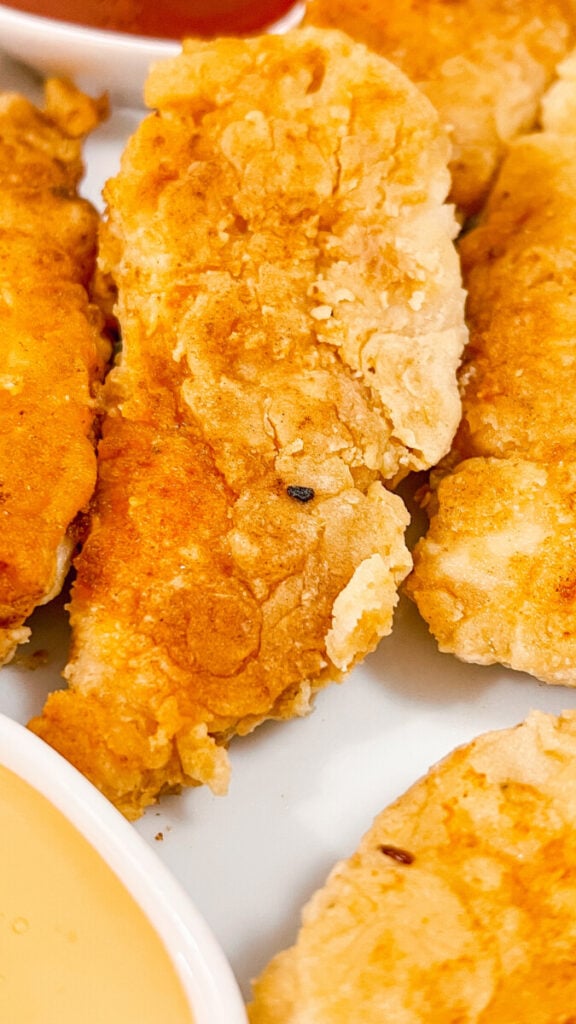
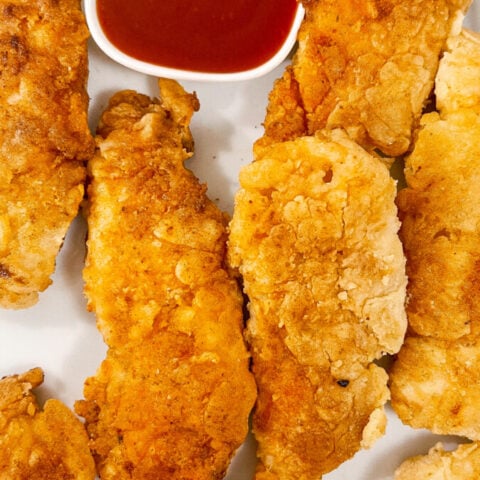
If you’re looking for perfectly crispy, golden fried chicken tenders made from scratch, this is the recipe you want to bookmark. These hand-breaded chicken tenders are juicy on the inside, crunchy on the outside, and made with simple pantry seasonings — no deep fryer required.
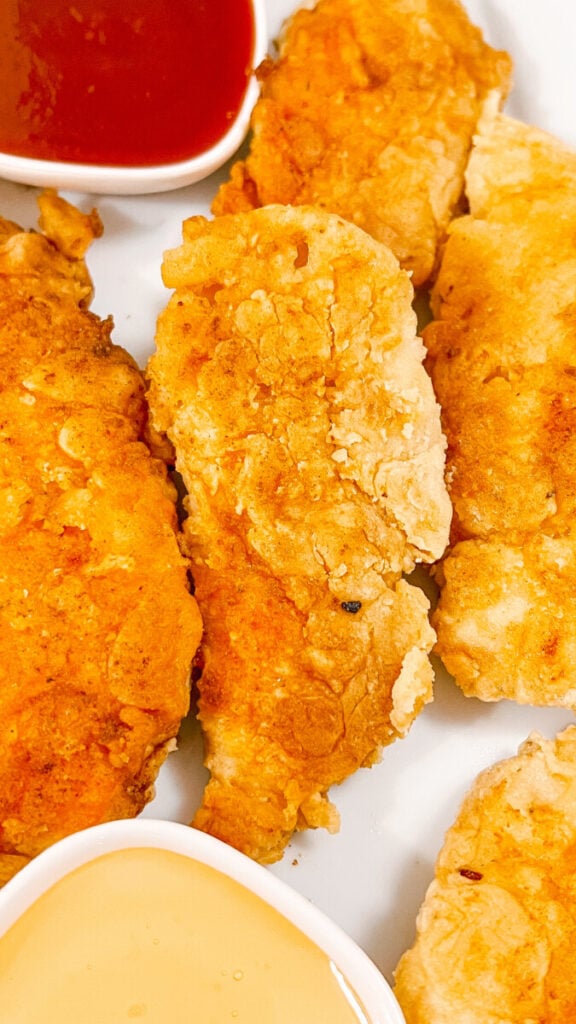
This method creates that classic restaurant-style crust thanks to a quick flour → milk → flour dredge and a short resting time that allows the breading to cling to the chicken.
Pan-fried in a combination of butter and olive oil, these chicken tenders develop a rich, golden crust while staying tender and moist inside.

They’re perfect for:
- Family dinners
- Game day
- Kids’ meals
- Dipping in BBQ sauce, honey, ranch, or honey mustard
Once you try this technique, you’ll never go back to frozen chicken tenders again.
Why This Fried Chicken Tender Recipe Works
- Double dredging creates a thicker, crispier crust
- Letting the breading rest forms a paste that fries up crunchy
- Butter + olive oil gives flavor and prevents burning
- Simple seasonings enhance the chicken without overpowering it

This is the same old-fashioned method many home cooks and diners have used for decades — simple, reliable, and delicious.
Ingredients
- 1 ½ pounds chicken tenders (about 10–12 tenders)
- 1 ½ teaspoons garlic powder
- 1 teaspoon garlic salt
- 1 teaspoon seasoned salt
- 1 teaspoon seasoned pepper (or ½ teaspoon black pepper)
- 1 ½ cups all-purpose flour, divided
- 1 cup milk
- 2 tablespoons butter
- 2 tablespoons olive oil

How to Make Crispy Hand-Breaded Fried Chicken Tenders
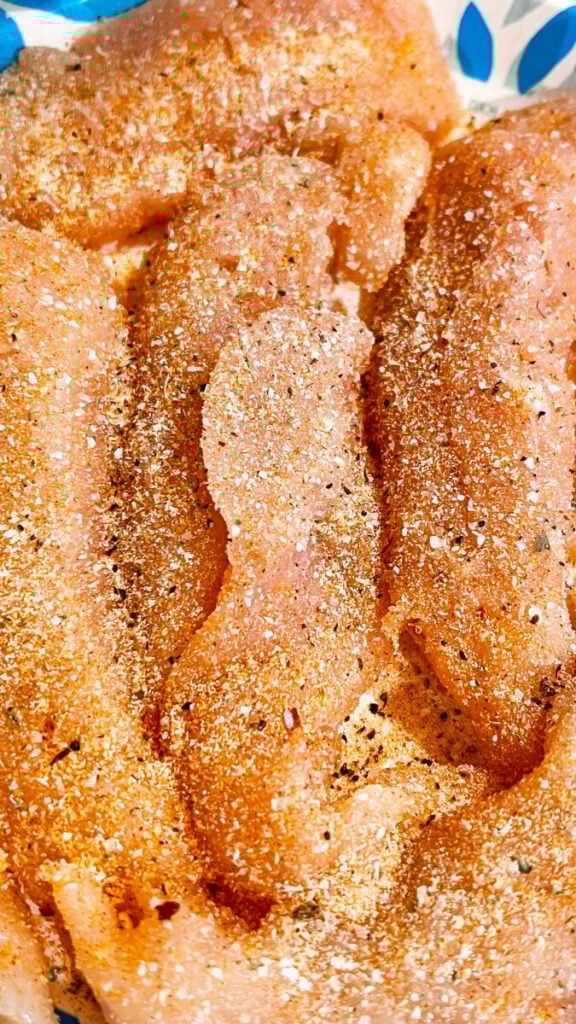
Step 1: Season the Chicken
Pat the chicken tenders dry with paper towels. Season both sides generously with garlic powder, garlic salt, seasoned salt, and seasoned pepper. Make sure every piece is well coated for maximum flavor.
Step 2: First Flour Coating
Place flour in a shallow bowl. Lightly dredge each seasoned chicken tender in flour, shaking off excess. This dry layer helps the milk stick better.
Step 3: Milk Dip
Dip the floured chicken into milk, making sure each piece is fully coated.
Step 4: Final Flour Dredge
Return the chicken to the flour for a second coating. Press the flour gently onto the chicken so it sticks well. The coating will look thicker and slightly sticky — that’s exactly what you want.
Step 5: Let the Chicken Rest
Place the breaded chicken tenders on a plate or tray and let them sit for 5–10 minutes. This step is crucial — it allows the flour and milk to form a paste that fries into a crispy, craggy crust.
Step 6: Pan Fry
Heat butter and olive oil together in a large skillet over medium heat. Once the butter is melted and sizzling, carefully add the chicken tenders in a single layer.
Cook for 3–4 minutes per side, flipping once, until golden brown and fully cooked through. Avoid overcrowding the pan.
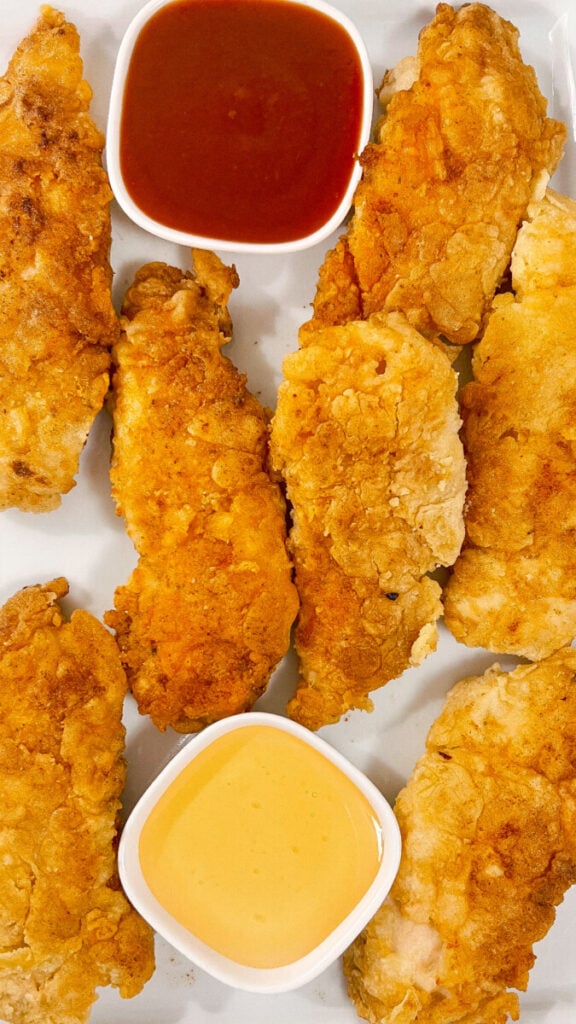
Step 7: Drain & Serve
Transfer cooked chicken tenders to a paper towel-lined plate. Serve hot with your favorite dipping sauces.

Best Dipping Sauces for Fried Chicken Tenders
These crispy tenders pair perfectly with:
- BBQ sauce
- Honey
- Ranch dressing
- Honey mustard
- Buffalo sauce
You can also slice them and serve over salads, in wraps, or on toasted buns.

Tips for Extra Crispy Chicken Tenders
- Don’t skip the resting time — it makes a huge difference
- Keep oil at medium heat to prevent burning
- Flip only once to keep breading intact
- Use a heavy skillet for even browning

Storage & Reheating
Refrigerate: Store leftovers in an airtight container for up to 3 days.
Reheat: Warm in a skillet or air fryer to restore crispiness. Avoid microwaving if possible.
Why Readers Will Save This Recipe
- Simple ingredients
- Foolproof method
- Restaurant-quality results
- Kid-friendly and freezer-friendly
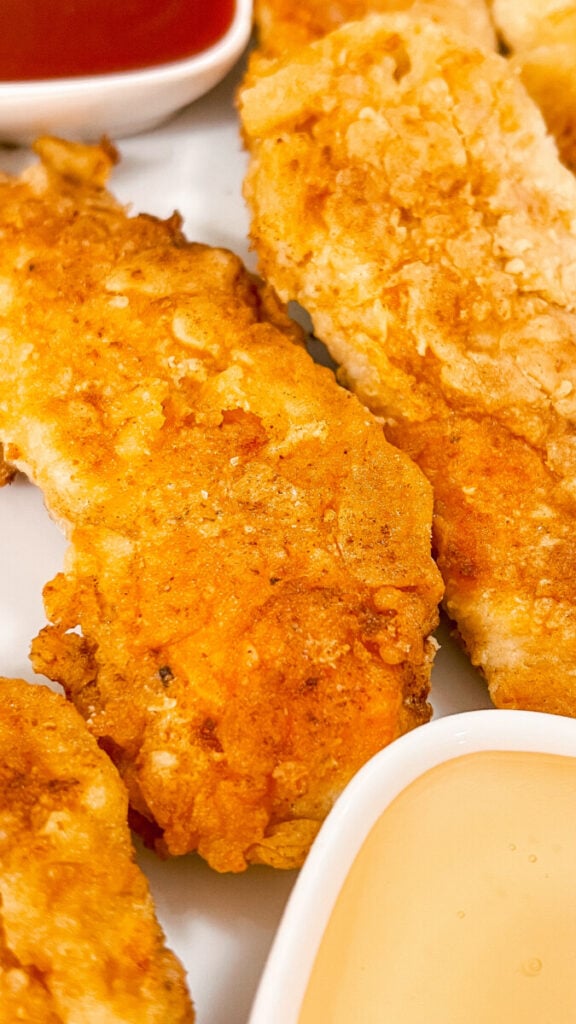
There’s just something about homemade hand-breaded fried chicken tenders that hits differently. The crispy, golden crust… the juicy, well-seasoned chicken inside… and that perfect dunk into BBQ sauce or honey — it’s comfort food at its best.

What makes this recipe special is how simple it is. No deep fryer. No complicated ingredients. Just pantry seasonings, a quick double dredge, and a skillet.
Letting the coating rest before frying is the little trick that makes a big difference, giving you that thick, craggy crust everyone loves.

Whether you’re making these for a weeknight dinner, game day, or a family gathering, they’re guaranteed to disappear fast.
Save this recipe, because once you make these crispy chicken tenders from scratch, you won’t be reaching for the frozen kind again.
Crispy Hand-Breaded Fried Chicken Tenders
If you’re looking for perfectly crispy, golden fried chicken tenders made from scratch, this is the recipe you want to bookmark. These hand-breaded chicken tenders are juicy on the inside, crunchy on the outside, and made with simple pantry seasonings — no deep fryer required.
Ingredients
- 1 ½ pounds chicken tenders (about 10–12 tenders)
- 1 ½ teaspoons garlic powder
- 1 teaspoon garlic salt
- 1 teaspoon seasoned salt
- 1 teaspoon seasoned pepper (or ½ teaspoon black pepper)
- 1 ½ cups all-purpose flour, divided
- 1 cup milk
- 2 tablespoons butter
- 2 tablespoons olive oil
Instructions
- Pat the chicken tenders dry with paper towels. Season both sides generously with garlic powder, garlic salt, seasoned salt, and seasoned pepper. Make sure every piece is well coated for maximum flavor.
- Place flour in a shallow bowl. Lightly dredge each seasoned chicken tender in flour, shaking off excess. This dry layer helps the milk stick better.
- Dip the floured chicken into milk, making sure each piece is fully coated.
- Return the chicken to the flour for a second coating. Press the flour gently onto the chicken so it sticks well. The coating will look thicker and slightly sticky — that’s exactly what you want.
- Place the breaded chicken tenders on a plate or tray and let them sit for 5–10 minutes. This step is crucial — it allows the flour and milk to form a paste that fries into a crispy, craggy crust.
- Heat butter and olive oil together in a large skillet over medium heat. Once the butter is melted and sizzling, carefully add the chicken tenders in a single layer.
- Cook for 3–4 minutes per side, flipping once, until golden brown and fully cooked through. Avoid overcrowding the pan.
- Transfer cooked chicken tenders to a paper towel-lined plate. Serve hot with your favorite dipping sauces.