No Bake Mint Milano Cheesecake
No Bake Mint Milano Cheesecake
This No Bake Mint Milano Cheesecake is a cool, creamy mint chocolate dessert with a buttery graham cracker crust, layers of vanilla and mint cheesecake filling, and a surprise layer of crumbled Mint Milano cookies right through the center.
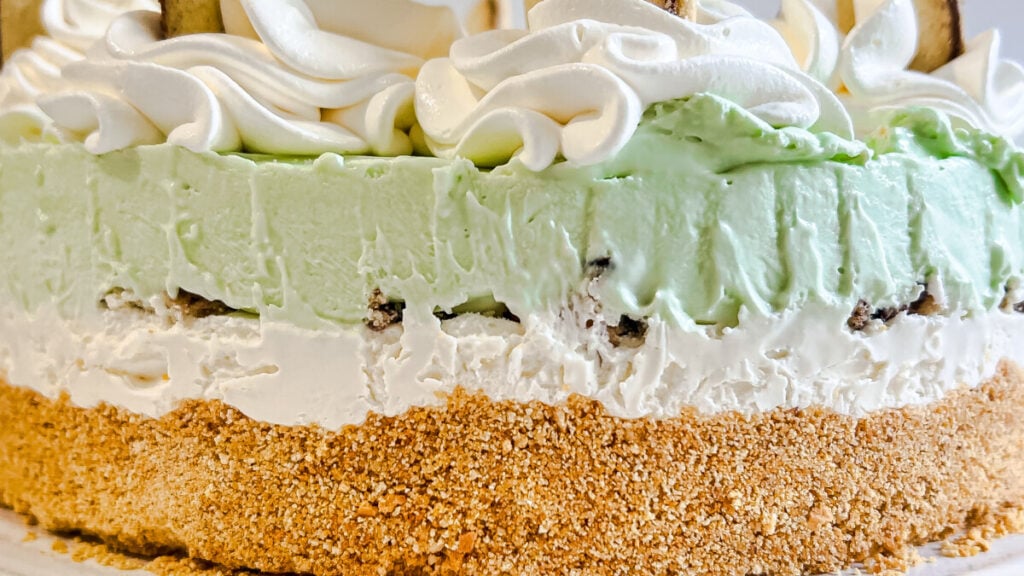
The cheesecake starts with a simple homemade graham cracker crust. Half of the creamy cheesecake filling stays white, then 12 crumbled Mint Milano cookies are scattered over the top. The remaining cheesecake batter gets a touch of mint extract and just enough green food coloring to create a pretty pale mint color before it’s spread over the cookie layer.
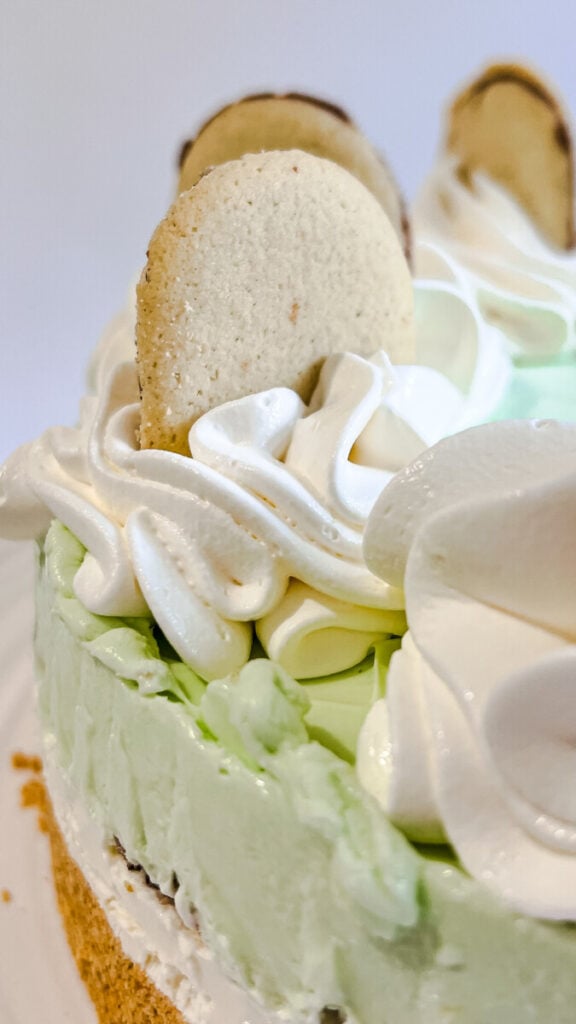
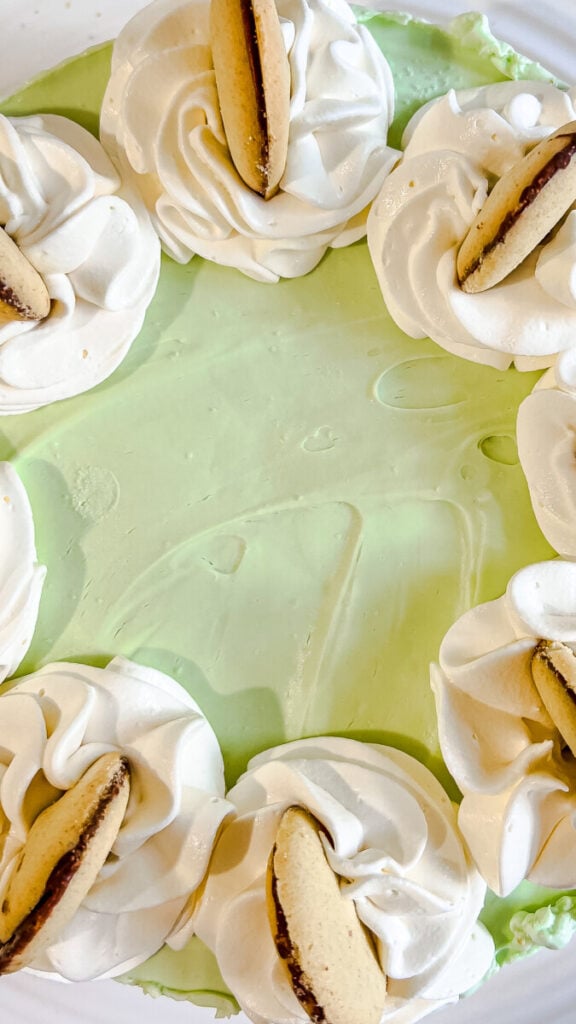
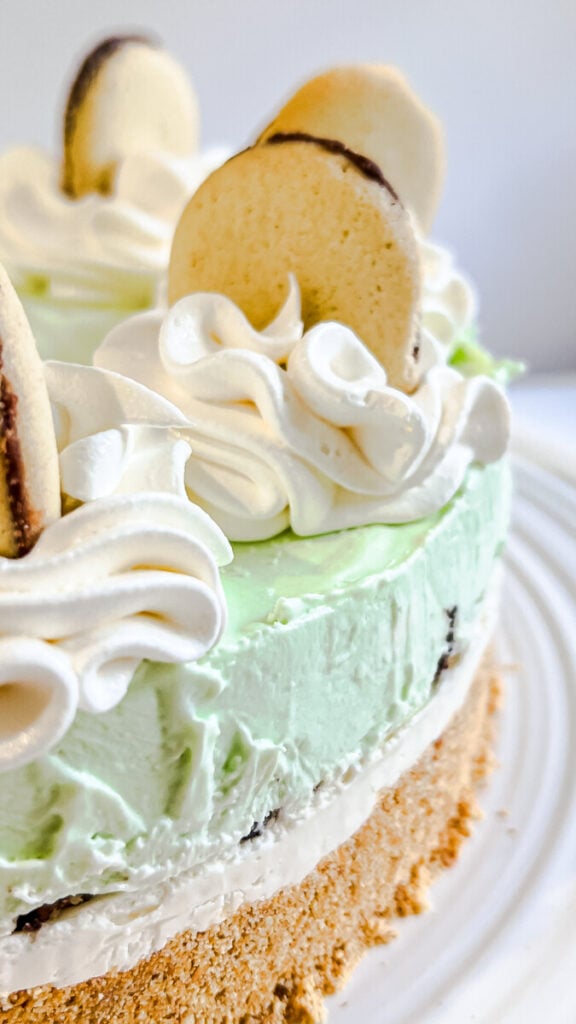
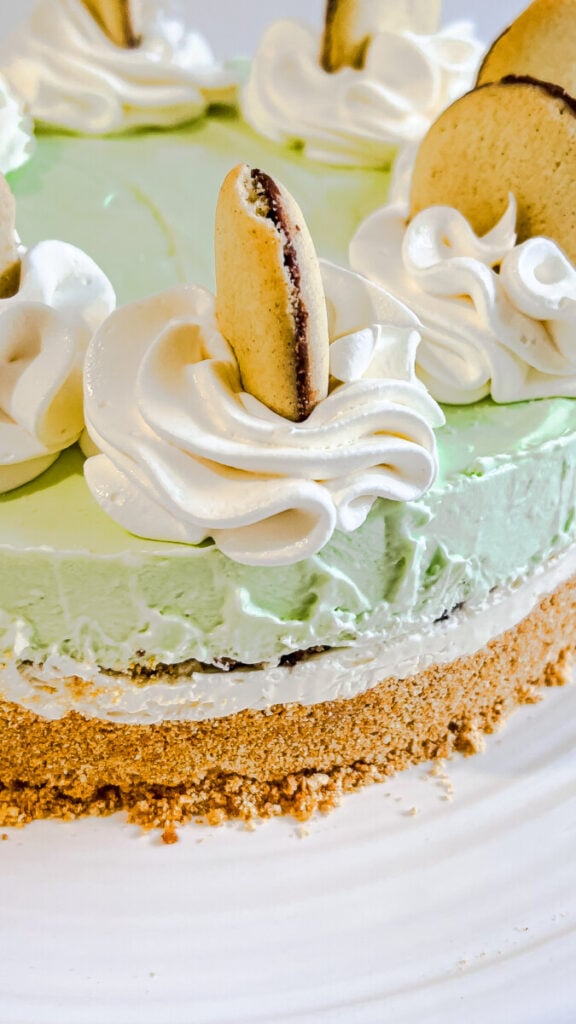
After chilling, I like to decorate the top with big whipped cream dollops and Mint Milano cookie halves.
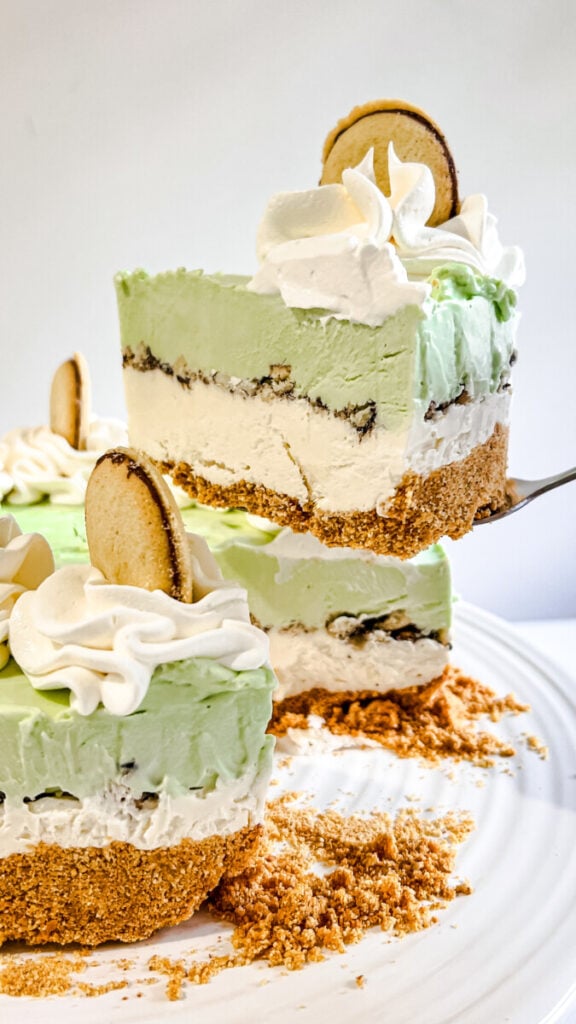
The result is a beautiful layered cheesecake that’s incredibly easy to make—and you never have to turn on the oven.
Mint Milano cookies have crisp cookies surrounding a chocolate-mint filling, so they’re especially good for adding both chocolate and mint flavor to a creamy cheesecake.
Why You’ll Love This Recipe
There is so much to love about this easy cheesecake. It’s completely no-bake, can be prepared ahead of time, and the pale mint-green top makes it especially pretty for spring.
The best part, though, is that layer of cookies hiding in the center. Instead of crushing all the Mint Milano cookies into the crust, we’re keeping the graham cracker crust simple and putting the cookies where you’ll really notice them.
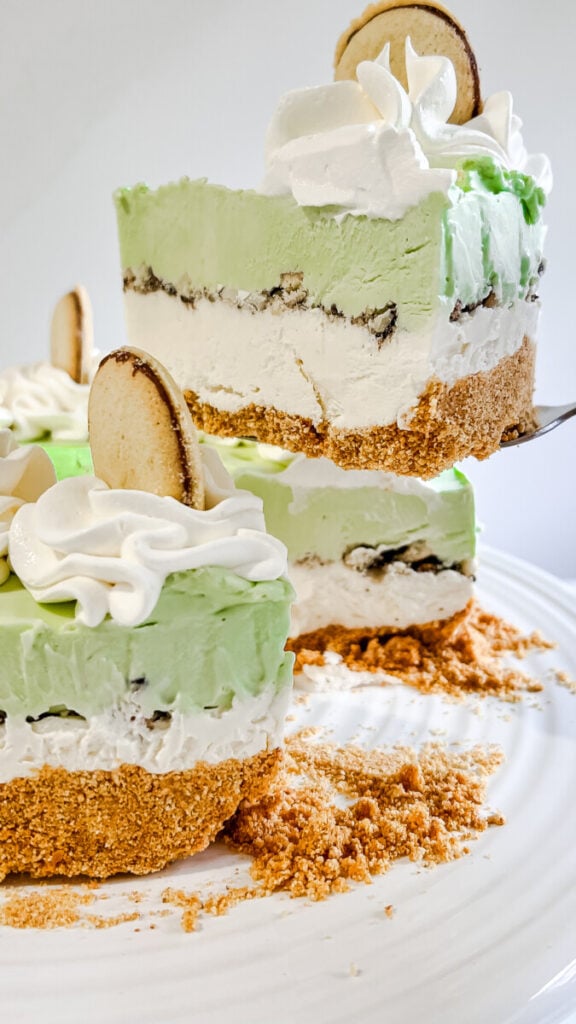
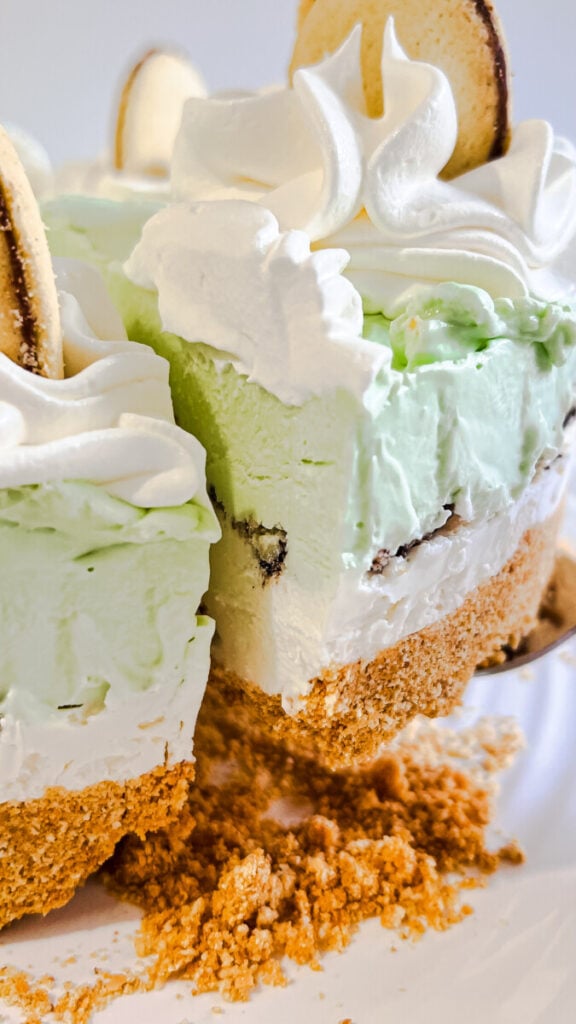
When you cut a slice, you get buttery graham cracker crust, creamy white cheesecake, pieces of chocolate mint cookies, and that beautiful mint cheesecake layer.
It’s an easy dessert that looks much more elaborate than it actually is.
Ingredients
Graham Cracker Crust
- 2 cups graham cracker crumbs
- 1/3 cup granulated sugar
- 1/2 cup butter, melted
Cheesecake Filling
- 3 (8-ounce) packages cream cheese, softened
- 1 cup granulated sugar
- 1 cup sour cream
- 2 teaspoons vanilla extract
- 1/2 teaspoon mint extract
- Green food coloring, just enough to make a light mint-green color
- 12 Mint Milano cookies, roughly crumbled
For Decorating
- Whipped cream
- Additional Mint Milano cookies, cut in half
Before You Begin
The most important thing you can do before making a no-bake cheesecake is soften the cream cheese.
You’ll be using three packages, and all of them should be softened to room temperature before you start mixing.
Cold cream cheese is much more difficult to blend smoothly and can leave little lumps throughout your cheesecake filling.
You also want to be conservative with both the mint extract and food coloring. Mint can quickly overpower a dessert, and we’re looking for a delicate mint flavor.
The same is true of the color. Think soft mint green, not bright green.
How to Make No Bake Mint Milano Cheesecake
Make the Graham Cracker Crust
Add the graham cracker crumbs and granulated sugar to a medium mixing bowl.
Pour in the melted butter and stir until all of the crumbs are evenly coated.
The mixture should resemble wet sand and hold together when you press it between your fingers.
Transfer the mixture to a 9-inch springform pan.
Press the graham cracker mixture firmly and evenly across the bottom of the pan. The flat bottom of a measuring cup works really well for compacting the crust.
Place the crust in the refrigerator or freezer while you prepare the filling.
Make the Cheesecake Filling
Place the softened cream cheese and granulated sugar in a large mixing bowl.
Beat with an electric mixer until the mixture is completely smooth, creamy, and fluffy.
Add the sour cream and vanilla extract and continue mixing until everything is well combined.
Add the mint extract and mix again.
Scrape down the sides and bottom of the bowl so there aren’t any pockets of unmixed cream cheese.
Add the White Cheesecake Layer
Take the graham cracker crust out of the refrigerator.
Spoon half of the cheesecake filling over the crust.
Don’t add food coloring yet. This first layer stays white.
Use an offset spatula or the back of a spoon to gently spread the cheesecake filling into an even layer.
Add the Mint Milano Cookie Layer
Roughly crumble 12 Mint Milano cookies.
Don’t turn them into fine crumbs. You want small and medium pieces of cookie so you can actually see and taste them in the finished cheesecake.
Sprinkle the cookie pieces evenly over the white cheesecake filling.
This creates that delicious chocolate-mint cookie layer right through the middle of every slice.
Make the Mint-Green Layer
Now take the remaining cheesecake filling and add a very small amount of green food coloring.
Stir until evenly colored.
Add another tiny amount if necessary until you have a light mint-green cheesecake filling.
It’s much easier to add more coloring than it is to fix cheesecake batter that’s become too dark, so go slowly.
Finish the Cheesecake
Carefully spoon the mint-green cheesecake filling over the crumbled cookies.
Spread it gently toward the edges, being careful not to disturb the cookie layer underneath.
Smooth the top.
You should now have three distinct layers above the crust: white cheesecake, Mint Milano cookie pieces, and pale mint cheesecake.
Chill the Cheesecake
Cover the cheesecake and place it in the freezer for at least 1 hour, or leave it overnight.
The cheesecake needs to become firm enough to hold its shape when the springform pan is removed.
If you freeze it overnight and it becomes very firm, transfer it to the refrigerator before serving and give it enough time to soften to a creamy cheesecake consistency.
Decorate
Once the cheesecake has set, carefully remove the outside of the springform pan.
Pipe whipped cream dollops around the outside edge of the cheesecake.
Cut additional Mint Milano cookies in half and gently place one cookie half into each whipped cream dollop.
Keep the cheesecake chilled until you’re ready to serve.
Why Mint Milano Cookies Work So Well in Cheesecake
Mint and chocolate are already a classic dessert combination, but Mint Milano cookies bring another texture to the cheesecake.
The cookies themselves are crisp with a chocolate-mint center. Once crumbled into the cheesecake, you get pieces of cookie and chocolate running between the two creamy layers.
And because we don’t completely pulverize the cookies, you can actually see that cookie layer when the cheesecake is sliced.
How Much Mint Extract Should I Use?
Start with 1/2 teaspoon.
Mint extract is much stronger than vanilla, and adding too much can overwhelm the cheesecake.
You want the cheesecake to taste creamy and chocolatey with a refreshing mint flavor—not like toothpaste.
If you prefer a stronger mint flavor, taste the filling before assembling the cheesecake and add a tiny amount more.
How to Get the Pretty Mint-Green Color
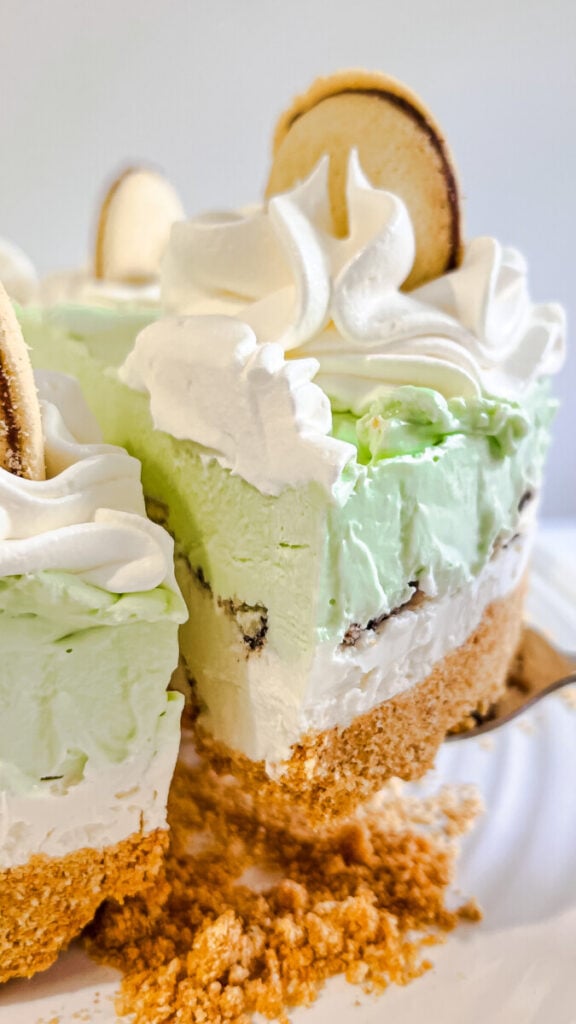
Only tint the second half of the cheesecake filling.
That’s what gives you the contrast between the white bottom layer and mint-green top layer.
Start with the smallest amount of green food coloring possible and gradually add more.
A delicate pastel green looks especially pretty next to the white cheesecake, chocolate cookies, and whipped cream.
Tips for the Best No Bake Mint Cheesecake
Use room-temperature cream cheese. This is the easiest way to get a smooth filling without cream cheese lumps.
Don’t finely crush the Milano cookies. You want pieces of cookie running through the middle.
Use a springform pan. It makes removing and displaying the cheesecake much easier.
Don’t overdo the food coloring. Pale mint green is the goal.
Let it set completely. If the filling is still very soft, give the cheesecake additional freezer time before removing the pan.
Decorate after chilling. Your whipped cream and cookie decorations will look much prettier if you add them once the cheesecake is firm.
How to Get Clean Cheesecake Slices
Start with a thoroughly chilled cheesecake.
Use a large, sharp knife and run the blade under hot water. Dry it completely and make your first cut.
Clean and warm the knife again between slices.
This is especially worthwhile for this cheesecake because clean cuts show off those beautiful layers.
Make It Ahead
This is a great dessert to make the night before a party.
Prepare and assemble the cheesecake, cover it, and freeze it overnight.
Before serving, allow it to soften in the refrigerator until it has that rich, creamy cheesecake texture.
Add the whipped cream dollops and Milano cookie halves once you’re ready to decorate.
How to Store Mint Milano Cheesecake
Keep the cheesecake covered and refrigerated when you’re not serving it.
For longer storage, you can freeze the cheesecake. I recommend freezing it without the whipped cream decorations and adding those after thawing.
Because the decorative Milano cookies can soften after sitting in whipped cream for a long time, they’re best added closer to serving.
When to Serve No Bake Mint Milano Cheesecake
The pale green color makes this a beautiful dessert for St. Patrick’s Day, Easter, and spring parties, but you don’t need a holiday to make it.
Chocolate and mint work beautifully for Christmas, birthdays, showers, dinner parties, and summer gatherings, too.
And because there’s no oven involved, it’s especially nice when you need an impressive dessert without heating up the kitchen.
Frequently Asked Questions
Is Mint Milano Cheesecake baked?
No. This is a completely no-bake cheesecake, including the graham cracker crust.
How many Mint Milano cookies go inside the cheesecake?
Use 12 roughly crumbled cookies for the center layer, plus additional cookies for decorating.
Can I leave out the green food coloring?
Absolutely. It only changes the appearance of the cheesecake, not the flavor.
Can I make this cheesecake the night before?
Yes. Overnight is actually very convenient because it gives the cheesecake plenty of time to set.
Do I need to crush the Milano cookies?
Roughly crumble them rather than crushing them into fine crumbs. You want recognizable pieces of cookie throughout the middle.
How long should the cheesecake freeze?
Give it at least one hour, or freeze it overnight. If it’s frozen solid, soften it in the refrigerator before serving.
How many servings does this cheesecake make?
A 9-inch cheesecake will make approximately 10–12 slices. For your recipe card, I’d set the yield at 12 servings.
Prep Time: 25 minutes
Freeze Time: 1 hour minimum
Total Time: 1 hour 25 minutes
Servings: 12 slices
Pan: 9-inch springform pan