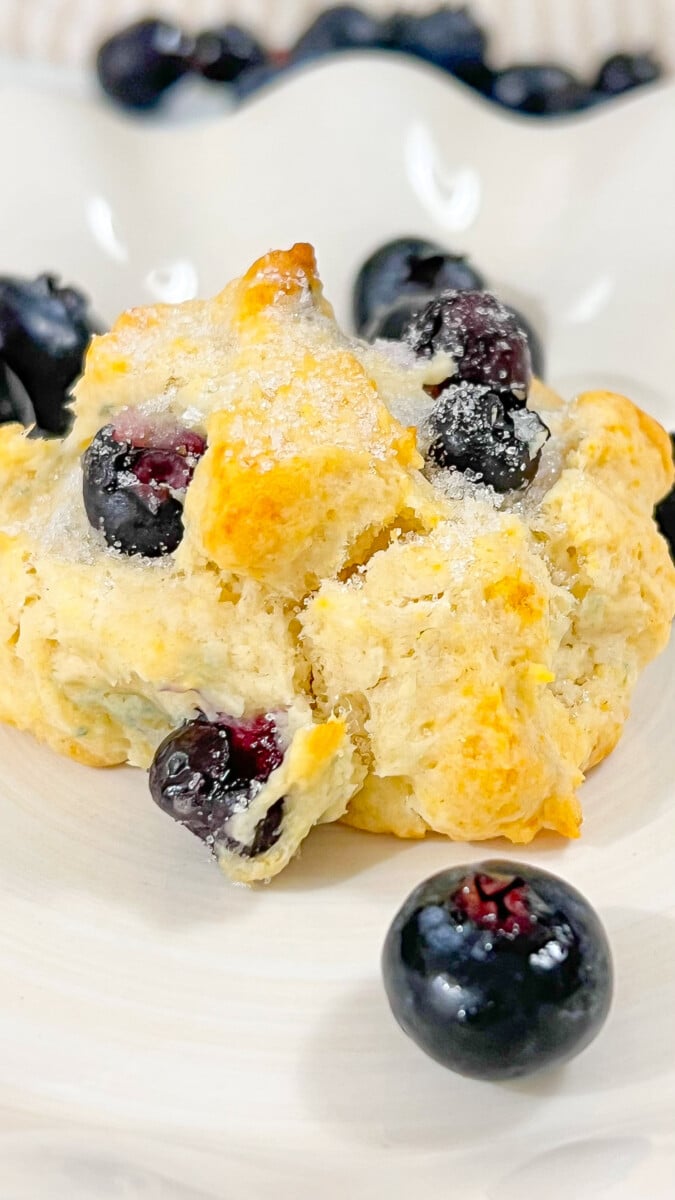
Homemade Gluten-Free Biscuits
Homemade Gluten-Free Biscuits
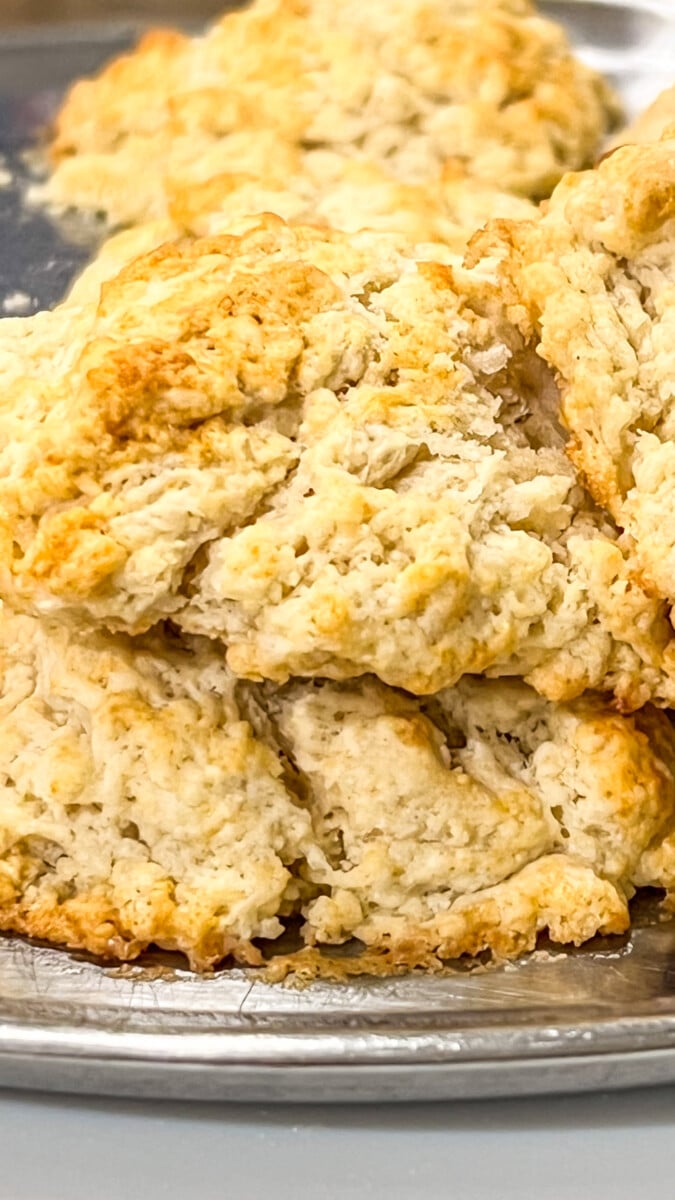
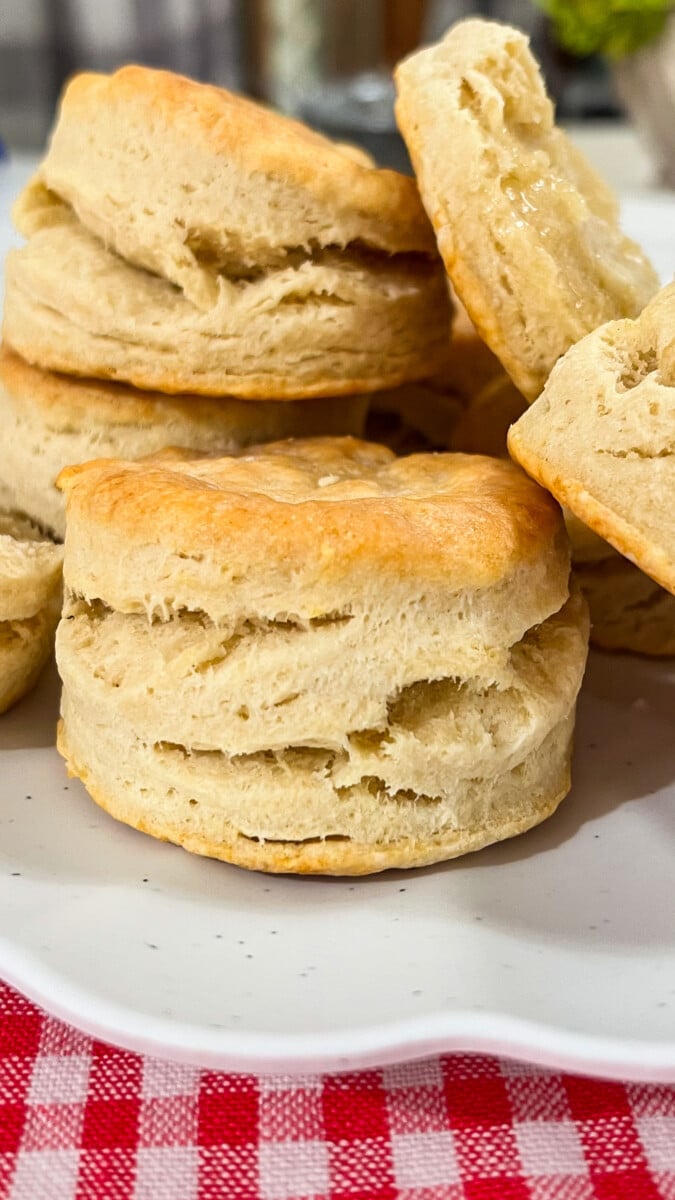
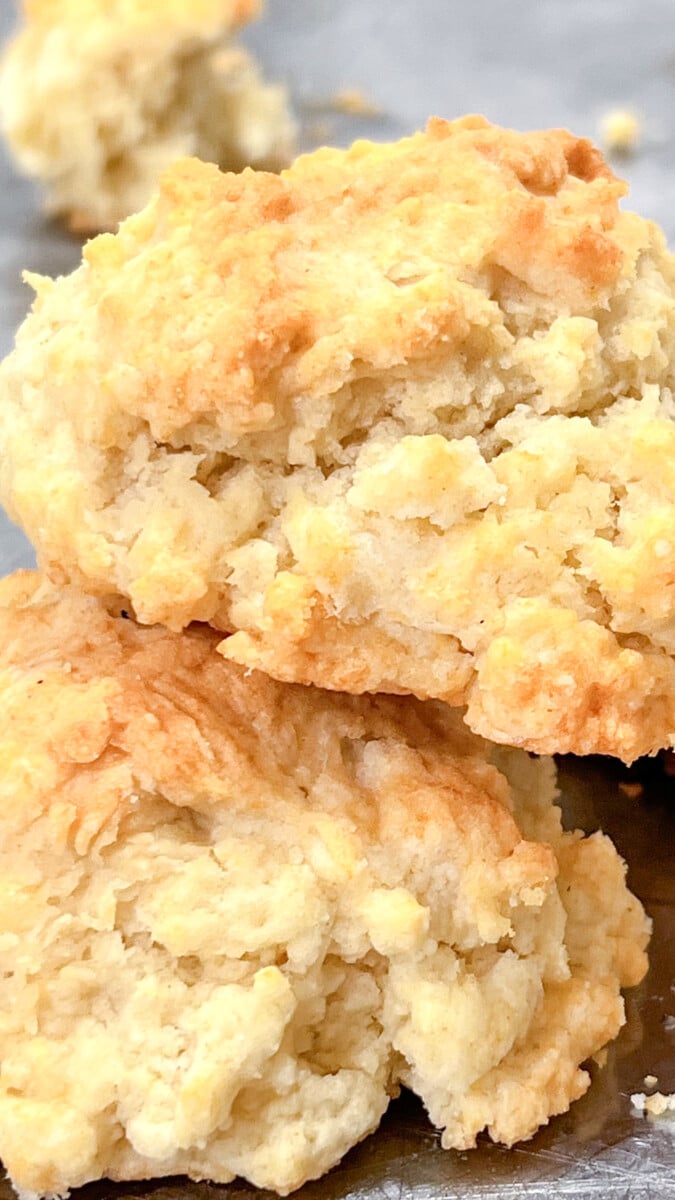
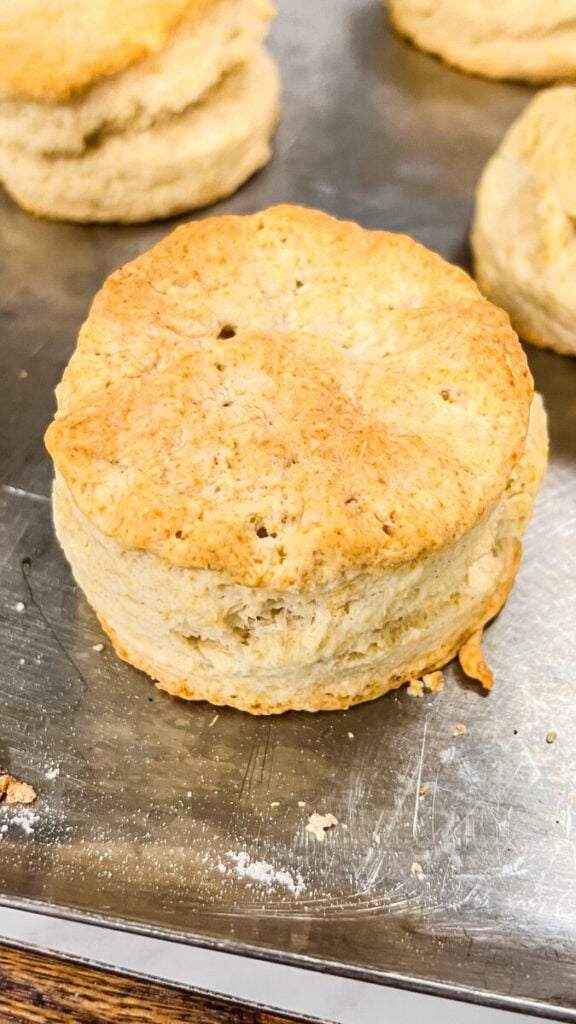
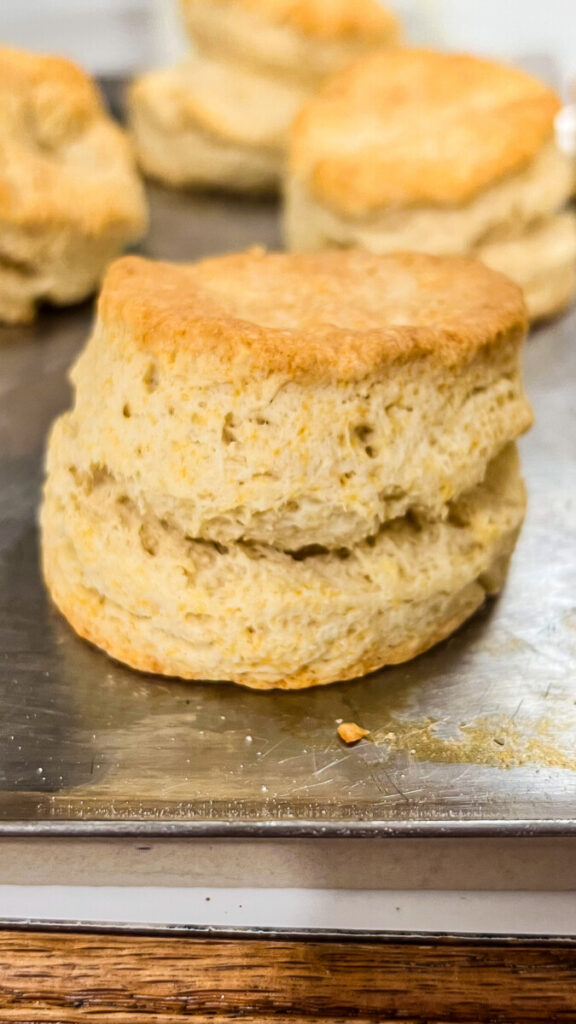
These homemade gluten-free biscuits are soft, fluffy, buttery, and surprisingly easy to make. With golden tops and tender, flaky centers, they’re everything you want from a classic homemade biscuit—just without the gluten.
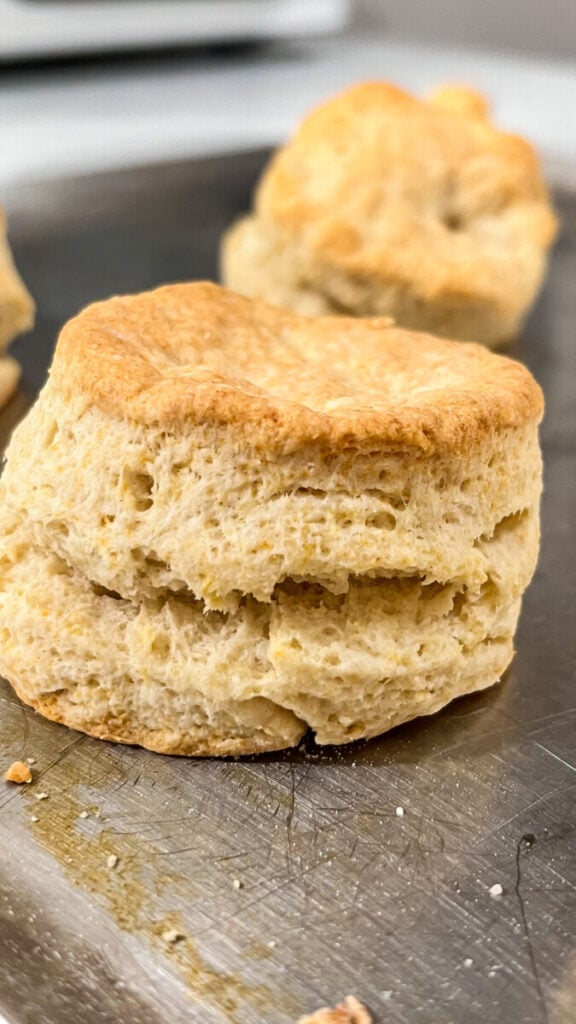
If you’ve ever tried a gluten-free biscuit that was dry, crumbly, or dense, this recipe is for you. The secret is starting with a good gluten-free flour blend, using very cold butter, and being careful not to overwork the dough.
Serve these warm gluten-free biscuits with butter and honey for breakfast, alongside soup or chili for dinner, or use them to make breakfast sandwiches and biscuits and gravy.
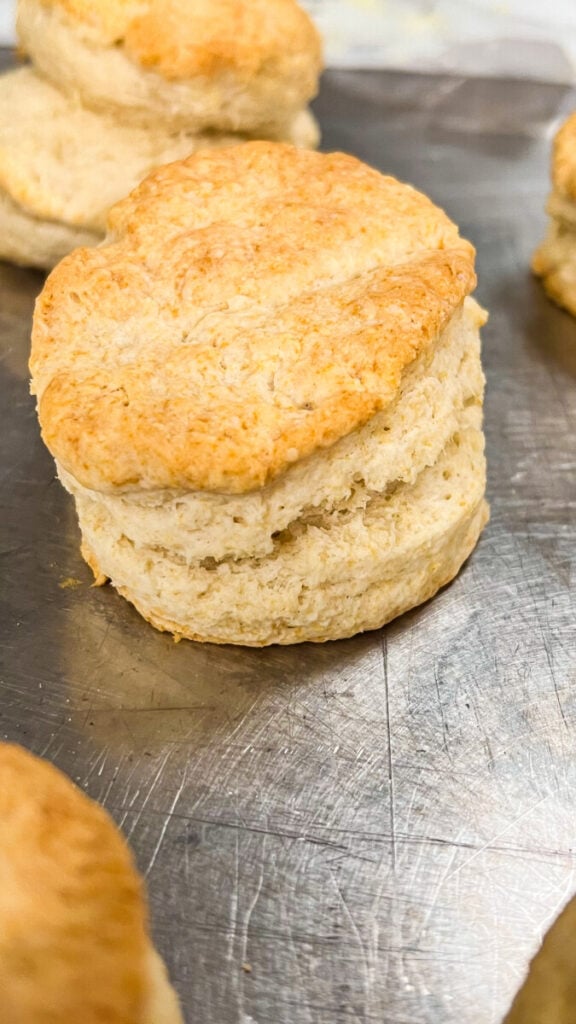
Why You’ll Love These Gluten-Free Biscuits
- Soft and fluffy centers
- Buttery, golden edges
- Easy to make from scratch
- No yeast required
- Made with simple ingredients
- Ready in about 30 minutes
- Perfect for sweet or savory toppings
- Great for breakfast, brunch, or dinner
Ingredients
- 2 cups gluten-free 1-to-1 baking flour blend with xanthan gum
- 1 tablespoon baking powder
- 1 tablespoon granulated sugar
- 1/2 teaspoon baking soda
- 1 teaspoon salt
- 1/2 cup unsalted butter, very cold
- 3/4 cup cold buttermilk, plus more as needed
- 2 tablespoons melted butter, for brushing
Important: For the best texture, use a gluten-free flour blend designed as a 1-to-1 replacement for regular all-purpose flour. If your blend does not contain xanthan gum, you’ll need to add it according to the manufacturer’s recommendations.
How to Make Homemade Gluten-Free Biscuits
Step 1: Prepare the Oven
Preheat the oven to 425°F.
Line a baking sheet with parchment paper or lightly grease a cast-iron skillet.
Step 2: Mix the Dry Ingredients
In a large mixing bowl, whisk together the gluten-free flour, baking powder, sugar, baking soda, and salt.
Make sure everything is evenly combined before adding the butter.
Step 3: Cut in the Cold Butter
Cut the cold butter into small cubes.
Add it to the flour mixture and use a pastry cutter, fork, or your fingertips to work the butter into the flour.
Stop when the mixture resembles coarse crumbs with some pea-sized pieces of butter remaining.
Those little pieces of cold butter help create pockets of steam as the biscuits bake, giving them a lighter, flakier texture.
Step 4: Add the Buttermilk
Pour the cold buttermilk into the flour mixture.
Gently stir until a shaggy dough begins to form.
If the dough seems extremely dry, add additional buttermilk 1 tablespoon at a time. Gluten-free flour blends absorb liquid differently, so you may need slightly more or less depending on the brand you’re using.
The dough should be soft and slightly tacky but not wet.
Step 5: Shape the Biscuits
Turn the dough onto a lightly gluten-free-floured surface.
Gently bring the dough together with your hands. Do not knead it like bread dough.
Pat the dough into a rectangle about 1 inch thick.
For extra layers, gently fold the dough in half, pat it out again, and repeat once or twice.
Step 6: Cut the Biscuits
Use a 2 1/2- to 3-inch biscuit cutter to cut out the biscuits.
Press the cutter straight down into the dough rather than twisting it. Twisting can seal the edges and prevent the biscuits from rising as well.
Place the biscuits close together on the prepared baking sheet or in the skillet.
Step 7: Bake
Brush the tops with a little buttermilk if desired.
Bake at 425°F for approximately 14–18 minutes, or until the biscuits have risen and the tops are golden brown.
Step 8: Add Butter
As soon as the biscuits come out of the oven, brush the warm tops generously with melted butter.
Serve warm.
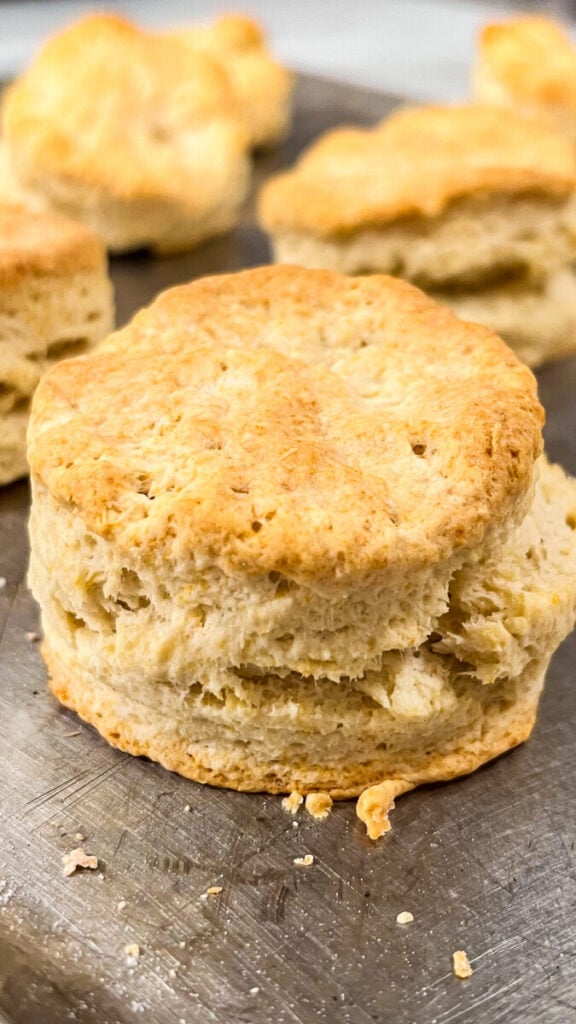
The Secret to Fluffy Gluten-Free Biscuits
Gluten-free biscuit dough behaves differently from traditional biscuit dough, but a few simple techniques can make a huge difference.
Keep everything cold. Cold butter is essential. You want small pieces of butter to remain in the dough when the biscuits go into the oven.
Don’t overwork the dough. Mix and handle the dough only until everything comes together.
Use a quality flour blend. Different gluten-free flour blends can produce dramatically different results. A 1-to-1 baking blend containing xanthan gum works best for this recipe.
Give the flour a moment to hydrate. After mixing the dough, letting it rest for about 5 minutes before shaping can help the gluten-free flour absorb the liquid.
Bake at a high temperature. A hot oven helps the biscuits rise quickly while creating beautifully golden tops.
Can I Make Gluten-Free Biscuits Without Buttermilk?
Yes.
If you don’t have buttermilk, add 1 tablespoon of lemon juice or white vinegar to a measuring cup and then add enough milk to equal 3/4 cup.
Let the mixture sit for about 5 minutes before adding it to the biscuit dough.
What Gluten-Free Flour Is Best for Biscuits?
Look for a gluten-free 1-to-1 or cup-for-cup baking flour that’s designed to replace all-purpose flour.
For this recipe, choose a blend that already contains xanthan gum. Because gluten-free flour blends contain different combinations of rice flour, starches, and binders, the amount of liquid needed can vary slightly from one brand to another.
Why Are My Gluten-Free Biscuits Crumbly?
Crumbly biscuits are often caused by too much flour or not enough liquid.
Gluten-free flour can continue absorbing moisture after the ingredients are mixed. If your dough looks dry and won’t hold together when gently pressed, add another tablespoon of buttermilk.
The dough shouldn’t be soaking wet, but it should hold together easily.
How to Make Taller Biscuits
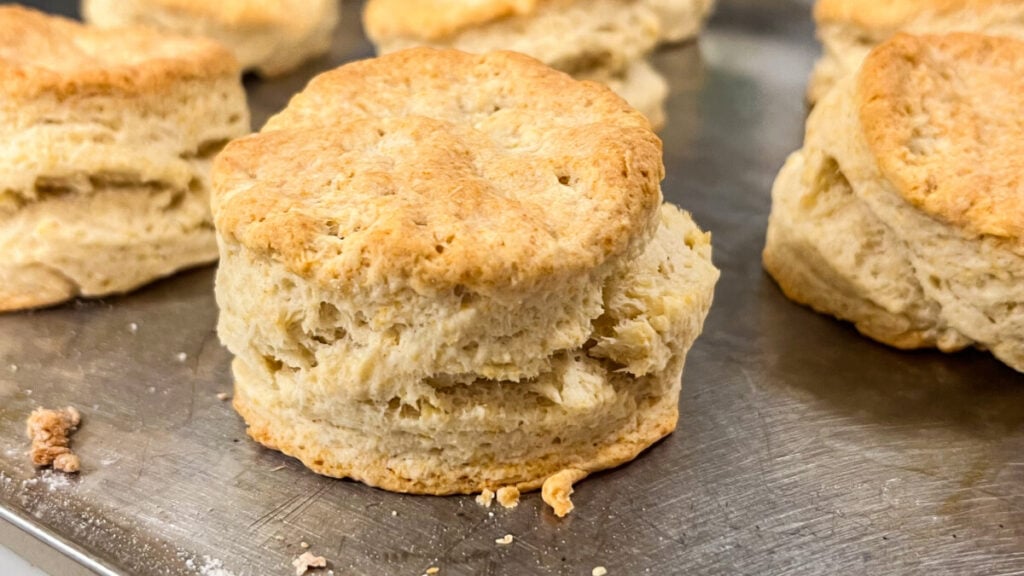
For tall bakery-style biscuits, keep your dough about 1 inch thick before cutting.
You can also arrange the biscuits so they’re almost touching on the baking sheet. As they rise, the neighboring biscuits help support one another rather than spreading outward.
And don’t twist your biscuit cutter—press straight down and lift straight back up.
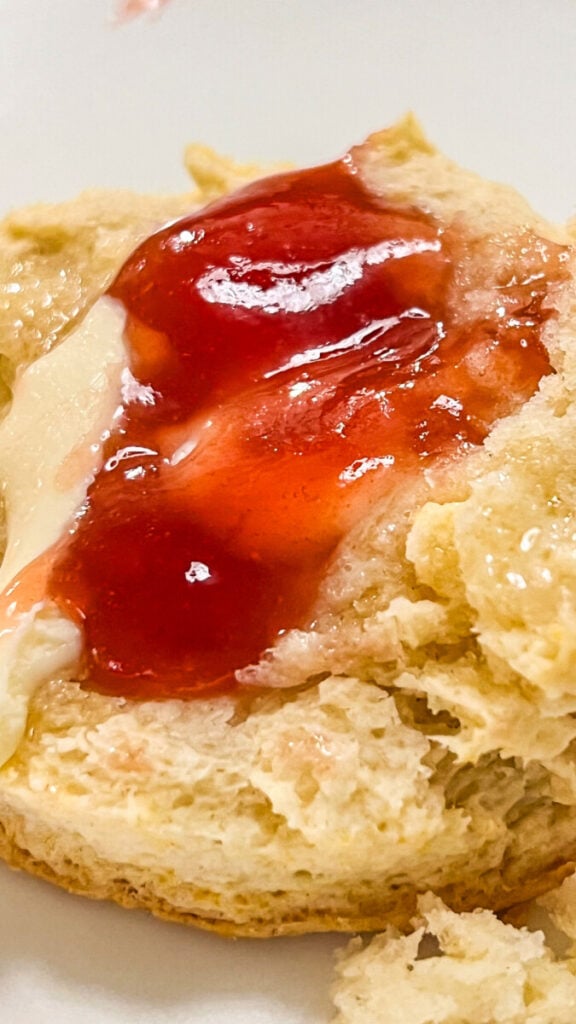
What to Serve with Gluten-Free Biscuits
Serve these biscuits warm with:
- Butter
- Honey
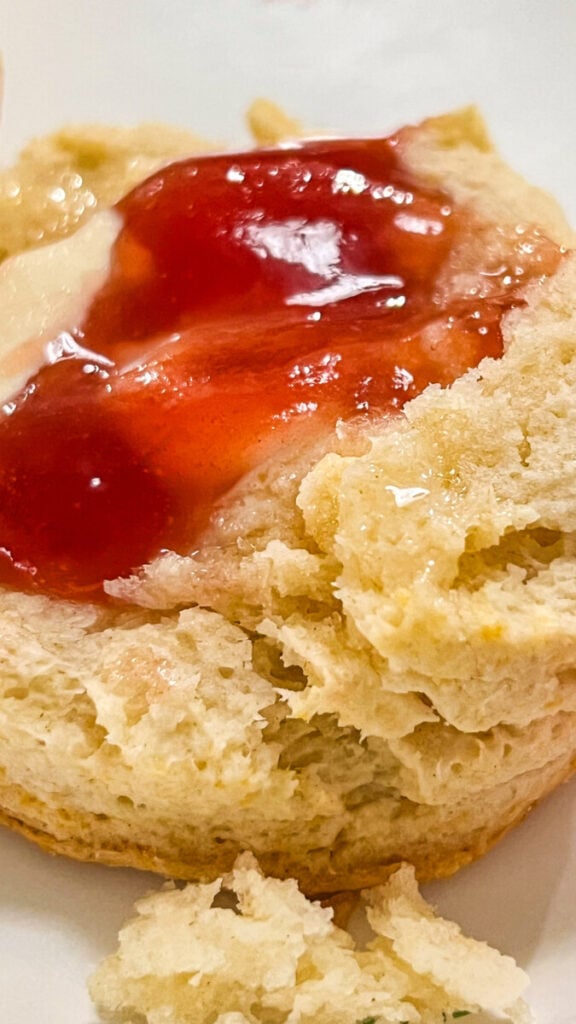
- Homemade jam
- Strawberry preserves
- Sausage gravy
- Scrambled eggs
- Fried chicken
- Soup
- Chili
- Stew
They’re also delicious sliced in half and used for breakfast sandwiches with eggs, bacon, sausage, and cheese.
How to Store Gluten-Free Biscuits
Store leftover biscuits in an airtight container at room temperature for up to 2 days or refrigerate them for up to 4 days.
For the best texture, warm them before serving.
Can You Freeze Gluten-Free Biscuits?
Yes. Let the baked biscuits cool completely and place them in a freezer-safe container or freezer bag.
Freeze for up to 2 months.
Reheat individual biscuits in the microwave or warm several biscuits together in the oven until heated through.
Recipe Notes
Gluten-free flour blends vary considerably, so watch the texture of the dough rather than relying solely on the exact amount of buttermilk.
Keep the butter and buttermilk cold until you’re ready to use them.
Avoid packing the flour into the measuring cup. Spoon it into the cup and level the top, or weigh your flour according to the weight specified by the brand you’re using.
For savory biscuits, leave out the sugar and add shredded cheddar, garlic powder, chives, or your favorite herbs.
For sweeter breakfast biscuits, brush the tops with melted butter and serve them warm with honey or homemade jam.
Easy Gluten-Free Biscuits for Any Meal
Once you know how easy homemade gluten-free biscuits can be, there’s no reason to save them for special occasions. They’re simple enough for a weekend breakfast but delicious enough to serve with Thanksgiving dinner, Easter brunch, or a comforting Sunday supper.
Warm from the oven with a little melted butter on top, these soft and fluffy gluten-free biscuits prove that giving up gluten doesn’t mean giving up a really good homemade biscuit.