Ghost Chocolate Covered Oreos
Ghost Chocolate Covered Oreos
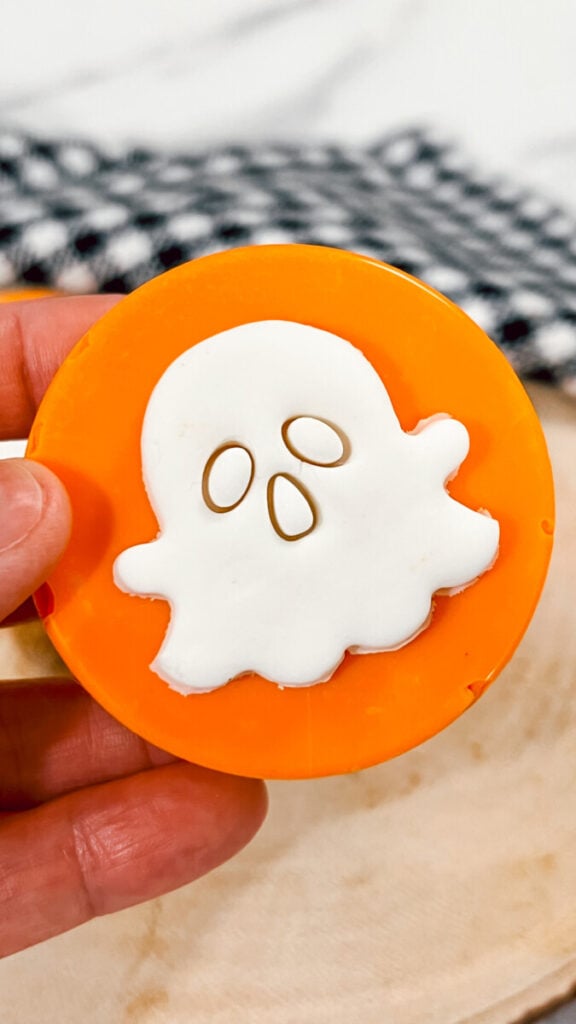
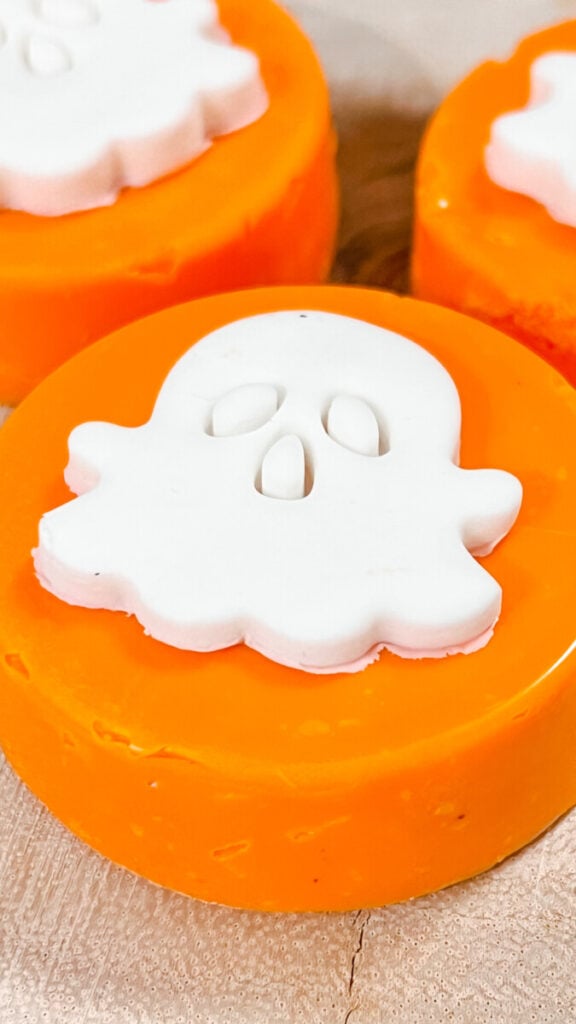
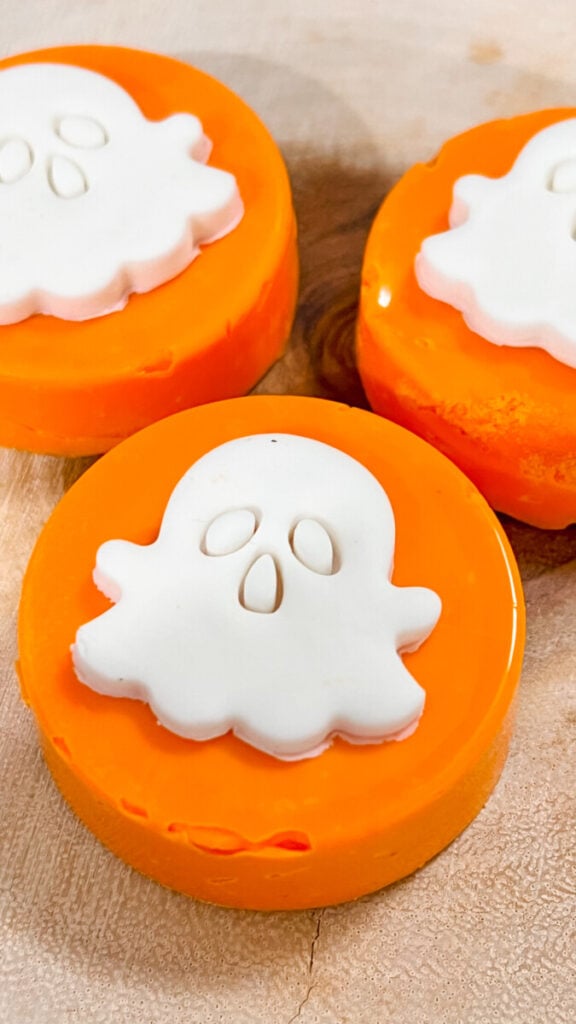
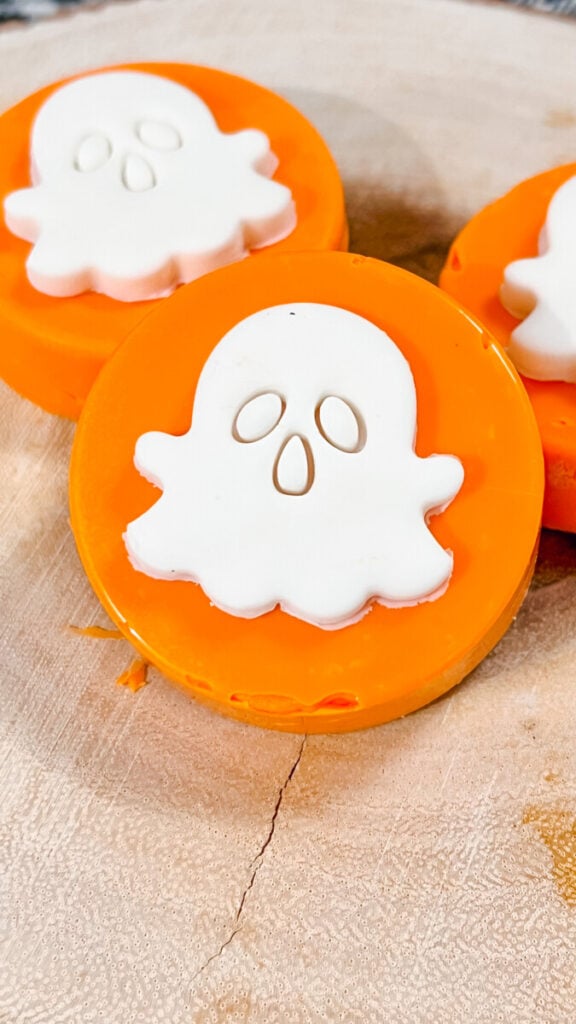
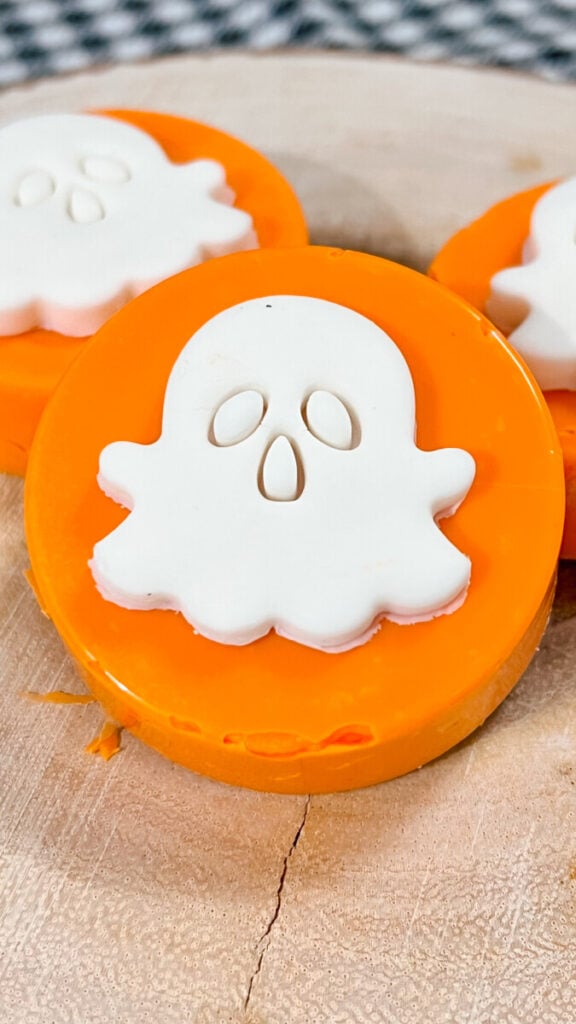
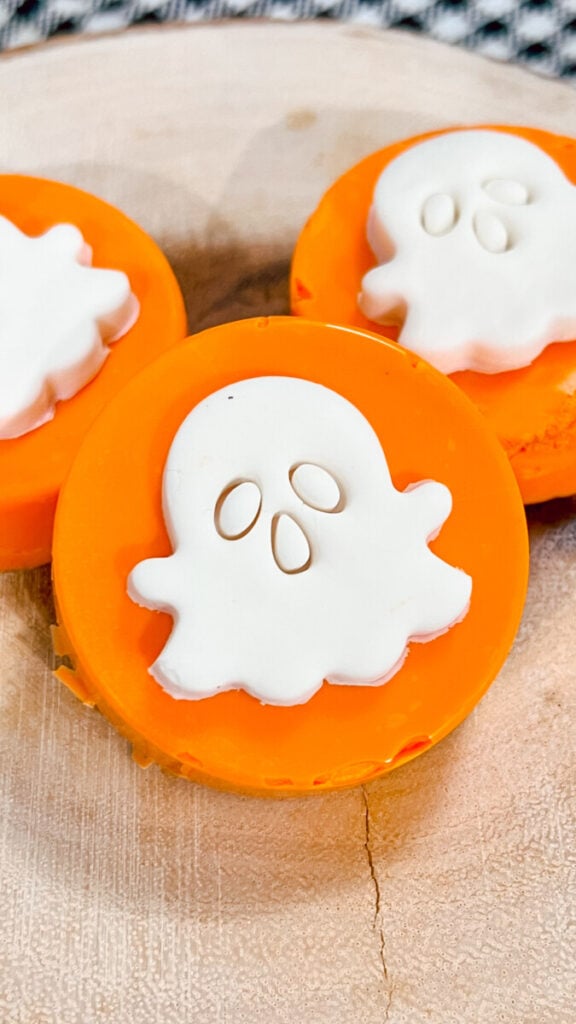
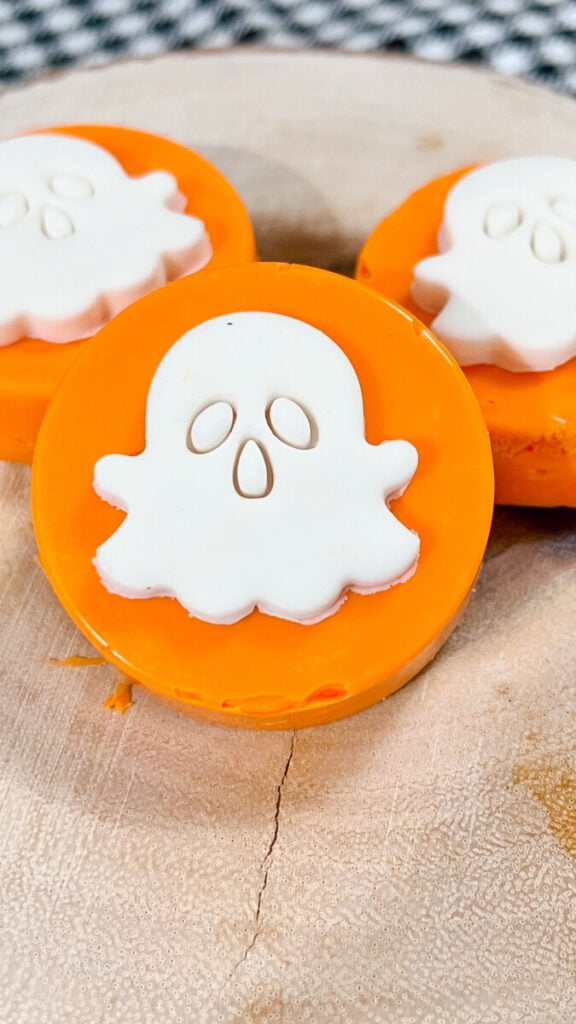
These adorable Ghost Chocolate Covered Oreos are the perfect no-bake Halloween treat! Oreo cookies are dipped inside a chocolate-covered Oreo mold using bright orange candy melts, creating smooth, bakery-style cookies that are decorated with an adorable white fondant ghost on top.
They’re festive, easy to make, and perfect for Halloween parties, classroom celebrations, trick-or-treat night, or a fun Summerween dessert.
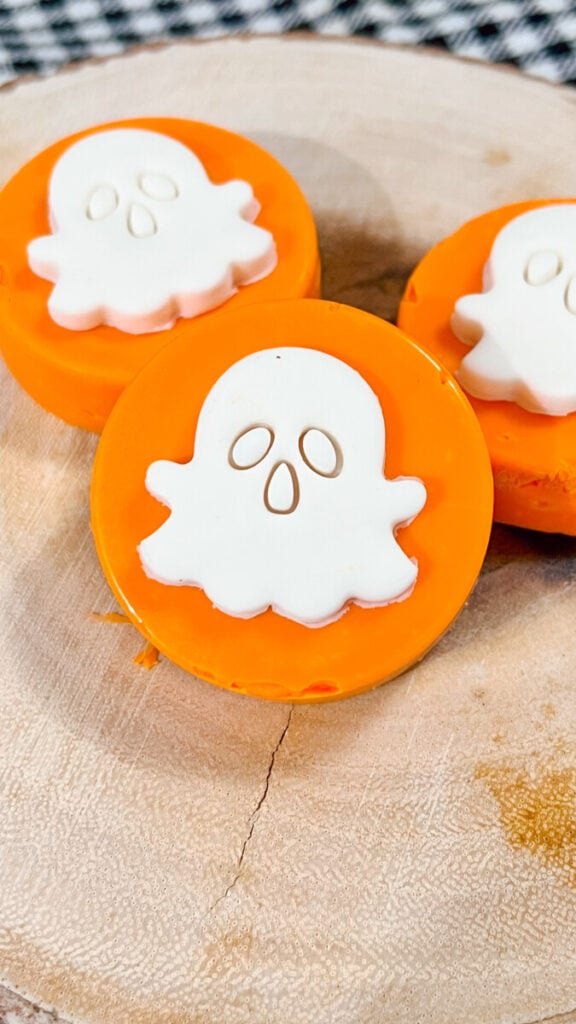
Using a chocolate-covered Oreo mold makes these cookies look professionally made while requiring very little effort. The candy coating creates a smooth, glossy finish that serves as the perfect backdrop for the cute fondant ghost decoration.
Whether you’re making Halloween dessert platters, boo baskets, or spooky party favors, these Ghost Chocolate Covered Oreos are guaranteed to be a favorite.
Why You’ll Love This Recipe
- No baking required
- Bakery-style chocolate covered Oreos
- Perfect for Halloween parties
- Great Summerween dessert
- Easy to customize
- Kid-friendly decorating activity
- Beautiful homemade gift idea
- Ready in about 30 minutes
Ingredients
- 12 Oreo cookies
- 2 bags orange candy melts
- White fondant
- Ghost-shaped fondant cutter (or cut by hand)
- Black edible food marker or black decorating icing (optional for ghost faces)
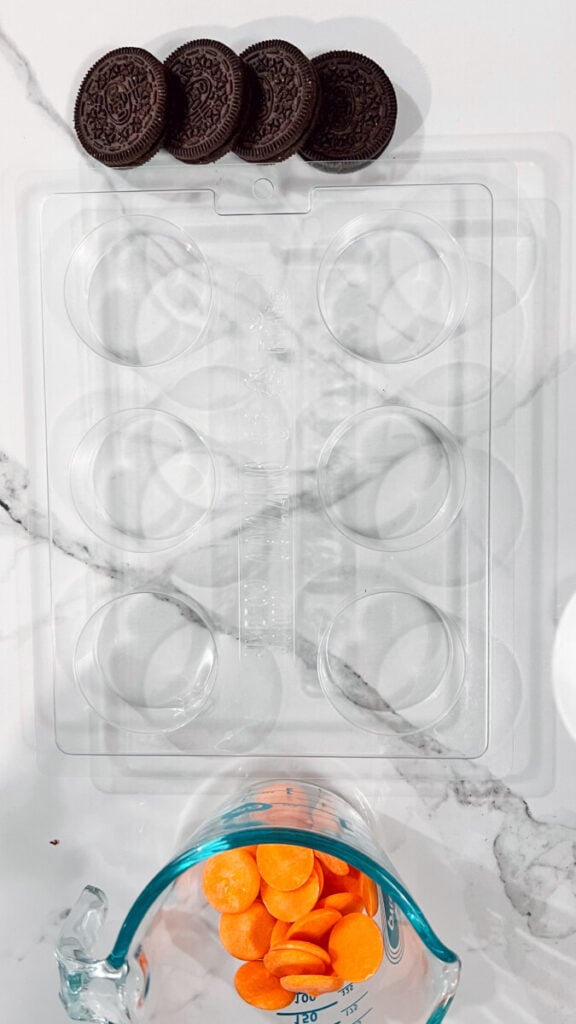
Equipment
- Chocolate-covered Oreo mold
- Microwave-safe bowl
- Small offset spatula or spoon
- Food-safe paintbrush (optional)
How to Make Ghost Chocolate Covered Oreos
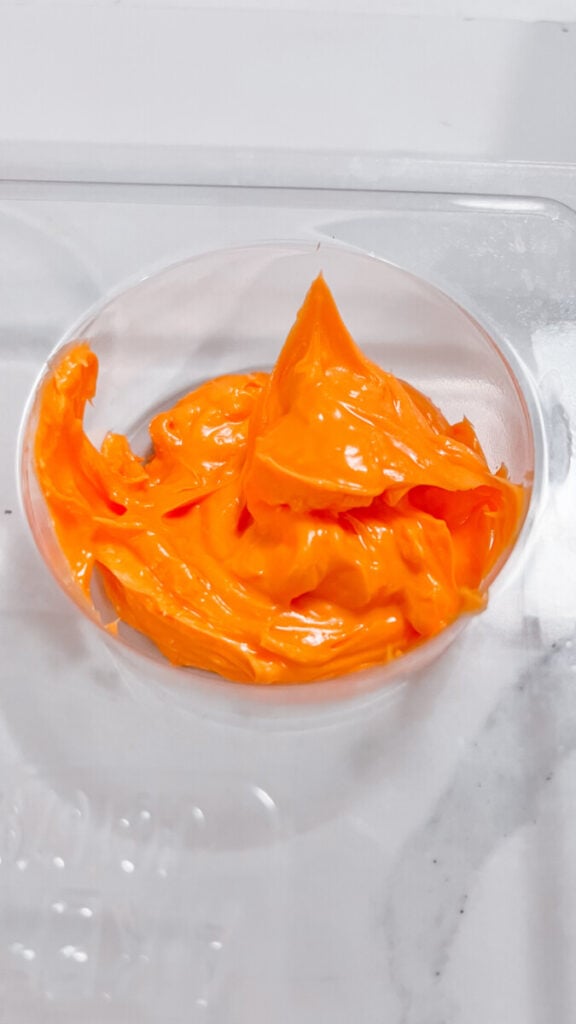
Step 1
Melt the orange candy melts according to the package directions, stirring until smooth and completely melted.
Step 2
Spoon a layer of melted orange candy into each cavity of your chocolate-covered Oreo mold, making sure the bottom is completely covered.
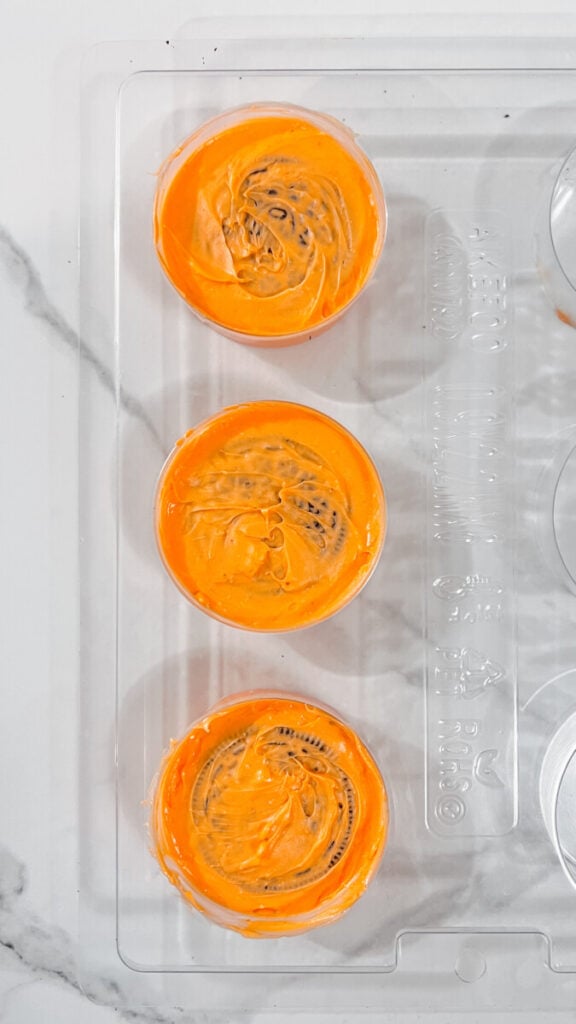
Step 3
Place one Oreo cookie into each mold cavity and gently press it into the melted chocolate.
Cover the top of each Oreo with additional melted candy melts until completely covered.
Lightly tap the mold on the countertop to remove any air bubbles and create a smooth finish.
Step 4
Allow the chocolate to harden completely. You can let the mold sit at room temperature or refrigerate it for about 10 to 15 minutes until firm.
Step 5
Carefully remove the chocolate-covered Oreos from the mold.
Step 6
Roll out the white fondant to about ⅛-inch thickness.
Using a ghost-shaped fondant cutter, cut out one ghost for each Oreo.
If desired, use a black edible marker or black decorating icing to add tiny eyes and a mouth to each ghost.
Step 7
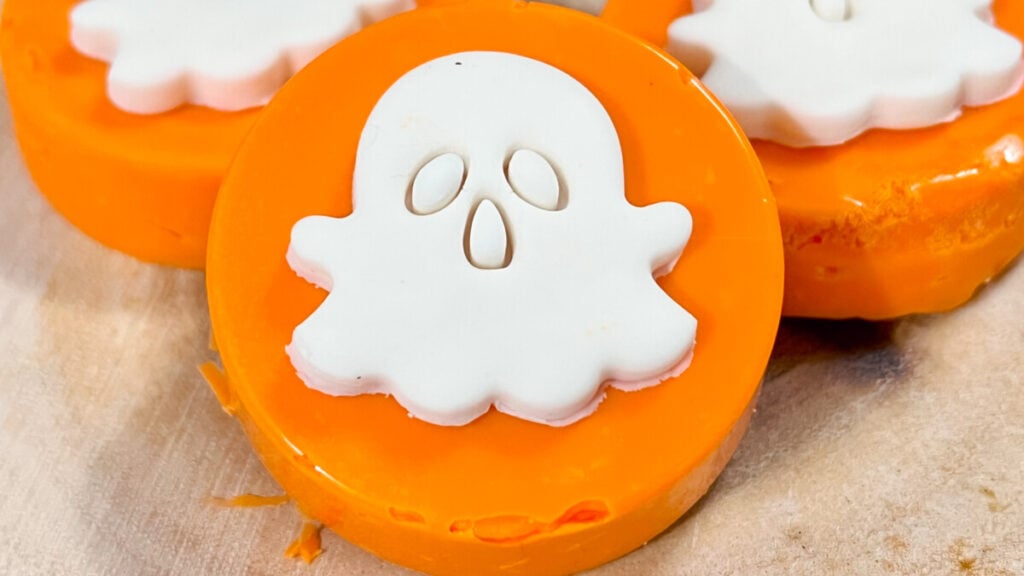
Add a small dab of melted orange candy or melted white candy melts to the back of each fondant ghost and gently press it onto the center of each chocolate-covered Oreo.
Allow the decorations to set before serving.
Tips for Perfect Chocolate Covered Oreos
- Make sure the candy melts are completely smooth before filling the mold.
- Tap the mold gently to release air bubbles.
- Don’t overfill the mold—just enough chocolate to completely cover the Oreo.
- Allow the chocolate to harden completely before removing from the mold.
- Store the finished cookies in a cool place to prevent the chocolate from softening.
Fun Variations
Once you master the mold, try making:
- Pumpkin Chocolate Covered Oreos
- Black Cat Oreos
- Candy Corn Oreos
- Bat Oreos
- Frankenstein Oreos
- Mummy Oreos
- Jack-o’-Lantern Oreos
- Spider Oreos
- Witch Hat Oreos
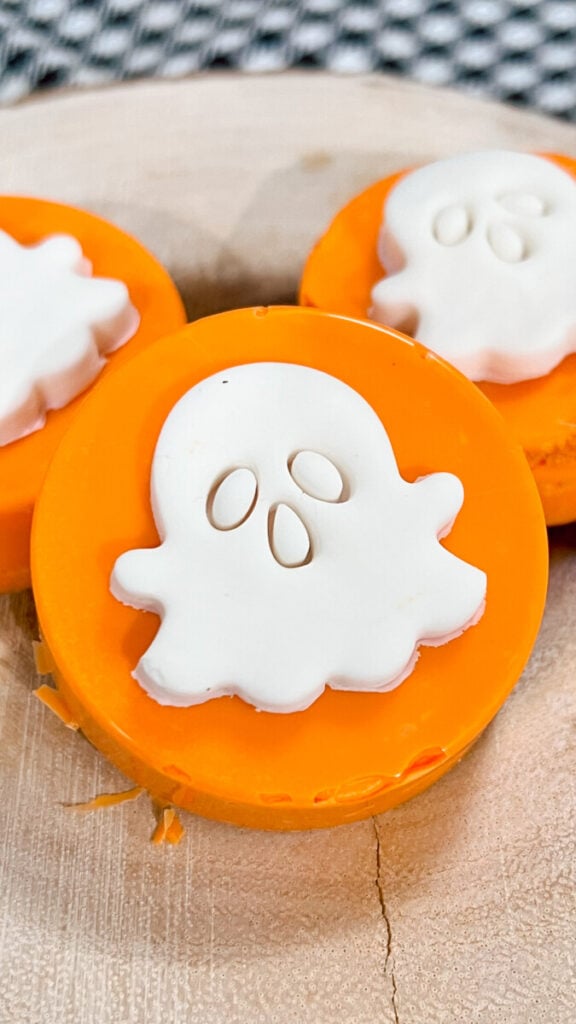
They’re beautiful arranged together on one Halloween dessert platter.
Perfect For
- Halloween parties
- Summerween celebrations
- Classroom treats
- Boo baskets
- Trick-or-treat desserts
- Halloween bake sales
- October birthdays
- Homemade edible gifts
Storage
Store the cookies in an airtight container at room temperature for up to one week.
Do not refrigerate unless your kitchen is very warm, as condensation may affect the candy coating.
Frequently Asked Questions
Do I need a chocolate-covered Oreo mold?
A mold creates perfectly smooth, professional-looking cookies and makes decorating much easier, but you can also dip Oreos by hand if you don’t have one.
Can I use different candy melt colors?
Absolutely! Try black, purple, green, white, or even swirl multiple Halloween colors together for a unique look.
Can I make these ahead of time?
Yes! They’re perfect for making several days before your Halloween party.

More Halloween Treats You’ll Love
If you love easy Halloween desserts, be sure to try my Black Cat Oreos, Halloween Rice Krispie Treats, Pumpkin Rice Krispie Treats, Peanut Butter Spider Cookies, Mummy Fudge, Chocolate Crinkle Cookies, Halloween Sugar Cookies, Candy Corn Pretzels, Candy Corn Brownies, and Halloween Cheeseburgers for even more spooky inspiration.
Jennie’s Thoughts
These Ghost Chocolate Covered Oreos are proof that simple ingredients can create stunning Halloween desserts. The bright orange chocolate coating paired with the adorable white fondant ghost makes each cookie look like it came straight from a bakery. They’re fun to make, easy to customize, and guaranteed to be the first treat to disappear from your Halloween dessert table.
Whether you’re celebrating Halloween, hosting a Summerween party, or making spooky treats with the kids, these festive Oreos are sure to become a new family tradition.