Easy Decorated Polar Bear Cookies
Easy Decorated Polar Bear Cookies
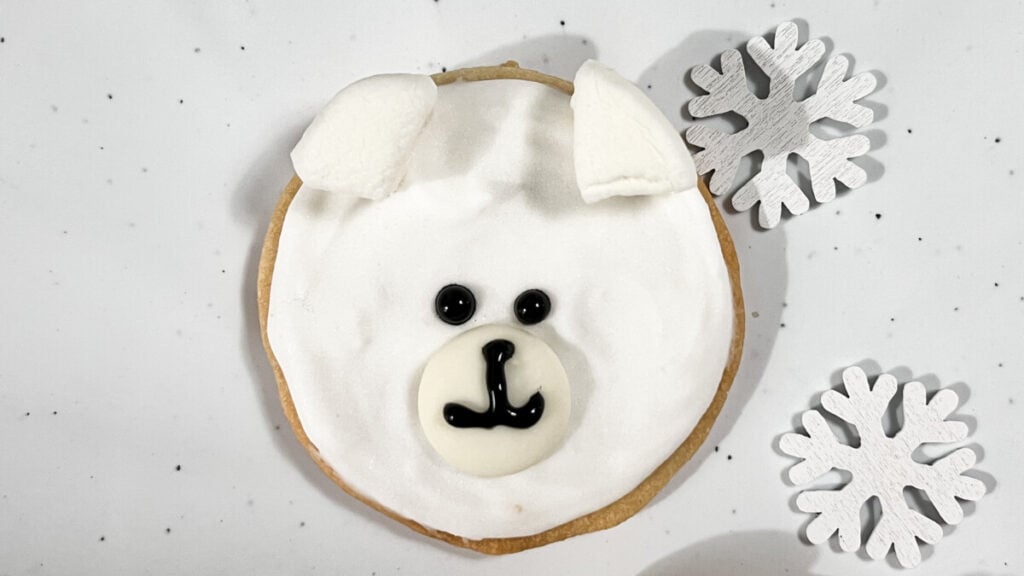
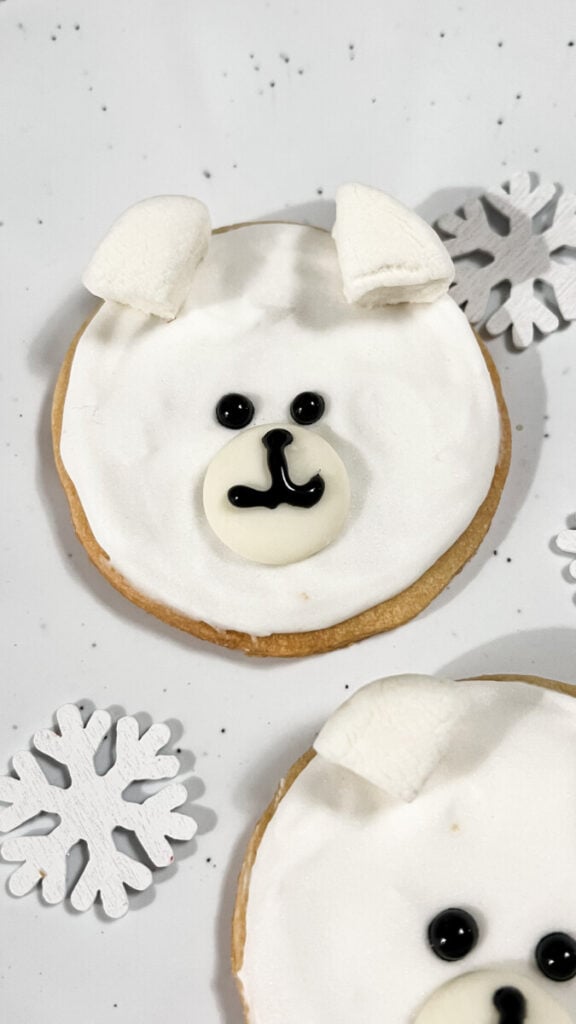
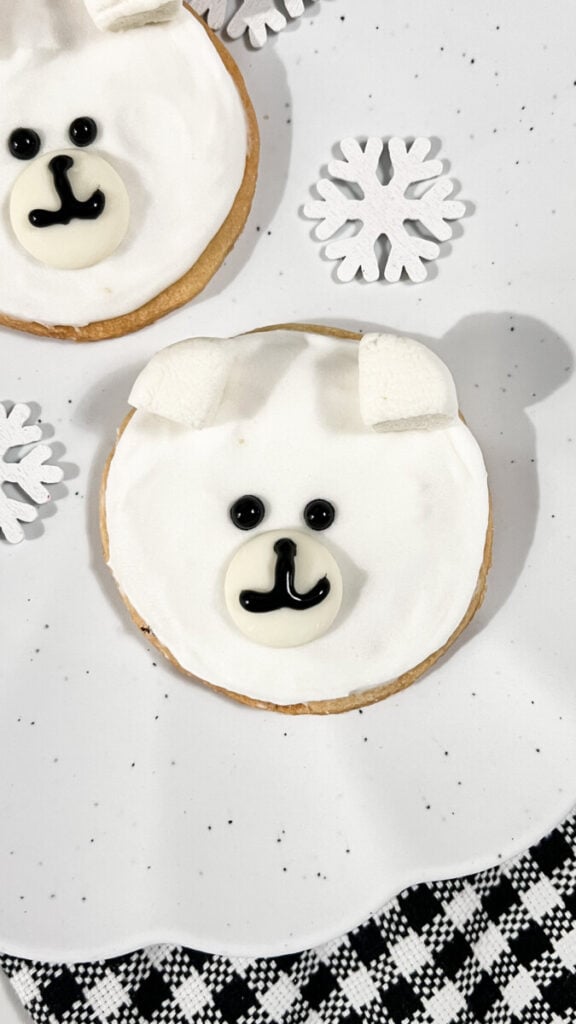
These Easy Decorated Polar Bear Cookies are the cutest winter sugar cookies! Made with homemade cutout sugar cookies, white royal icing, marshmallow ears, and a white chocolate muzzle, these adorable polar bear cookies are almost too cute to eat!
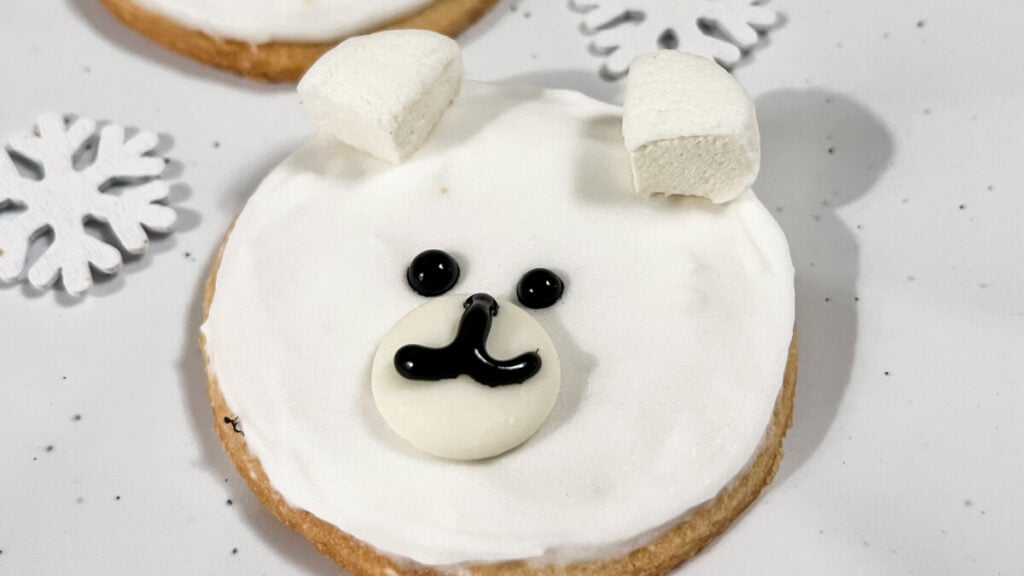
If you’re looking for an easy Christmas cookie decorating idea that doesn’t require complicated piping techniques, these sweet little polar bears are perfect.
The best part is how simple they are to decorate! A round sugar cookie becomes an adorable polar bear with a little white icing, two marshmallow ears, a white chocolate melting wafer, and a few details made with black icing.
They’re perfect for Christmas cookie trays, winter birthday parties, classroom celebrations, holiday baking, and homemade Christmas gifts.
Adorable Polar Bear Sugar Cookies
I absolutely love making decorated sugar cookies, especially when I can use simple ingredients to create something really cute.
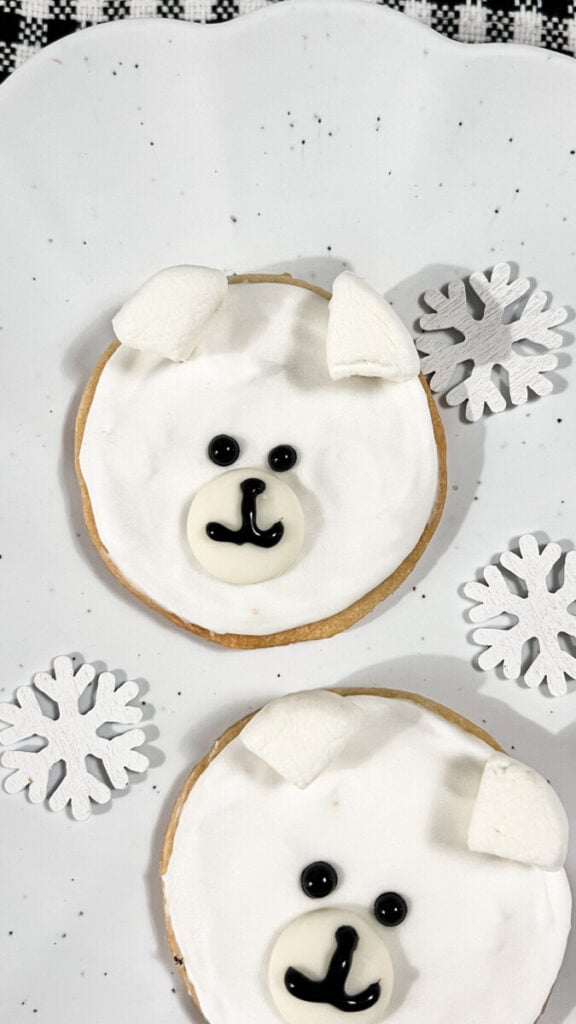
For these polar bear cookies, I started with round homemade cutout sugar cookies and covered them with smooth white royal icing.
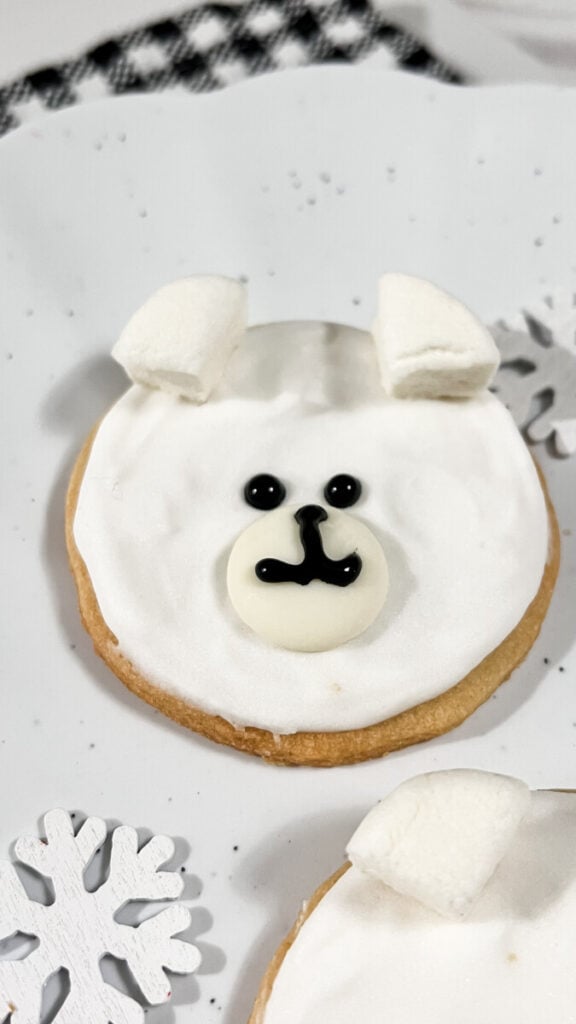
Then I added marshmallow ears and a round white chocolate melting wafer for the bear’s muzzle.
Two little black eyes and a black icing nose and mouth bring the entire face together.
The finished cookies look like adorable little polar bears!
These are such a fun alternative to traditional Christmas tree and snowflake cookies, and they’re perfect for the entire winter season.
Why You’ll Love These Cookies
- Easy polar bear cookie decorating idea
- Made with homemade cutout sugar cookies
- Simple white royal icing design
- Marshmallow ears add a cute three-dimensional detail
- White chocolate melting wafers make perfect bear muzzles
- Great for Christmas and winter parties
- No complicated cookie decorating skills required
- Perfect for holiday cookie boxes and dessert trays
Easy Decorated Polar Bear Cookies Recipe
Prep Time: 25 minutes
Chill Time: 30 minutes
Bake Time: 8–10 minutes per batch
Decorating Time: 30–45 minutes
Royal Icing Drying Time: 6–8 hours or overnight
Yield: Approximately 24 cookies
Ingredients
For the Sugar Cookies
- 1 cup unsalted butter, softened
- 1 cup granulated sugar
- 1 large egg
- 2 teaspoons vanilla extract
- 2 3/4 cups all-purpose flour
- 1/2 teaspoon baking powder
- 1/2 teaspoon salt
For the White Royal Icing
- 3 tablespoons meringue powder
- 4 cups powdered sugar
- 5–6 tablespoons warm water, plus more as needed
For Decorating
- White royal icing
- Black royal icing or black cookie decorating icing
- 24 white chocolate melting wafers
- 12 regular-size marshmallows, cut into quarters
- Additional black icing for the eyes, nose, and mouth
How to Make Easy Decorated Polar Bear Cookies
Step 1: Make the Sugar Cookie Dough
In a large mixing bowl, beat the softened butter and granulated sugar together until light and creamy.
Add the egg and vanilla extract, mixing until well combined.
In a separate bowl, whisk together the flour, baking powder, and salt.
Gradually add the dry ingredients to the butter mixture and mix until a soft dough forms.
Divide the dough into two portions, flatten into discs, and wrap in plastic wrap.
Refrigerate for approximately 30 minutes.
Step 2: Cut Out the Cookies
Preheat the oven to 350°F.
Line baking sheets with parchment paper.
Roll the chilled cookie dough on a lightly floured surface to approximately 1/4-inch thickness.
Using a round cookie cutter, cut out circles for the polar bear faces.
Arrange the cookies on the prepared baking sheets, leaving a little space between each one.
Step 3: Bake the Sugar Cookies
Bake for approximately 8–10 minutes, or until the edges are just beginning to turn lightly golden.
Remove from the oven and allow the cookies to cool on the baking sheet for several minutes.
Transfer to a wire rack and cool completely before decorating.
Step 4: Prepare the Royal Icing
In a large mixing bowl, combine the powdered sugar and meringue powder.
Add the warm water and beat until the icing is smooth and glossy.
Adjust the consistency with small amounts of water until the icing is suitable for outlining and flooding cookies.
Reserve a small portion of icing and tint it black using black gel food coloring, or use prepared black decorating icing.
Transfer the white and black icing to separate piping bags.
Step 5: Cover the Cookies with White Icing
Outline each round sugar cookie with white royal icing.
Fill the center with additional white icing, using a toothpick or cookie scribe to spread the icing into an even layer.
Gently tap the cookie to smooth the surface and release air bubbles.
The white icing creates the polar bear’s face.
Step 6: Add the Marshmallow Ears
Cut each regular-size marshmallow into four pieces using clean kitchen scissors.
Place two marshmallow pieces near the upper edges of each cookie to create the polar bear’s ears.
The soft white marshmallow pieces give the cookies an adorable three-dimensional appearance.
For the best attachment, position the ears while the white icing is still tacky.
Step 7: Add the White Chocolate Muzzle
Place one round white chocolate melting wafer near the lower center of each polar bear face.
Use a small dot of white royal icing to secure the wafer if needed.
This creates the bear’s raised white muzzle.
Step 8: Decorate the Eyes
Using black royal icing, pipe two small, round eyes above the white chocolate muzzle.
Keep the eyes fairly close together to give the polar bear a sweet, friendly expression.
Allow the black icing to settle into smooth, rounded dots.
Step 9: Add the Nose and Mouth
Using a small piping tip or a piping bag with a tiny opening, add a black nose near the upper center of the white chocolate wafer.
Pipe a short line downward from the nose.
Finish with a small curved mouth to create the polar bear’s adorable smiling face.
Step 10: Allow the Cookies to Dry
Place the decorated cookies on a flat surface and allow the royal icing to dry completely.
Depending on the thickness of the icing and room humidity, this may take 6–8 hours or overnight.
Once the icing is dry, the cookies are ready to serve, package, or arrange on a holiday cookie tray.
Enjoy!
Tips for Decorating Polar Bear Cookies
Use a round cookie cutter. A simple round sugar cookie is the perfect shape for a polar bear face.
Let the cookies cool completely. Warm cookies can cause the royal icing to melt or run.
Keep the icing smooth. A smooth white icing surface makes the polar bear faces look especially cute.
Use marshmallows for the ears. Cutting regular marshmallows into quarters creates soft, dimensional ears without needing to pipe additional icing.
Choose round white chocolate wafers. White chocolate melting wafers are the perfect size and shape for creating the bear’s muzzle.
Keep the facial details simple. Two black eyes, a little nose, and a curved smile are all you need.
Allow the icing to dry completely. This helps prevent smudging when arranging the cookies on a serving tray.
Can I Use Store-Bought Sugar Cookie Dough?
Yes! If you’re short on time, you can use refrigerated sugar cookie dough that is suitable for cutout cookies.
Roll and cut the dough into circles, then bake according to the package directions.
Allow the cookies to cool completely before decorating.
You can also use your favorite homemade cutout sugar cookie recipe.
Can I Use Store-Bought Royal Icing?
Absolutely!
Prepared white cookie icing and black decorating icing can make this recipe even easier.
Just make sure the white icing is suitable for covering cookies and dries firmly enough to hold the decorations in place.
Can I Make These Polar Bear Cookies Ahead of Time?
Yes!
The sugar cookies can be baked a day or two ahead of decorating.
Store the undecorated cookies in an airtight container at room temperature until you’re ready to add the icing.
Once decorated, allow the royal icing to dry completely before storing or packaging.
How to Store Decorated Polar Bear Cookies
Store the finished cookies in a single layer in an airtight container at room temperature for approximately 3–5 days.
If stacking is necessary, place parchment paper between layers and handle carefully to protect the marshmallow ears and raised chocolate muzzles.
For the best appearance, avoid storing the cookies in a humid environment, which can make the royal icing and marshmallows sticky.
Jennie’s Thoughts
I absolutely love these Easy Decorated Polar Bear Cookies! They’re so adorable, and I think they’re one of the sweetest winter cookie decorating ideas.
I wanted to make a polar bear cookie that was easy to decorate without needing lots of complicated icing techniques.
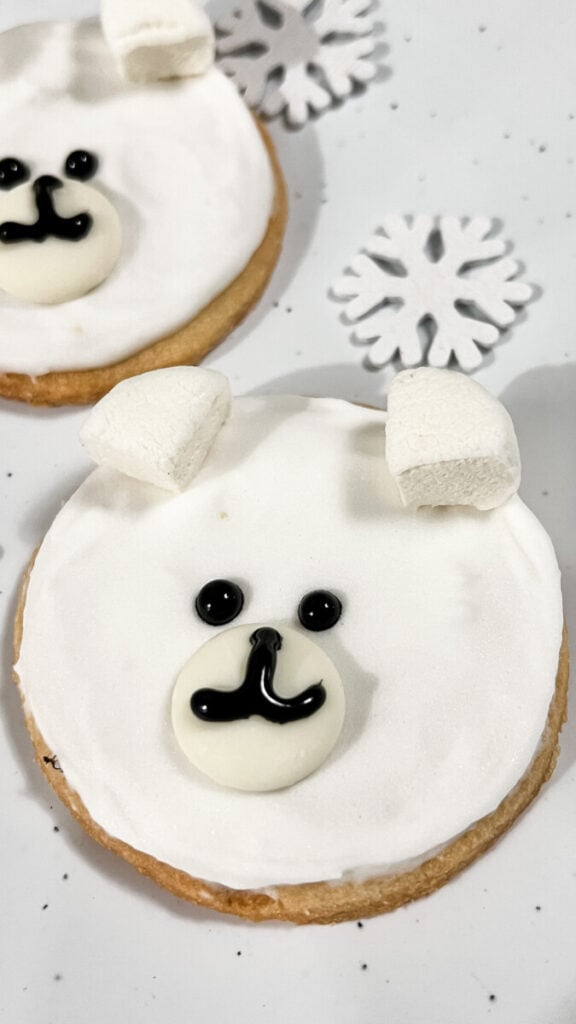
I started with my round cutout sugar cookies and covered them in white royal icing.
Then I used pieces of marshmallow for the ears, which worked beautifully!
For the muzzle, I used a round white chocolate melting wafer. I love how it gives the polar bear’s face a little extra dimension.
Then I added two black eyes and used black icing to make the nose and sweet little smiling mouth.
The finished cookies turned out so cute!
I especially love how the marshmallow ears make the bears look soft and fluffy.
These would be adorable on a Christmas cookie tray, packaged in holiday cookie boxes, or served at a winter-themed party.
And since they’re polar bears, they’re perfect for making all winter long, even after Christmas is over.
If you love easy decorated sugar cookies, I think you’re going to have so much fun making these!